
Use and Care Guide
8
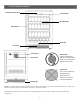
Installing Your Door Handle and Shelves
INSTALLING THE DOOR HANDLE:
1. Open the door and carefully pull the door gasket around the area where the handle is to be installed.
2. Insert each Phillips head screw through the gasket side of the door until the screw pass through the door.
3. Align the handle with the screws and tighten using a Phillips head screwdriver until the handle is flush against the
door frame. CAUTION: Do not over-tighten the screws as this may cause damage to the handle or to the stainless
steel door.
4. Carefully press the door gasket into its original position.
INSTALLING THE SHELVES:
1. Open the door completely.
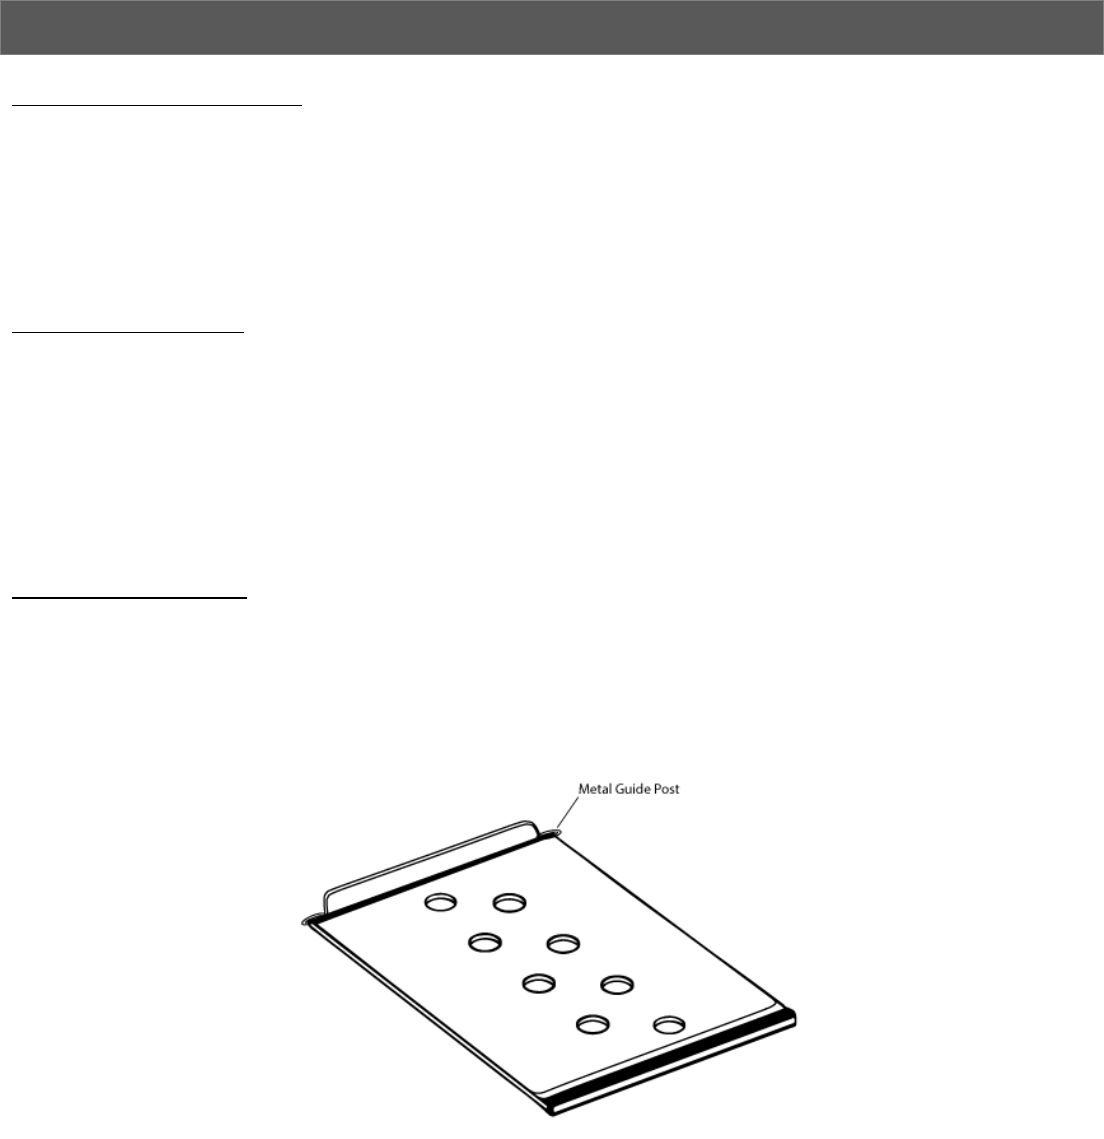
2. Ensure that the metal guide posts are attached to the rear of the shelf.
3. Tilt the shelf 45° counterclockwise. The metal guide post on your left side should situate on the shelf track.
4. Gently push the shelf back towards the rear of the unit until the right side metal guide post meets the vertical
indentation in the plastic interior cabinet.
5. Gently set the right side of the shelf down on the shelf track. The shelf should move forwards and backwards
smoothly.
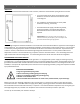
REMOVING THE SHELVES:
1. Open the door completely.
2. Make sure the shelf is pushed back completely
3. Lift either the left or right side of the shelf creating a 45◦ angle from its original position. Make sure not to lift either
side of the shelf too hard as it may come in contact with the inner wall mount.
4. Pull the shelf outward until it is removed from the inner compartment. You may encounter some resistance from
the shelf guard rail.
TIP: To prevent damaging the door gasket, make sure to open the door fully before pulling the shelves out of their track.
NOTE: The refrigerator may experience decreased cooling efficiency if air flow is restricted due to fully loaded cabinet.