
User Guide
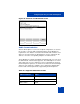
Table Of Contents
- Revision history
- Contents
- Welcome
- Regulatory and safety information
- Using your Avaya 1120E IP Deskphone
- Getting started
- Before you begin
- Connecting the components
- Removing the stand cover
- Connecting the AC power adapter (optional)
- Connecting the handset
- Connecting the headset (optional)
- Selecting the headset tuning parameter
- Connecting the LAN ethernet cable
- Installing additional cables
- Wall-mounting the IP Deskphone (optional)
- Entering text
- Entering text using the IP Deskphone dialpad
- Enabling and disabling the # Ends Dialing feature
- Configuring the dialpad to alphanumeric dialing
- Entering text using the USB keyboard
- Accessing the Avaya 1120E IP Deskphone
- Configuring the Avaya 1120E IP Deskphone
- Making a call
- Receiving a call
- The Address Book
- Call Inbox
- Call Outbox
- Instant Messaging
- While on an active call
- Additional features
- Using the Friends feature
- Feature keys
- Feature key programming
- Feature key autoprogramming
- Using Call Forward
- Configuring Do Not Disturb
- Configuring a Presence state
- Configuring Privacy settings
- Multiple Appearance Directory Number
- Audio Codecs
- PC Client softphone interworking with the IP Deskphone
- Automatic remote software updates
- Multiuser
- Advanced features
- Visual indicators
- Multi-Level Precedence and Preemption
- Quick reference
- Third party terms
- Terms you should know
- Index
Configuring the Avaya 1120E IP Deskphone
101
USB headset
You can attach only one USB headset to the
Avaya 1120E IP Deskphone. (If you add an additional USB headset, the
IP Deskphone ignores it without any message.) When you connect the
USB headset to the USB port of the IP Deskphone, the IP Deskphone
configures the headset to work with it.
Table 9 on page 102 lists the types of USB headsets that work with the
Avaya 1120E IP Deskphone.
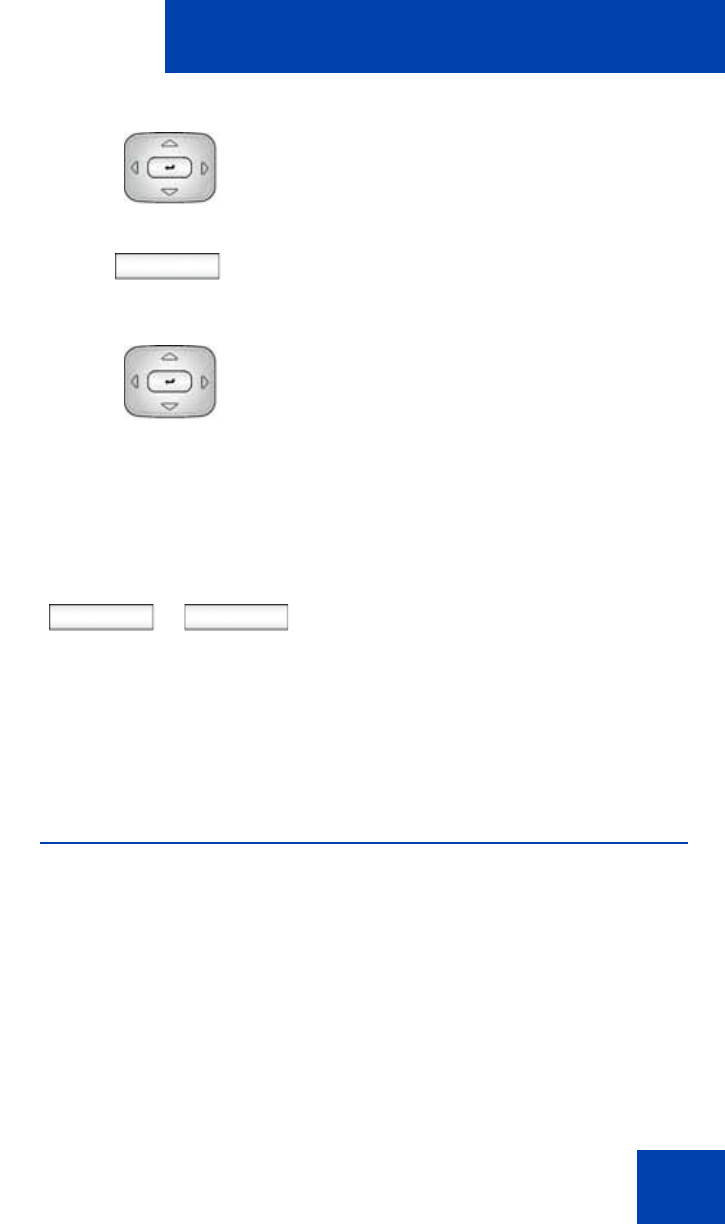
3. Press the Up/Down navigation key to
highlight Time Format in the menu.
Change
4. Press the Change context-sensitive soft
key change the date format.
5. Press the Up/Down navigation key to
scroll and highlight a time format:
— 12-hour
— 24-hour
—French
6. Choose one of the following:
— Press the Select context-sensitive
soft key to save the time format and
return to the Time Format menu.
— Press the Back context-sensitive
soft key to keep the existing
configurations and return to the
Time Format menu.
or
Select Back