
User Manual


40
5. Click the button.
The confirmation message, “Group was successfully created.” displayed.
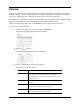
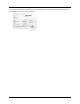
The Group properties edit screen appears like this example:
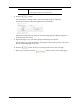
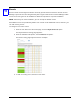
6. Click the Policies tab.
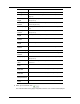
The Policies page appears like this example:
7. Assign policies to the newly created group as needed.
8. Click the button to save your changes.
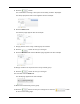
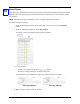
9. Click the Members tab and the Member page appears like this example:
10. Assign members as required to the newly created group.
11. Click the button to save your changes.
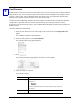
12. If needed, click the Audit tab.
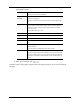
The Audit page appears like this example:
13. Review the audit history of this group.
14. Click the button to save your changes then click the button
to return to the listing page.