
User Manual

Wizard & Main Interface
NVR User Manual
24
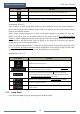
Button
Meaning
Disk status button. Click it to view the disk status and RAID status.
Network status button. Click it to view the network status.
Information button. Click it to view system information.
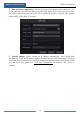
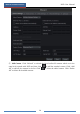
Introduction of area ②:
Click “Camera” to view all the added cameras in the camera list. Select one camera window on
the left side of the interface and then double click one camera in the list to preview the camera
image in the selected window.
Click “Single Channel Sequences” to view all the added groups in the group list; click one
group in the list to view all the added cameras in the group (refer to 4.2 Add/Edit Camera
Group for detail configuration of the camera group). Select one camera window on the left side
of the interface and then double click one group in the group list to preview the cameras’
images one by one in the selected window.
Click “Customize Display Modes” to view all the display modes in the display mode list (refer
to 5.2.1 Preview By Display Mode for detail configuration of the display mode). Double click
one display mode in the list to switch to the display mode for previewing.
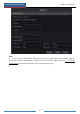
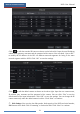
Introduction of area ③:
Icon / Button
Meaning
It shows the current login user.
Click it to go to record search and backup interface, see 8.3 Record
Search, Playback & Backup for details.
Click it to go to playback interface (click on the tool bar at the
bottom of the live preview interface to set the default playback time),
see 8.2 Playback Interface Introduction for details.
Click it to pop up the setup panel, see 3.2.2 Setup Panel for details.
Click it to log out the system.
Click it and then select “Logout”, “Reboot” or “Shutdown” in the
popup window.
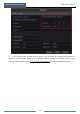
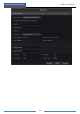
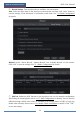
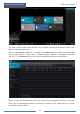
3.2.2 Setup Panel
Click StartSettings to pop up the setup panel as shown below.