
SmartKey Installation Guide
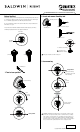
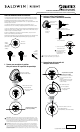
Installation Instructions
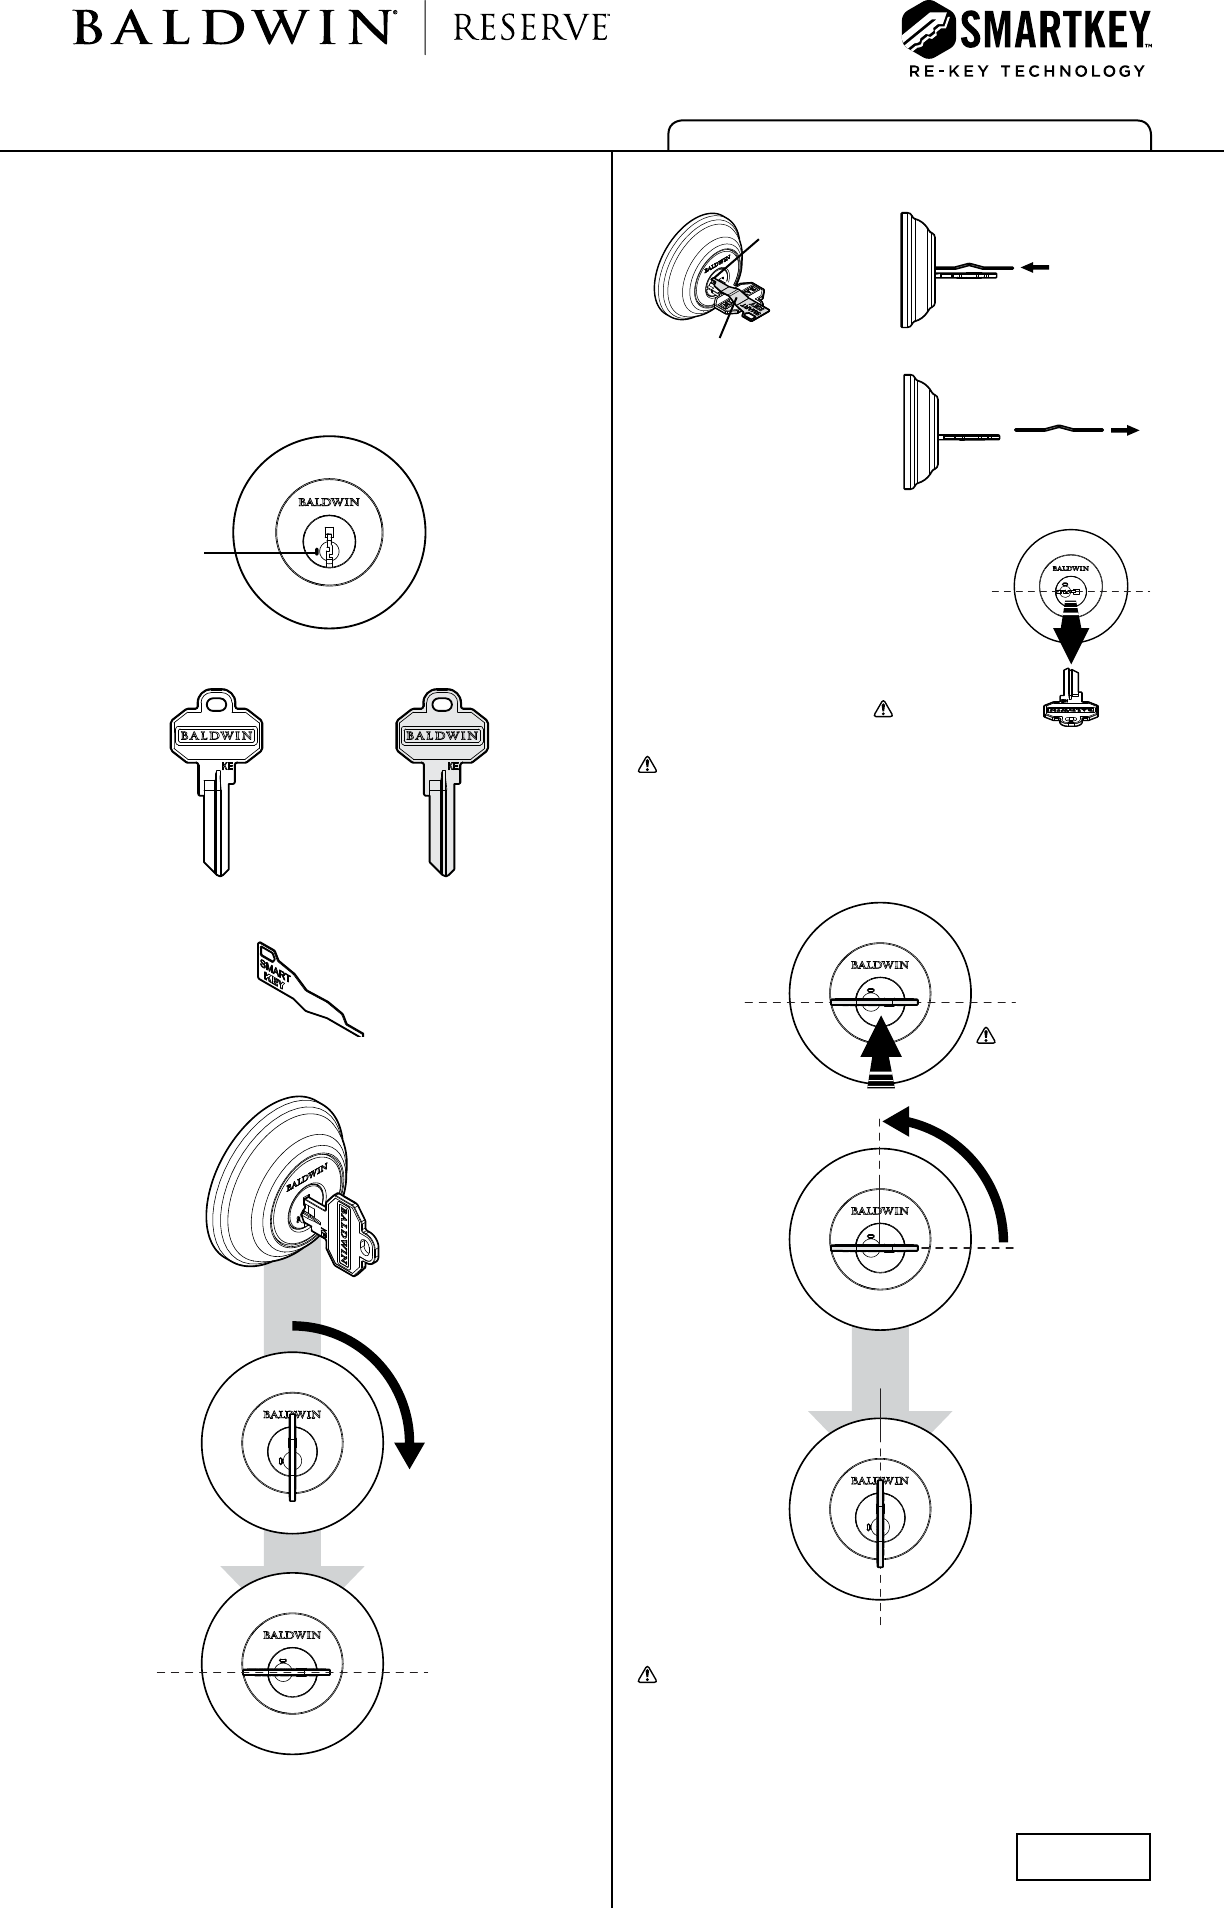
1. Turn to learn position
WARNING: This Manufacturer advises that no lock can provide complete security
by itself. This l ock may be defeated by forcible or technical means, or evaded by
entry elsewhere on the property. No lock can substitute for caution, awareness of
your environment, and common sense. Builder’s hardware is available in multiple
performance grades to suit the application. In order to enhance security and reduce
risk, you should consult a qualied locksmith or other security professional.
47032 / 02
Copyright © 2011 Baldwin Hardware Corporation
www.baldwinhardware.com • Customer Service 1.800.437.7448
front view
current key new key
SmartKey tool hole
SmartKey tool
2a. Push tool all the way in
2b. Remove tool
2c. Remove current key
SmartKey
tool hole
SmartKey tool
insert current key
remove new key
when nished
rotate
1/4 turn
to right
rotate
1/4 turn
to left
start position
learn position
learn position
nish position
2. Insert and remove SmartKey toolBefore You Start
These steps show you how to change from the current key that operates the lock
to a new key you want to operate the lock. For new purchases, the current key is
the one that was supplied in the box with the purchased lockset.
Be sure to install the product on the door rst. Also, these steps should be done
while the door is open.
These instructions illustrate a deadbolt for demostration purposes, but these
SmartKey rekeying instructions also apply to handlesets.
Be careful not to
rotate when moving.
If key does not pull out, return to Step 2a.
Fully insert new key.
Be careful not to rotate
when inserting.
3. Learn new key