
User guide

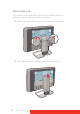
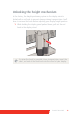
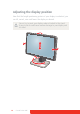
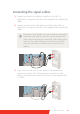


Table Of Contents
- Welcome!
- Table of contents
- What's in the box
- Parts, controls and connectors
- Display installation
- Daily operation
- Advanced operation
- OSD menu position
- OSD menu language
- OSD menu automatic close function
- Power status indicator light
- Key indicator lights
- Power lock function
- Keys sound
- Ethernet over USB
- DDC HID Device
- DPMS mode
- Hibernate
- Luminance target
- Color presets
- Color temperature
- Color coordinates
- Viewing modes
- Display functions
- Ambient Light Compensation (ALC)
- Reading rooms
- Continuous ALC
- Image scaling
- Image source selection modes
- Video input signals
- Video encoding modes
- Grayscale conversion modes
- EDID timings
- Display info
- Display status
- Cleaning your display
- Repackaging instructions
- Important information
Coronis Fusion 6MP 11
Display installation
Removing the covers
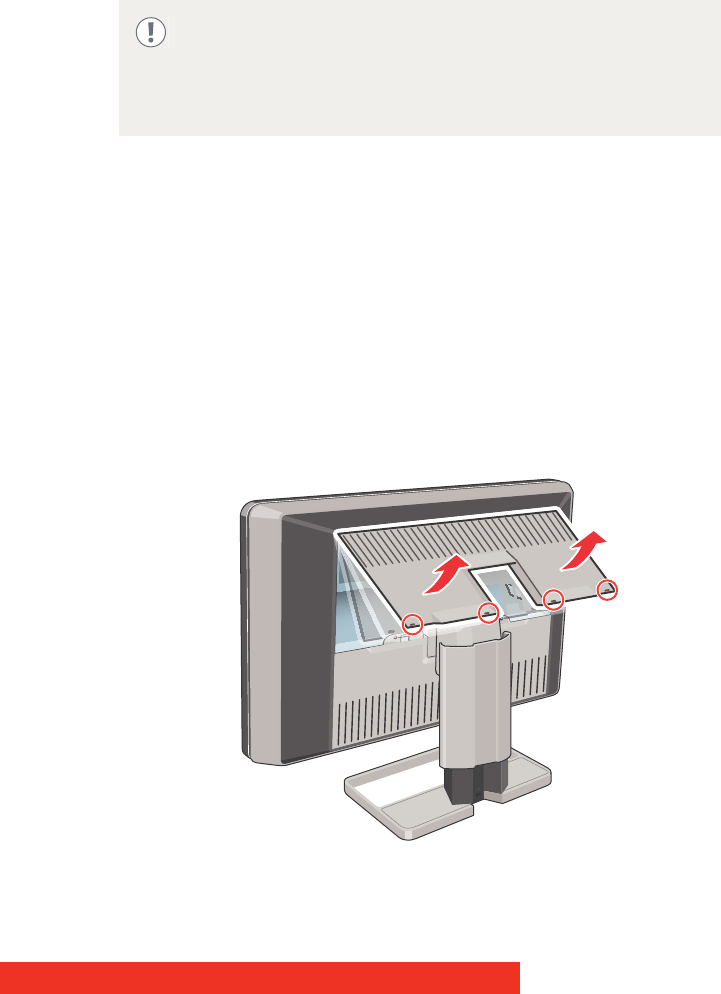
CONNECTOR COMPARTMENT COVER
The connector compartment cover should be removed to get access to
the connectors. To remove the cover, proceed as follows:
1 Gently lift the clips at one of the handles of the connector
compartment cover to release that side of the cover.
2 Do the same at the other side of the cover.
3 Remove the cover.
Prior to installing your CORONIS FUSION 6MP display and connecting
all necessary cables, make sure to have a suitable display
controller physically installed in your computer. If you are using a
Barco display controller, please consult the dedicated user guide
available on the system CD.