
User guide

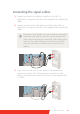
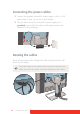
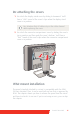


Table Of Contents
- Welcome!
- Table of contents
- What's in the box
- Parts, controls and connectors
- Display installation
- Daily operation
- Advanced operation
- OSD menu position
- OSD menu language
- OSD menu automatic close function
- Power status indicator light
- Key indicator lights
- Power lock function
- Keys sound
- Ethernet over USB
- DDC HID Device
- DPMS mode
- Hibernate
- Luminance target
- Color presets
- Color temperature
- Color coordinates
- Viewing modes
- Display functions
- Ambient Light Compensation (ALC)
- Reading rooms
- Continuous ALC
- Image scaling
- Image source selection modes
- Video input signals
- Video encoding modes
- Grayscale conversion modes
- EDID timings
- Display info
- Display status
- Cleaning your display
- Repackaging instructions
- Important information
Coronis Fusion 6MP 15
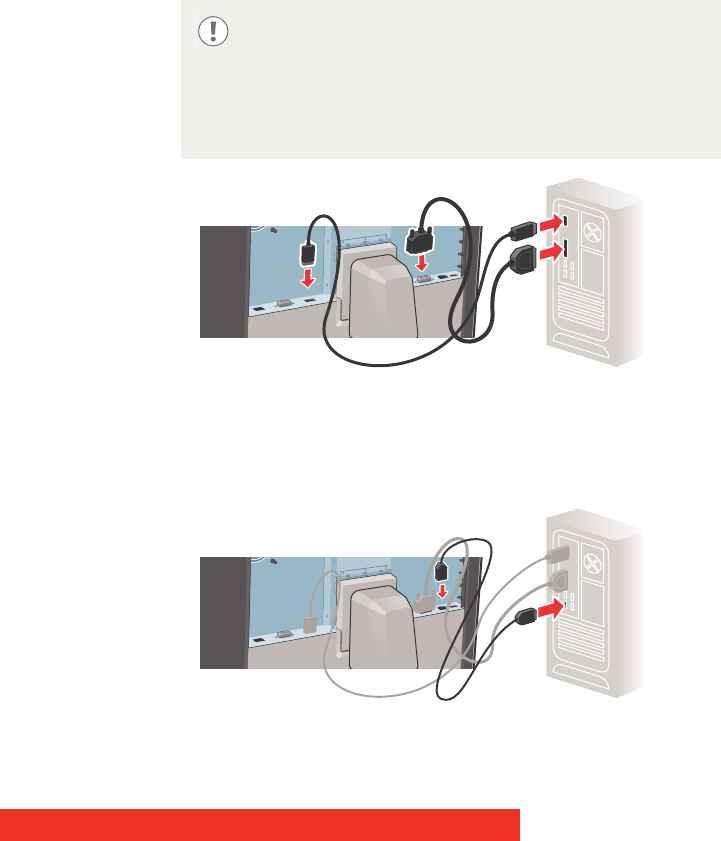
Connecting the signal cables
1 Connect one head of the display controller to the DVI 1 or
DisplayPort 1 connector with one of the supplied DVI or DisplayPort
cables.
2 Connect another head of the display controller to the DVI 2 or
DisplayPort 2 connector with one of the supplied DVI or DisplayPort
cables.
3 If you want to make use of your display’s USB downstream
connectors, connect a PC USB downstream connector to the
display’s USB upstream connector by means of the supplied USB
2.0 cable.
Each side of your display can have a different video input
connected (one side can have DVI connected while the
other side has DisplayPort connected). Both display sides
can have the same video input connected as well but
only one video input is allowed on each side of your
display.