
User guide

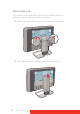
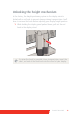


Table Of Contents
- Welcome!
- Table of contents
- What's in the box
- Parts, controls and connectors
- Display installation
- Daily operation
- Advanced operation
- OSD menu position
- OSD menu language
- OSD menu automatic close function
- Power status indicator light
- Key indicator lights
- Power lock function
- Keys sound
- Ethernet over USB
- DDC HID Device
- DPMS mode
- Hibernate
- Luminance target
- Color presets
- Color temperature
- Color coordinates
- Viewing modes
- Display functions
- Ambient Light Compensation (ALC)
- Reading rooms
- Continuous ALC
- Image scaling
- Image source selection modes
- Video input signals
- Video encoding modes
- Grayscale conversion modes
- EDID timings
- Display info
- Display status
- Cleaning your display
- Repackaging instructions
- Important information
Coronis Fusion 6MP 19
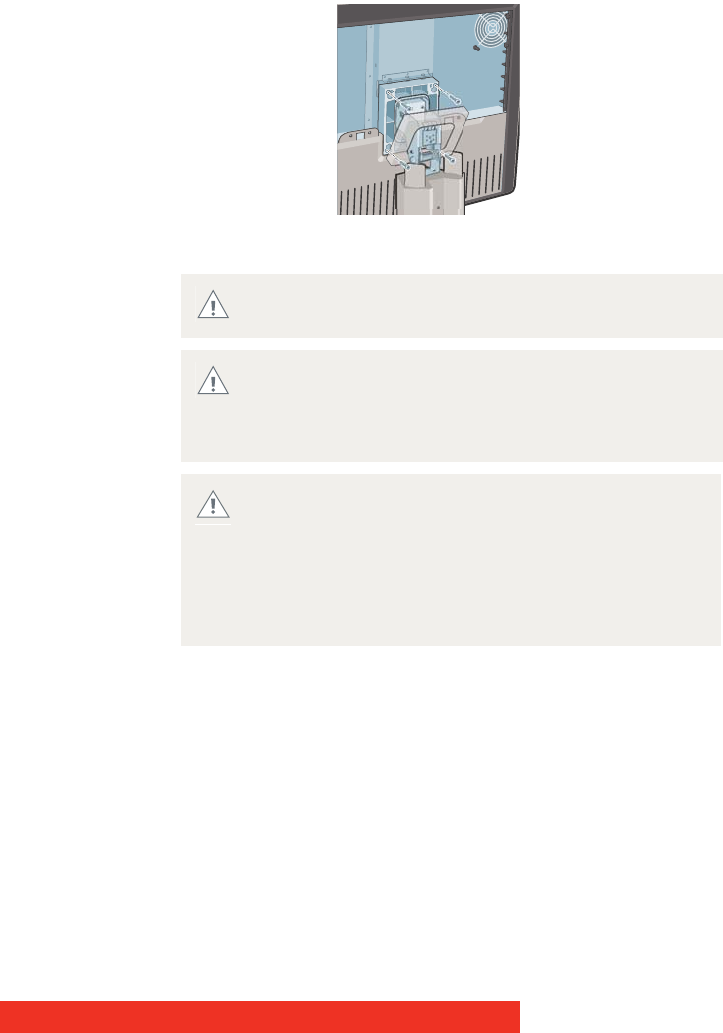
4 Unscrew the four fixation screws fixing the panel to the stand.
5 Attach the panel firmly to the arm using 4 screws M4 x 10 mm.
You should mount the panel in landscape position.
Portrait position is possible but not supported.
Use an arm that can support a weight of at least 20 kg
(44.09 lbs). Failure to do so could make the panel fall,
causing serious injury to a child or adult, and serious
damage to the equipment.
Never move a display attached to an arm by pulling or
pushing the display itself. Instead, make sure that the
arm is equipped with a VESA approved handle and use
this to move the display.
Please refer to the instruction manual of the arm for
more information and instructions.
WARNING