
User guide
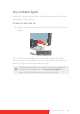


Table Of Contents
- Welcome!
- Table of contents
- What's in the box
- Parts, controls and connectors
- Display installation
- Daily operation
- Advanced operation
- OSD menu position
- OSD menu language
- OSD menu automatic close function
- Power status indicator light
- Key indicator lights
- Power lock function
- Keys sound
- Ethernet over USB
- DDC HID Device
- DPMS mode
- Hibernate
- Luminance target
- Color presets
- Color temperature
- Color coordinates
- Viewing modes
- Display functions
- Ambient Light Compensation (ALC)
- Reading rooms
- Continuous ALC
- Image scaling
- Image source selection modes
- Video input signals
- Video encoding modes
- Grayscale conversion modes
- EDID timings
- Display info
- Display status
- Cleaning your display
- Repackaging instructions
- Important information
26 Coronis Fusion 6MP
TO BRING UP THE OSD MENU USING CONTROL WHEEL:
1 If not already done so, switch on the display as previously
described.
2 Shortly turn the control wheel.
As a result, the OSD main menu comes up in the bottom right corner of
the screen. If no further actions are taken within the following 90
seconds however, the OSD menu will disappear again.
Navigating through the OSD menus
ABOUT OSD MENU NAVIGATION
Navigating through the OSD menu can be done by using the keys or by
using the control wheel.
TO NAVIGATE THE OSD MENU USING THE KEYS:
• Use the Right/Down and Left/Up keys to move through the
(sub)menus, change values or make selections.
• To go into a submenu or confirm adjustments and selections, use
the Menu/Enter key.
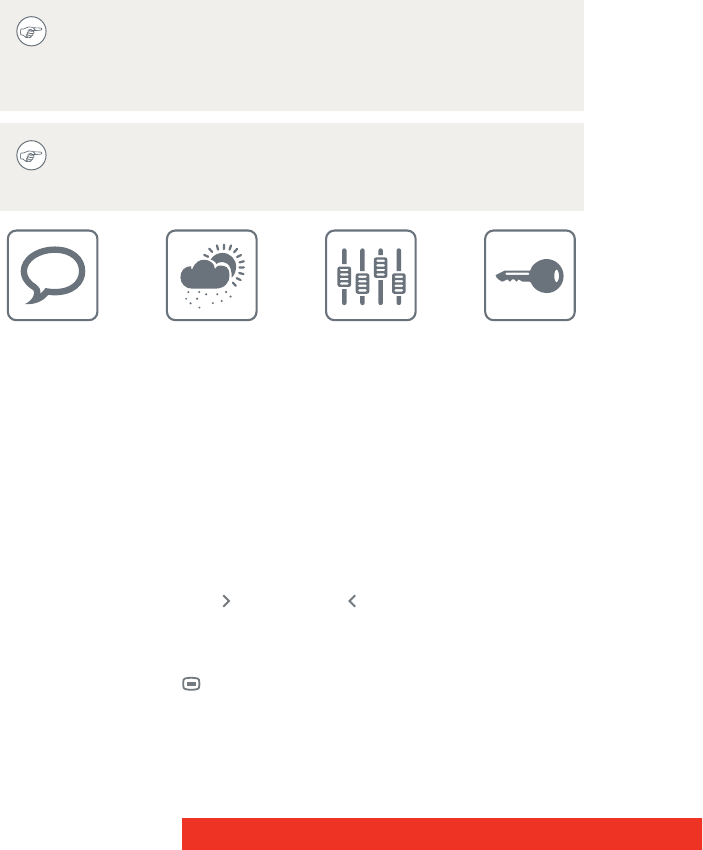
The OSD menu automatic close function can be disabled in the
OSD menu. Please refer to “OSD menu automatic close
function” on page 29 for detailed instructions on how to do
this.
The OSD menu position can be modified in the OSD menu.
Please refer to “OSD menu position” on page 28 for detailed
instructions on how to do this.