PowerWash ProHeat ™ USER’S GUIDE 1698 SERIES - 220 / 240V 3 Safety Instructions 4 5 6-15 15-17 18 19 19 20 Warranty Product View/Accessories Assembly Features / Operations Routine Maintenance Troubleshooting Consumer Services Replacement Parts
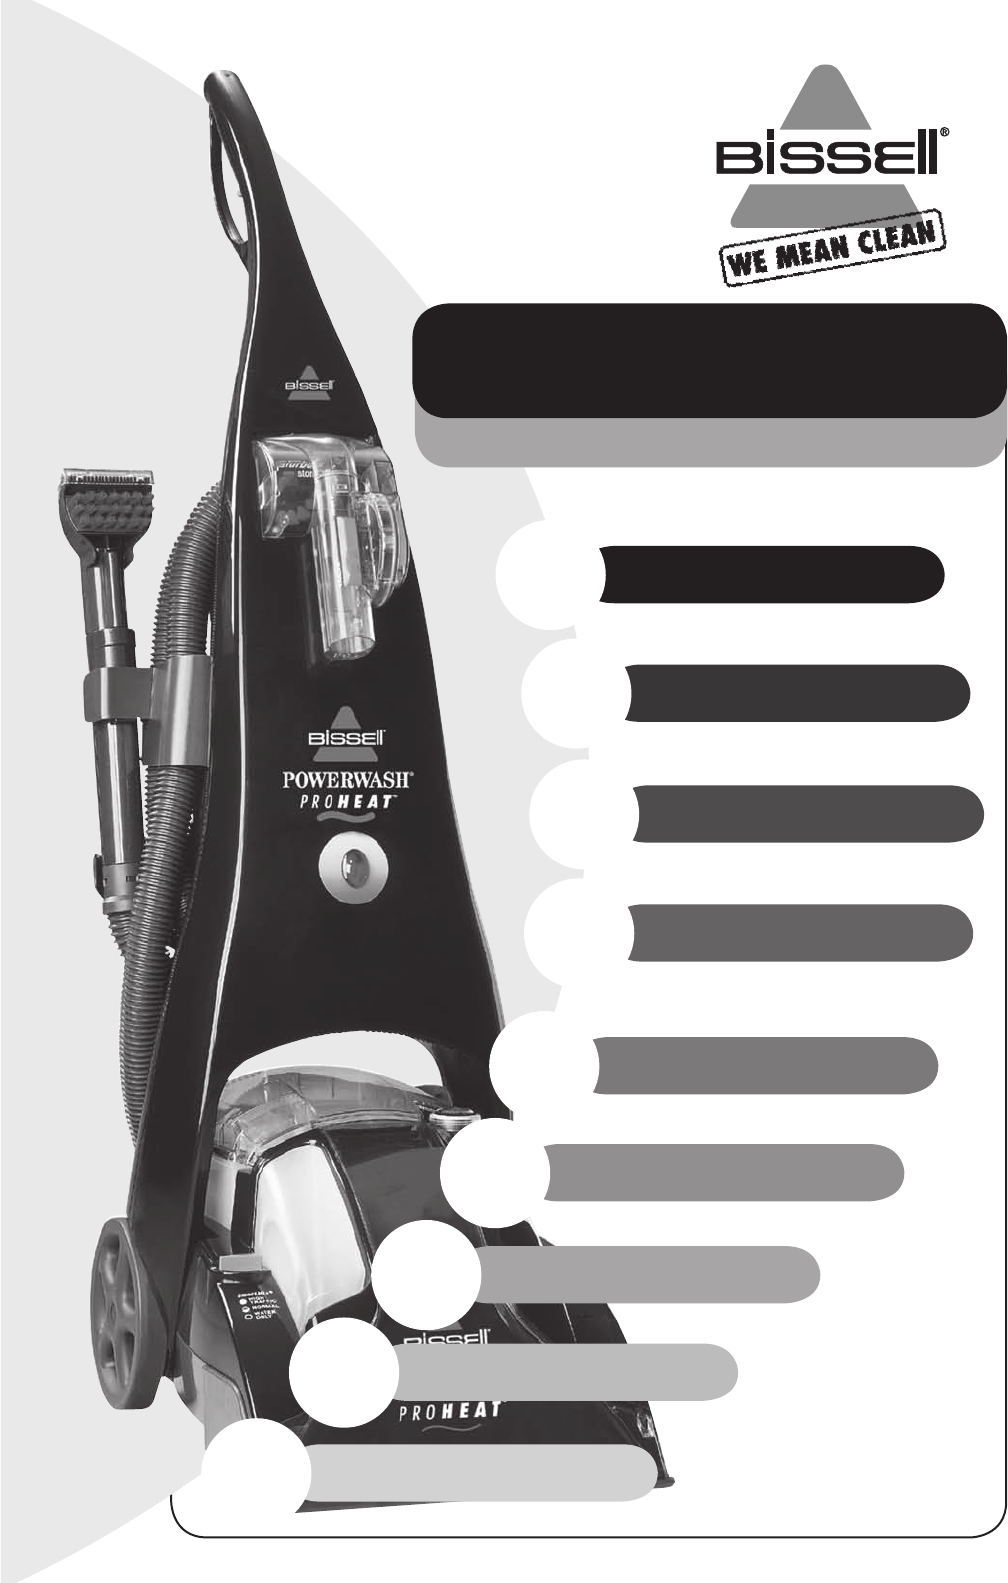
Thanks for buying a BISSELL PowerWash ProHeat ™ We’re glad you purchased a BISSELL PowerWash ProHeat heated formula deep cleaner. Everything we know about floor care went into the design and construction of this complete, high-tech home cleaning system. Your PowerWash ProHeat is well made, and we back it with a limited two-year warranty. We also stand behind it with a knowledgeable, dedicated Consumer Services department, so, should you ever have a problem, you’ll receive fast, considerate assistance.
IMPORTANT SAFETY INSTRUCTIONS When using an electrical appliance, basic precautions should be observed, including the following: ■ READ ALL INSTRUCTIONS BEFORE USING YOUR UPRIGHT DEEP CLEANER. ■ Always connect to a properly Earthed Outlet. Unplug from outlet when not in use and before conducting maintenance or troubleshooting.
Keep plenty of genuine BISSELL Advanced Deep Cleaning Formulas on hand so you can clean and protect whenever it fits your schedule. Always use genuine BISSELL Advanced Deep Cleaning formulas. Non-BISSELL cleaning solutions may harm the machine and void the warranty. Trigger Upper Handle Crevice Tool Storage 3. Tool Caddy Power Cord Quick Release Belt Storage Power Switch Tank-inTank™ 2. 4. Hex Nuts TurboBrush™ Storage 5. Handle Release SmartTemp™ Ready Light 1.
How To Use This Guide This User’s Guide has been designed to help you get the utmost satisfaction from your BISSELL PowerWash ProHeat. You’ll find assembly and operating instructions, safety precautions, as well as maintenance and troubleshooting instructions. Please read this User’s Guide thoroughly before assembling your deep cleaner. Pay particular attention to the product diagram, assembly instructions, and part names. Locate and organize all parts before assembly.
Special Features of your BISSELL PowerWash ProHeat™ The BISSELL SmartClean™ System The PowerWash ProHeat is a home cleaning system that automatically mixes hand hot tap water with BISSELL Advanced Deep Cleaning Formula and heats the solution as it is applied to the carpet. The combination of heated cleaning solution, powered brush and suction provide a safe and effective method of cleaning.
SmartMix Continued 4. 5. Replace SmartMix Bottle. Choose the SmartMix setting that fits the cleaning job. Water Only- use for gentle cleaning or for the final rinse after cleaning. Normal- automatically provides the best mix of water and cleaning solution for most cleaning jobs. Note: Both the SmartMix Bottle and the clean water Tank must have liquid in them in order for the machine to spray. If one is empty, the machine will temporarily lose its prime and will not spray cleaning solution or water only.
Tank-in-Tank Our Tank-in-Tank system is designed with a Bladder inside for clean water. As you clean, the Bladder will empty. Dirty water collects in the tank outside the Bladder. Step on Handle Release to lay the machine handle down out of the way. 1 1. 2. Lift the Tank-in-Tank handle. The handle locks the lid in place. Handle Release 3. 4. 5. Carry it like a bucket to fill at the sink.
When It’s Time to Empty Tank-in-Tank Continued 3. 4. 5. Remove Tank Lid by rotating handle forward to unlatch lid and lifting lid off Tank. Pour out dirty water. Pour out 3 Rotate Handle to unlatch After each use, remove and rinse the Lint Screen located on the tank lid. A. Remove Tank Assembly from unit. B. Remove Tank Lid. C. Remove any debris caught in Lint Screen. D. Re-insert Lint Screen on Tank Lid. The screen will click into place E. Replace Tank Lid. F. Re-insert Tank Assembly into unit. 6.
TurboBrush™ Assembly and Use Unplug cleaner from the outlet before attaching TurboBrush. Attach TurboBrush to the Flex Hose by pressing tool onto the grip/trigger until button snaps into hole. Make certain tool is securely in place. 1. 2. Move the TurboBrush switch to the “BRUSH” position. This activates the brush when the unit is running. Place the tool directly on the soiled surface. Apply downward pressure on the tool and pull towards you while pulling trigger to spray cleaning solution.
Machine Preparation 1. Set up the machine following instructions in the Features section on pages 6-10. 2. Use any BISSELL Advanced Deep Cleaning Formula in the SmartMix Bottle when cleaning carpets, stairs or upholstery. Use clean water in the SmartMix Bottle for gentle cleaning or rinsing. 3. Choose the SmartMix setting to match the cleaning job. 4. Set the ReadyTools switch to either Tools/PreTreat or Floor Cleaning. WARNING: To reduce the risk of injury, be extra careful when cleaning stairs.
Carpet Cleaning Continued 4. 5. Repeat cleaning passes until solution being pulled up appears clean. Continue passes without pressing the trigger until you can’t see any more water being pulled up. Note: Both the SmartMix Bottle and the clean water Tank must have liquid in them in order for the machine to spray. If one is empty, the machine will temporarily lose its prime and will not spray cleaning solution or water. 6.
Stain Removal Continued 5. Use your BISSELL Deep Cleaner as a Precleaner. With one of the tools attached to the Flex Hose, set the ReadyTools Dial to Tools/PreTreat and the Smart Mix Dial to the High Traffic setting. Spray the area with cleaning solution and allow the BISSELL Advance Deep Cleaning Formula to penetrate for 3-5 minutes. 6. Once the Precleaning is complete, use the attached tool to gently scrub the stain with back and forth strokes. 7. Allow to dry.
Cleaning Technique 1. 2. Choose the 4” Small Area Tool, the 3” Tough Stain Tool, or the Spraying Crevice Tool and connect to the Flex Hose. Plug into a proper outlet and turn Power Switch ON. 3. While pressing the trigger, slowly move the spraying tool back and forth over the soiled surface. Release the trigger to suction soiled water. 4. Continue to clean soiled area, working in small sections, until no more dirt can be removed. Caution: Do not overwet. 5.
Attach the Bare Floor Tool Continued First attach left side (short Tab) catching Tab over Floor Nozzle edge. 5. Gently bend long Tab (right side) outward to easily snap over edge of clear nozzle on left. 6. Machine Preparation 1. 2. 3. 4. Set up machine following instructions in the Features section on pages 6-10. Be sure to thoroughly rinse out any remaining BISSELL Advanced Deep Cleaning Formula from the SmartMix Bottle to prevent slippery linoleum, vinyl, and tile floors.
Routine Maintenance Continued 3. 4. 5. Remove and rinse tools in clean, running water. Dry and replace on Tool Caddy. Coil Flex Hose around storage brackets on Tool Caddy. Remove Tank-In-Tank, dispose of dirty water. Refer to the Features section on Pages 8-9. ON OFF 6. 7. 8. 9. 10. Rinse out Tank-In-Tank and replace on the machine; Clean out Lint Screen. Clean out the Flow Indicator Filter each time it is used to ensure best cleaning performance.
Pump Belt Replacement Continued 7. 8. 9. Remove the black brush arm that holds the brush in place. Set the black brush arm aside (see illustration). 7 8 Remove the “toothed” Brush Belt from the brush then from the red pump pulley. Set the “toothed” Brush Belt and brush aside. Locate and remove broken Pump Belt. 9 To Install the Replacement Pump Belt 1. 2. 3. 4. 5. 6. 7. 8.
WARNING: To reduce the risk of Troubleshooting SmartTemp Ready Light Does Not Illuminate. Possible Causes 1 fire, electric shock or injury unplug from outlet before servicing. Remedies The Power Switch is not turned ON. 1 Turn the Power Switch ON. Reduced Spray OR No Spray. Possible Causes 1 2 Remedies Bladder may be empty. SmartMix Bottle may be empty. 4 The Filter may be clogged. Tanks may not be seated properly. 5 Pump may have lost prime. 6 The Pump Belt may be broken.
BISSELL Consumer Services If your BISSELL product should require service: In the UK call BISSELL Consumer Services at the number below and we will give you the location of a BISSELL Authorized Service Center in your area. For all other countries contact your local in country distributor for questions, service, or repair. If you have questions about your warranty or need replacement parts please contact the numbers below.
About Your Warranty This warranty gives you specific legal rights, and you may also have other rights which may vary from country to country. If you need additional instruction regarding this warranty or have questions regarding what it may cover, please contact BISSELL Consumer Services by telephone, or regular post as described below, or contact your local in country distributor.