BlueSecureTM Access Point 1840 Installation Guide Bluesocket, Inc 10 North Avenue Burlington, MA 01803 USA +1 781-328-0888 www.bluesocket.com Document Version 1.
BlueSecure™ Access Point 1840 Installation Guide Copyright Notice Copyright © 2009 Bluesocket, Inc. All rights reserved. No part of this document may be reproduced in any form or by any means, electronic or manual, including photocopying without the written permission of Bluesocket, Inc. The products described in this document may be protected by one or more U.S. patents, foreign patents, or pending patents.
BlueSecure™ Access Point 1840 Installation Guide Table of Contents I. II. III. IV. V. VI. VII. VIII. IX. Overview ............................................................................................................................ 4 Familiarizing Yourself with the BSAP-1840 Hardware................................................. 5 Provisioning Your Bluesocket WLAN for BSAPs............................................................ 8 Selecting a BSAP Installation Location ......................
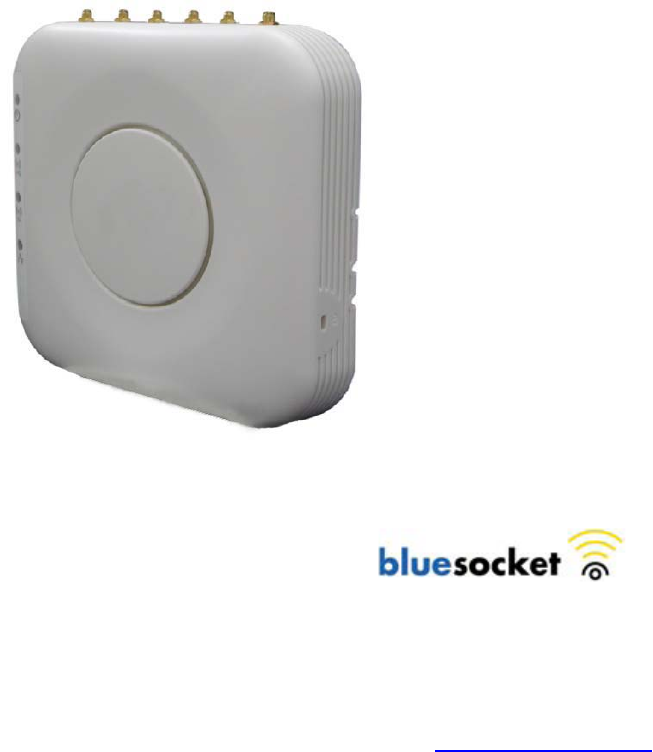
BlueSecure™ Access Point 1840 Installation Guide I. Overview The BlueSecure Access Point 1840 is an 802.11n-based “thin” access point that works in conjunction with BlueSecure Controllers (BSCs) for enterprise wireless LAN (WLAN) deployments. The BlueSecure Access Point 1840 features dual radios supporting 802.11a/n and 802.11b/g/n with six external antenna connectors.
BlueSecure™ Access Point 1840 Installation Guide II. Familiarizing Yourself with the BSAP-1840 Hardware Make sure that you receive the following items in the package: 1 1 8 1 - BSAP-1840 Wall-mounting Hardware (Wall/table bracket/stand, 4 screws, 4 wall anchors) Adhesive rubber feet Ceiling mounting Hardware Please spend a few minutes familiarizing yourself with the BSAP-1840 enclosure.
BlueSecure™ Access Point 1840 Installation Guide LED Indicators The following LED indicators are located on the top of the BSAP-1840 housing. Table 1: Status and Radio LED Definitions Status 2.
BlueSecure™ Access Point 1840 Installation Guide Ethernet/PoE Connector The BSAP-1840 has one auto-sensing 10BASE-T/100BASE-TX/1000BaseT RJ-45 connector that can be attached directly to 10BASE-T/100BASE-TX/1000BaseT switches to provide a full-duplex link. These segments must conform to the IEEE 802.3 or 802.3u specifications. This connector uses an MDI (i.e., internal straight-through) pin configuration.
BlueSecure™ Access Point 1840 Installation Guide III. Provisioning Your Bluesocket WLAN for BSAPs There are prerequisites that must be met before deploying BSAPs in a live network environment. These prerequisites ensure that the BSAPs are able to discover and connect to a BlueSecure Controller. Implementing these prerequisites also relieves you from needing to manually configure each BSAP-1840. The deployment prerequisites for BSAPs are: • BSAP IP Address - Each BSAP requires a unique IP address.
BlueSecure™ Access Point 1840 Installation Guide See the BlueSecure Controller Setup and Administration Guide for detailed DHCP server and DHCP relay agent configuration procedures. In this deployment scenario, simply connect and power on the BSAPs. They will automatically discover and communicate with their home BSC.
BlueSecure™ Access Point 1840 Installation Guide In DHCP requests sent from the BSAP, the BSAP uses option 60 Vendor class identifier with a value of BlueSecure.AP1500 to identify itself to the DHCP server (Note that all BSAPs —1500,1540, 1800, and 1840 —identify as AP1500 for option 43). Refer to the documentation supplied with your DHCP server when configuring vendorspecific option 43 • DNS Server Configuration BSAPs are factory configured with apdiscovery as the DNS hostname.
BlueSecure™ Access Point 1840 Installation Guide IV. Selecting a BSAP Installation Location BlueSecure Access Points should be positioned for maximum throughput and range between other BSAPs and wireless client devices. Normally, you should locate the BSAP on the ceiling away from obstructions. Range and performance are dictated by the distance between the BSAP and client radios, and by obstacles that may be present in a specific building or office environment.
BlueSecure™ Access Point 1840 Installation Guide V. Wall Mounting the BSAP-1840 Use the white plastic mounting bracket that comes with the BSAP-1840 to install the AP on a wall or electrical box. To mount the BSAP-1840, follow these steps: 1. Screw the mounting bracket to the wall or electrical box. 2. If mounting to drywall, use the four screws and the four wall anchors. 3. If mounting to a US electrical box, use two threaded screws and insert into the holes marked “B” in the diagram shown below: 4.
BlueSecure™ Access Point 1840 Installation Guide VI. Ceiling Mounting Kit for the BSAP-1840 The BSAP-1840 also comes with a ceiling mounting kit that enables the AP to be mounted on the T-bar of standard drop ceilings (supports both European width of 9/16” and also US width of 15/16”) First, identify the ceiling location where the AP is to be mounted. Use the ceiling assembly bracket to attach around the T-bar and tighten the two screws to secure the bracket.
BlueSecure™ Access Point 1840 Installation Guide 14
BlueSecure™ Access Point 1840 Installation Guide VII. Connecting and Powering the BSAP Follow these instructions to connect your BlueSecure BSAP to your Bluesocket WLAN and then power it up: 1. Make a note of the 12-character MAC address and the serial number listed on the back of the BSAP-1840 before mounting the BSAP to a wall or other surface. You will need this information during configuration. 2. Position the BSAP-1840 for best radio performance.
BlueSecure™ Access Point 1840 Installation Guide General Specifications for a description of the IEC/EN60601-1 compliant power adapter. 4. Verify that the PWR LED stops flashing and remains on, and that the other status LEDs start functioning as described in the section entitled 4. 4. LED Indicators. 5. Connect the BSAP to your Bluesocket WLAN. You can connect the BSAP-1840 to a 10/100/1000 Mbps Ethernet through a network device such as a hub or a switch, or to a 1000BaseT Gigabit Ethernet interface.
BlueSecure™ Access Point 1840 Installation Guide VIII. Using the BSAP Command Line Interface (CLI) Note: Normally you will not need to access the BSAP CLI. In a properly provisioned Bluesocket WLAN, the BSAP will automatically discover and communicate with the BSC. We recommend that you use the CLI to configure the BSAP only in a lab or test environment, or where a predefined static IP address is desired.
BlueSecure™ Access Point 1840 Installation Guide 4. Enter the following username and password in lowercase at the displayed CLI login prompts: BlueAP login: adm1n (i.e., adm “one” n) Password: blue1socket (i.e., blue “one” socket). Navigating the BSAP CLI The BSAP CLI main menu provides access to these options: • Network Configuration - Configure the BSAP’s network settings including its IP address and the IP address of the BSC to which it will connect.
BlueSecure™ Access Point 1840 Installation Guide • • Using the BSAP’s Site Survey Mode for details on using the BSAP’s site survey mode. When operating in a submenu, press h to return directly to the main menu (or home menu). Press p to return to the previous menu. BSAP Default Configuration The BSAP is shipped with the following default configuration. IP_ADDR_MODE: IP_ADDR NETMASK GW_ADDR DNS_ADDR WG_ADDR_MODE WG_ADDR MNGMT_IP_ADDR DHCP (0) 0.0.0.0 0.0.0.0 0.0.0.0 0.0.0.0 Discover BSC (0) 0.0.0.0 192.
BlueSecure™ Access Point 1840 Installation Guide Figure 4: BSAP CLI Network Configuration Menu 2. Enter 1 at the Network Cfg prompt to set the IP address mode. Enter 1 to set the BSAP IP address mode to static. 3. Enter 2 at the Network Cfg prompt to set the BSAP’s IP address. Enter the BSAP IP address and subnet mask using the format:
netmask 4. Enter 3 at the Network Cfg prompt to specify the BSAP’s default IP gateway. 5.BlueSecure™ Access Point 1840 Installation Guide Enter 2 at the main menu to apply your configuration changes, reboot the BSAP, and put the new configuration settings into effect. When the BSAP completes its reboot, it will connect to and download its configuration from the home BSC you have configured via the CLI. Using the BSAP’s Site Survey Mode The BSAP provides a site survey mode that is useful when you are conducting a site survey to determine optimal RF coverage for your facility.
BlueSecure™ Access Point 1840 Installation Guide 7. Site Survey Summary – View your current site survey settings. Rebooting the BSAP following a site survey, restores the BSAP’s existing configuration.
BlueSecure™ Access Point 1840 Installation Guide IX. General Specifications Power: Universal Adapter Input Voltage: 12V DC, 1.25A PoE (DC): Input voltage: 48 volts, 0.32 A Physical: Chassis Dimensions (W x D x L): 200 x 200 x 45 mm Weight: 2 lbs. (0.
BlueSecure™ Access Point 1840 Installation Guide X.
Federal Communication Commission Interference Statement This equipment has been tested and found to comply with the limits for a Class B digital device, pursuant to Part 15 of the FCC Rules. These limits are designed to provide reasonable protection against harmful interference in a residential installation. This equipment generates, uses and can radiate radio frequency energy and, if not installed and used in accordance with the instructions, may cause harmful interference to radio communications.