
Operation Manual


Table Of Contents
- Introduction
- Welcome
- Product overview
- Controls and indicators
- Connection panel
- System Setup
- Unpacking
- Removing/attaching the cover
- Mounting options
- Connecting the T1 to an L1TM model II power stand
- Connecting the T1 to an L1 model I power stand
- Connecting the T1 ToneMatchTM audio engine power supply (optional)
- Connecting the T1 to your computer
- Operating Instructions
- Optimizing input gain and output volume
- Using the Master volume control
- Muting a channel
- Muting channel effects
- Reading the T1 display
- Using the T1 rotary selector
- Editing the sound of a channel
- Selecting a ToneMatch™ preset
- Adjusting zEQ
- Adjusting Para EQ
- Using compressor/gate functions
- Using the KickGate
- Using modulation effects
- Adding delays
- Adding reverb
- Routing input signals to the Aux output
- Using the tuner
- Using global functions
- Selecting a type of reverb
- Using the Prefs utilities
- Loading and saving scenes
- Sharing a scene
- Bose scenes
- Factory Settings
- Singer/Songwriter
- DJ/Playback
- Drums and Bass
- The Works scene
- Factory Settings
- Care & Maintenance
- Cleaning
- Limited Warranty and Registration
- Accessories
- Troubleshooting
- Technical information
7
SYSTEM SETUP
SvenskaItalianoFrançaisEspañolDeutschDanskEnglish Nederlands
Mounting options
The T1 includes hardware for mounting it on a Cylindrical Radiator
®
loudspeaker.
The optional microphone stand mounting bracket allows you to mount the T1 on the shaft of most microphone
stands. See “Mounting the T1 on a microphone stand (optional)” on page 9.
Mounting the T1 on a Cylindrical Radiator
®
loudspeaker
Use the carriage and mounting bar included in the carton to mount the T1 on the Cylindrical Radiator
®
loudspeaker.
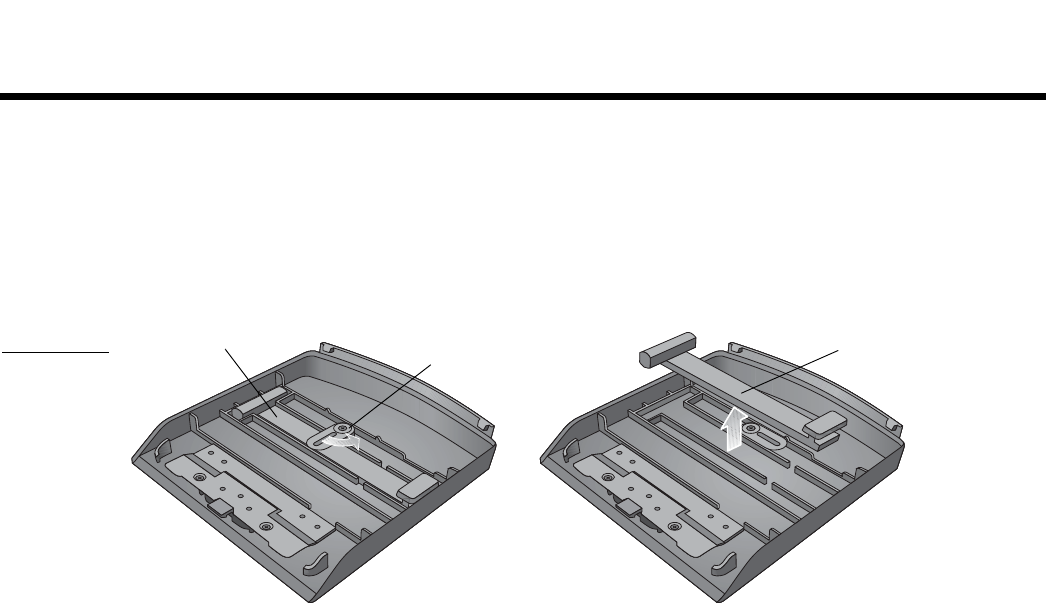
The mounting bar is stored inside the T1 cover (Figure 3). Open the latch and lift the mounting bar from the case.
Figure 3
Removing
mounting bar
from cover
Latch
Mounting bar
Mounting bar