
Operation Manual


Table Of Contents
- Introduction
- Welcome
- Product overview
- Controls and indicators
- Connection panel
- System Setup
- Unpacking
- Removing/attaching the cover
- Mounting options
- Connecting the T1 to an L1TM model II power stand
- Connecting the T1 to an L1 model I power stand
- Connecting the T1 ToneMatchTM audio engine power supply (optional)
- Connecting the T1 to your computer
- Operating Instructions
- Optimizing input gain and output volume
- Using the Master volume control
- Muting a channel
- Muting channel effects
- Reading the T1 display
- Using the T1 rotary selector
- Editing the sound of a channel
- Selecting a ToneMatch™ preset
- Adjusting zEQ
- Adjusting Para EQ
- Using compressor/gate functions
- Using the KickGate
- Using modulation effects
- Adding delays
- Adding reverb
- Routing input signals to the Aux output
- Using the tuner
- Using global functions
- Selecting a type of reverb
- Using the Prefs utilities
- Loading and saving scenes
- Sharing a scene
- Bose scenes
- Factory Settings
- Singer/Songwriter
- DJ/Playback
- Drums and Bass
- The Works scene
- Factory Settings
- Care & Maintenance
- Cleaning
- Limited Warranty and Registration
- Accessories
- Troubleshooting
- Technical information
25
OPERATING INSTRUCTIONS
SvenskaItalianoFrançaisEspañolDeutschDanskEnglish Nederlands
2. Press the Select button to select your choice, or press the Cancel button to exit the list with no change.
3. For Chorus1-3 and Flanger1-2: Rotate the Mix button to adjust the desired mix of dry signal to wet signal
(modulator-processed). Rotate the Depth button to adjust how much the pitch varies from the original input
signal. Press the Depth button to access the Speed parameter. Rotate the Speed button to adjust how
quickly the pitch modulates.
For Phaser1-4: Rotate the Speed button to adjust how quickly the pitch modulates. Rotate the Fdbk. button
to adjust how much the modulation reverberates.
For Tremolo: Rotate the Speed button to adjust how quickly the volume modulates. Rotate the Depth button
to adjust how much the volume varies from the original input signal.
Adding delays
The Delay function allows you to apply a digital-, analog-, or tape-style delay.
Note: To bypass the Delay settings, press the Type button. Press it again to activate.
1. Rotate the Type button to access the list of Delay types and highlight your
choice.
Digital Delay............Straight digital delay effect where the repeats remain
uncolored. Features adjustable mix, time, and feedback
parameters. Works well with guitars, drums, and vocals.
Analog Delay...........Classic analog delay effect where the repeats continuously deteriorate. Features adjust-
able mix, time, and feedback parameters. Works well with guitars, drums, and vocals.
Tape Delay..............Vintage-style tape delay effect where the repeats deteriorate even more than Analog
Delay. Well-suited for guitars, horns, harmonica, and vocals.
2. Press the Select button to select your choice, or press the Cancel button to exit the list with no change.
3. Rotate the Mix button to set the desired mix of dry signal to wet signal (delayed).
4. Rotate the Time button to adjust the amount of the delay time.
5. Press the Time button to access the Fdbk. setting. Rotate the Fdbk. button to adjust the amount of delay
feedback.
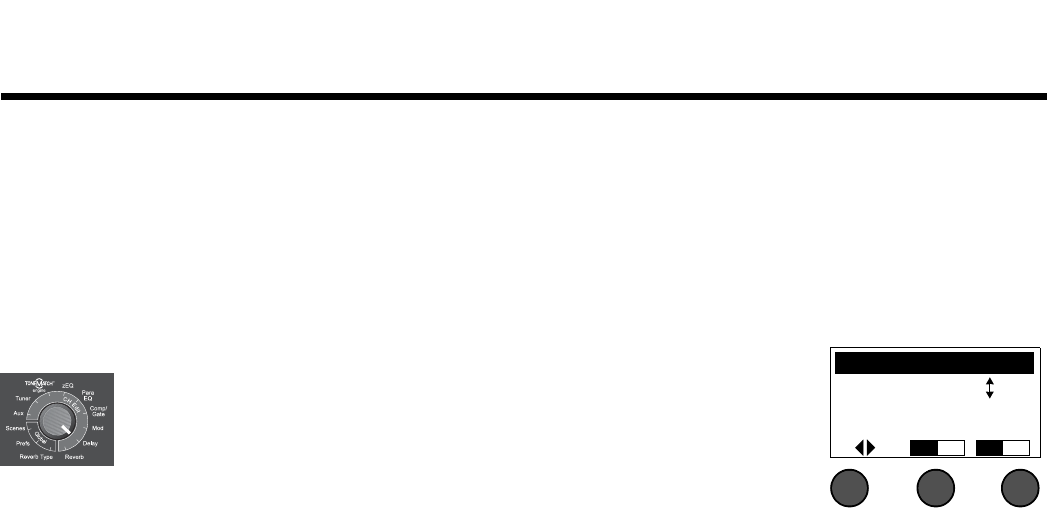
CH 1 Delay
Type Mix Time
Analog 30% 150ms
Fdbk.