
Operation Manual


Table Of Contents
- Introduction
- Welcome
- Product overview
- Controls and indicators
- Connection panel
- System Setup
- Unpacking
- Removing/attaching the cover
- Mounting options
- Connecting the T1 to an L1TM model II power stand
- Connecting the T1 to an L1 model I power stand
- Connecting the T1 ToneMatchTM audio engine power supply (optional)
- Connecting the T1 to your computer
- Operating Instructions
- Optimizing input gain and output volume
- Using the Master volume control
- Muting a channel
- Muting channel effects
- Reading the T1 display
- Using the T1 rotary selector
- Editing the sound of a channel
- Selecting a ToneMatch™ preset
- Adjusting zEQ
- Adjusting Para EQ
- Using compressor/gate functions
- Using the KickGate
- Using modulation effects
- Adding delays
- Adding reverb
- Routing input signals to the Aux output
- Using the tuner
- Using global functions
- Selecting a type of reverb
- Using the Prefs utilities
- Loading and saving scenes
- Sharing a scene
- Bose scenes
- Factory Settings
- Singer/Songwriter
- DJ/Playback
- Drums and Bass
- The Works scene
- Factory Settings
- Care & Maintenance
- Cleaning
- Limited Warranty and Registration
- Accessories
- Troubleshooting
- Technical information
OPERATING INSTRUCTIONS
30
EnglishDeutschEspañolFrançaisItalianoNederlandsSvenska Dansk
• ToneMatch
TM
– Displays the list of ToneMatch
TM
preset banks stored in the T1. Refer to www.Bose.com/
musicians for the latest preset banks.
• Power Stand – When connected to an L1
TM
model II power stand, connected appears on the screen.
• USB to PC – Allows you to send a selected source to your computer through USB left and right output
channels. The source choices are Ch1, Ch2, Ch3, Ch4/5, Master, or Aux. All channel sources supply post-
volume control signals with all processing except reverb.
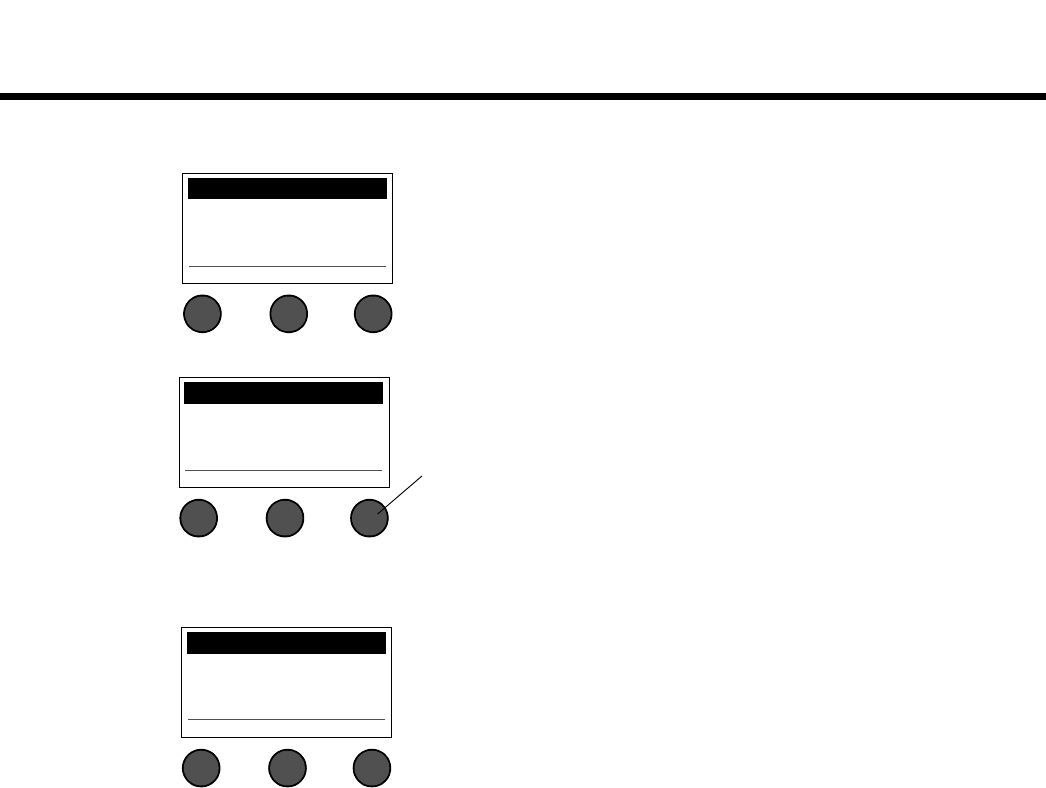
ToneMatch Preferences
A: TaylorTM Feb 06
B: Audix Dec 2006
C: Empty
Menu
Power Stand Preferences
connected
Menu Version
Pressing the Version button displays the version number of the
power stand and system EQ firmware.
USB to PC Preferences
Left: Master
Right: Master
Menu Left Right
1. Rotate the Left/Right button to highlight a source: Ch1, Ch2, Ch3,
Ch4/5, Master, or Aux.
2. Press the Select button to select the source, or press the Cancel
button to exit with no change.
3. Press Menu to return to the Prefs menu list.