
Operation Manual


Table Of Contents
- Introduction
- Welcome
- Product overview
- Controls and indicators
- Connection panel
- System Setup
- Unpacking
- Removing/attaching the cover
- Mounting options
- Connecting the T1 to an L1TM model II power stand
- Connecting the T1 to an L1 model I power stand
- Connecting the T1 ToneMatchTM audio engine power supply (optional)
- Connecting the T1 to your computer
- Operating Instructions
- Optimizing input gain and output volume
- Using the Master volume control
- Muting a channel
- Muting channel effects
- Reading the T1 display
- Using the T1 rotary selector
- Editing the sound of a channel
- Selecting a ToneMatch™ preset
- Adjusting zEQ
- Adjusting Para EQ
- Using compressor/gate functions
- Using the KickGate
- Using modulation effects
- Adding delays
- Adding reverb
- Routing input signals to the Aux output
- Using the tuner
- Using global functions
- Selecting a type of reverb
- Using the Prefs utilities
- Loading and saving scenes
- Sharing a scene
- Bose scenes
- Factory Settings
- Singer/Songwriter
- DJ/Playback
- Drums and Bass
- The Works scene
- Factory Settings
- Care & Maintenance
- Cleaning
- Limited Warranty and Registration
- Accessories
- Troubleshooting
- Technical information
33
OPERATING INSTRUCTIONS
SvenskaItalianoFrançaisEspañolDeutschDanskEnglish Nederlands
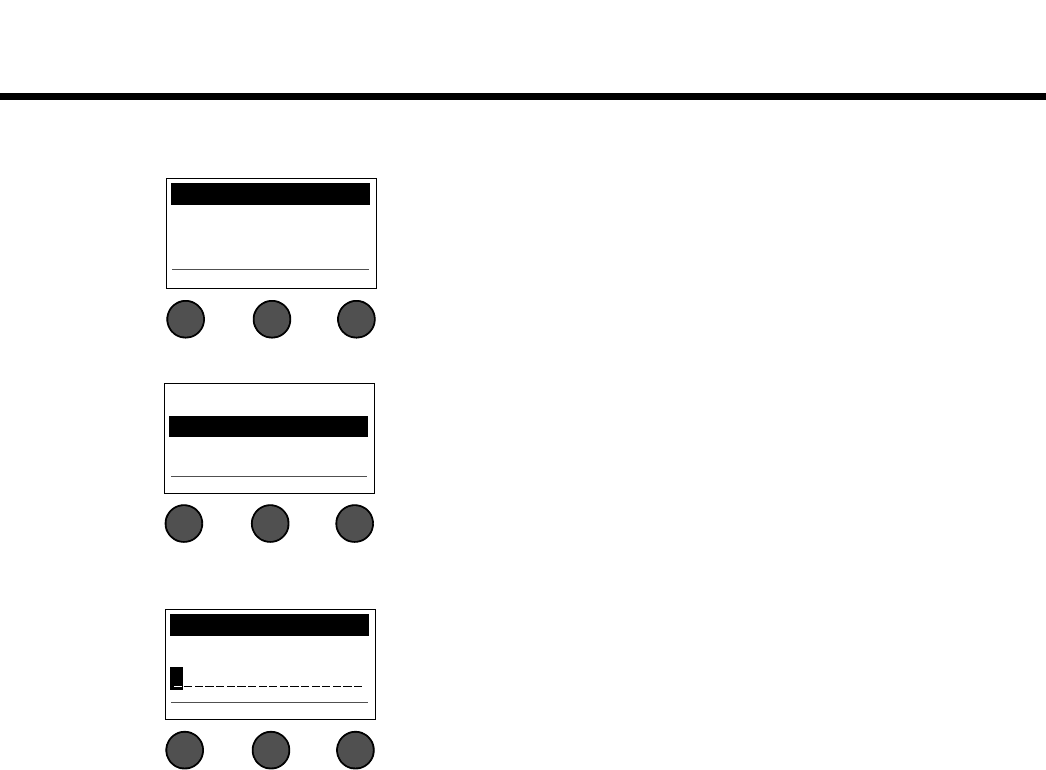
To save a scene:
1. Select Scenes with the T1 rotary selector. The currently loaded scene is displayed.
2. Rotate the Save button to highlight the scene you wish to save. Press Select, or press Cancel to exit the list.
3. If you pressed Select, use the Rename screen to edit the scene name, or press Save to use the name as
displayed and go to Step 4.
All Channels Scenes
*Singer/Songwriter
Load Shared Save
(example)
Cancel Select
My Scene 01
My Scene 02
My Scene 03
Note: The display returns to the Scenes screen if you do not
press the Select or Cancel button within 15 seconds. No
change occurs, and the currently loaded scene appears on
the screen.
Rename Scenes
My Scene 01
Save Cursor Select