
User manual


Table Of Contents
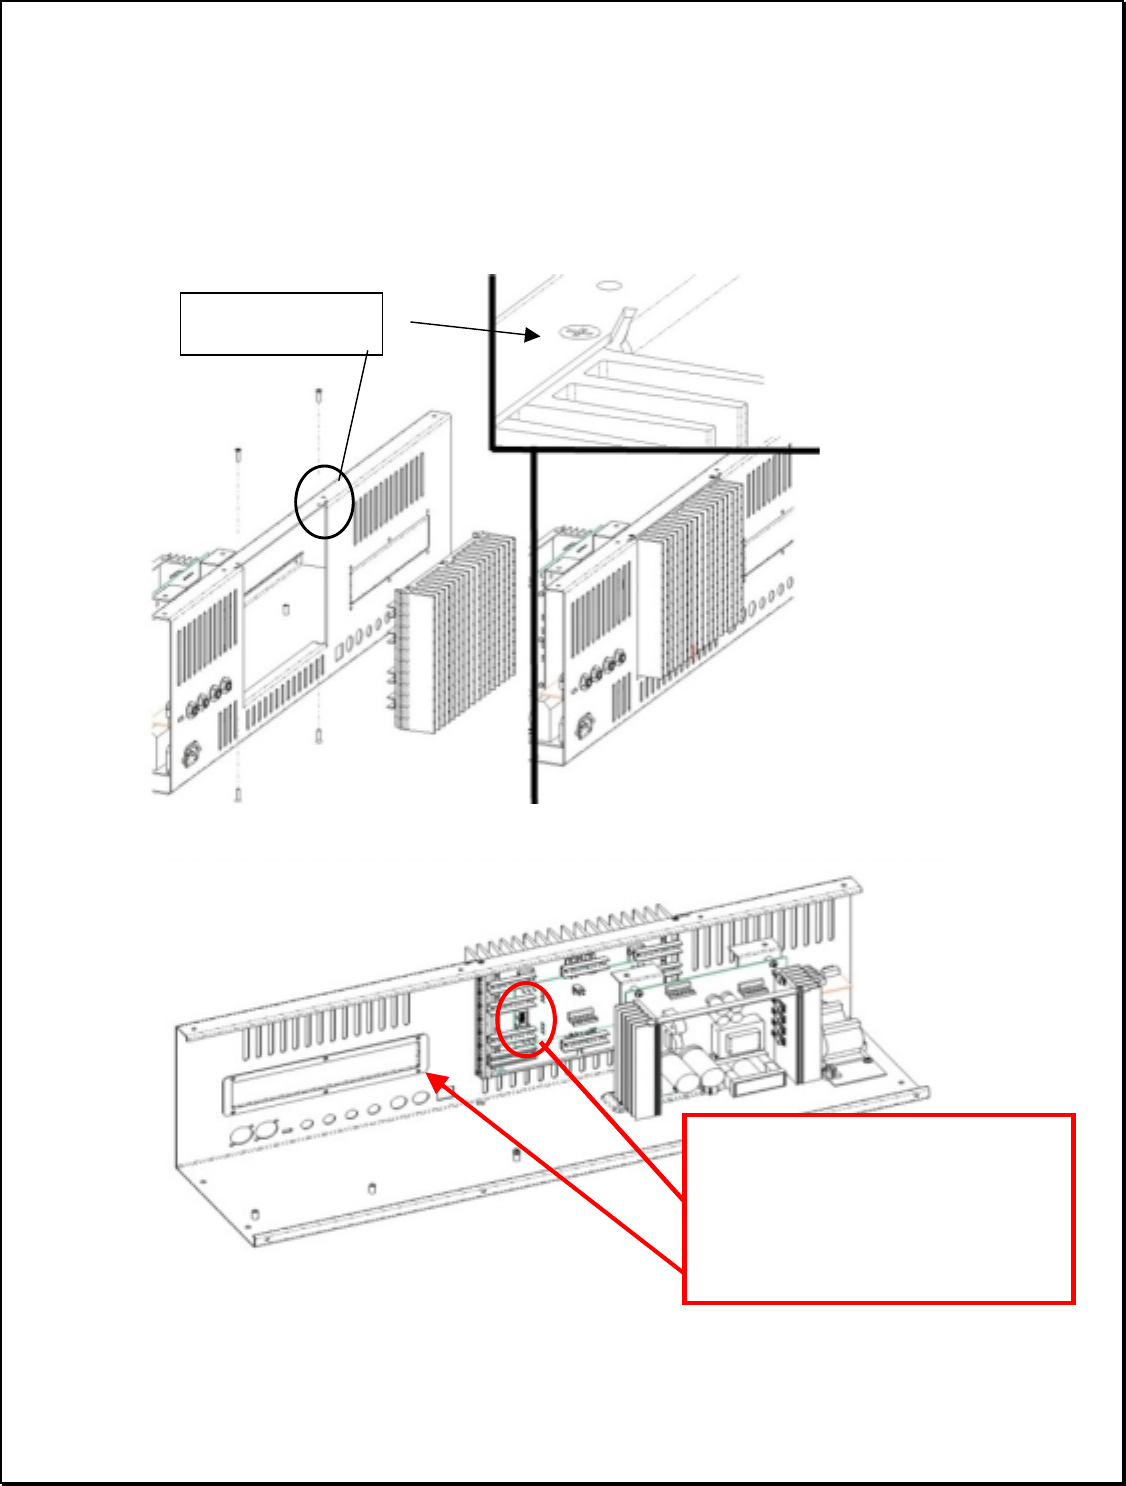
Page 19 of 51 Vetta Head Assembly Instructions Rev D1
c) Insert the Power Amp Assembly
Insert the heat sink sub-assembly into the chassis (30-51-0043). The unit is secured using 4 #6-
32 self-tapping flat head Phillips screws (30-00-0018). ENSURE THAT THE ASSEMBLY IS
PROPERLY ORIENTED IN THE CHASSIS BEFORE SECURING (SEE FIGURE BELOW).
Tighten to a torque of 8-10 in/lbs.
Install screws though
noted holes.
NOTE ORIENTATION OF
CORRECTLY INSTALLED
POWER AMP ASSEMBLY:
The 10-pin ribbon connector
points towards the expansion slot
cover.