WARNING To ensure safety while driving and to comply with laws, drivers should not watch video or operate the video device while driving.
BV7338B OWNER’S MANUAL Mobile Audio/Video System y y y y 3.
CONTENTS SAFETY INFORMATION ................................................................... 3 DISC NOTES ..................................................................................... 5 INSTALLATION.................................................................................. 6 USING THE DETACHABLE FRONT PANEL .................................... 9 CONNECTIONS................................................................................. 10 LOCATIONS AND FUNCTION OF THE PLAYER ............
Features Use the Proper Power Supply This product is designed to operate with a 12 volt DC, negative ground battery system. Protect the Disc Mechanism Avoid inserting any foreign objects into the slot of this player. Failure to observe this may cause malfunction due to the precise mechanism of this unit. Use Authorized Service Centers Do not attempt to disassemble or adjust this precision product. Please refer to the Service Center list included with this product for service assistance.
SAFETY INFORMATION CAUTION: MOBILE DVD PLAYER IS A CLASS I LASER PRODUCT. HOWEVER THIS MOBILE DVD PLAYER USES A VISIBLE/INVISIBLE LASER BEAM WHICH COULD CAUSE HAZARDOUS RADIATION EXPOSURE IF DIRECTED. BE SURE TO OPERATE THE MOBILE DVD PLAYER CORRECTLY AS INSTRUCTED. USE OF CONTROLS OR ADJUSTMENTS OR PERFORMANCE OF PROCEDURES OTHER THAN THOSE SPECIFIED HEREIN MAY RESULT IN HAZARDOUS RADIATION EXPOSURE. DO NOT OPEN COVERS AND - DO NOT REPAIR YOURSELF. REFER SERVICING TO QUALIFIED PERSONNEL.
DISC NOTES Handling and Cleaning y Dirt, dust, scratches and warping discs will cause wrong operation. y Do not place stickers or make scratches on discs. y Do not warp discs. y A disc should always be kept in its case when not in use to prevent from damage. y Do not place discs in the following places: 1. Direct sunlight. 2. Dirty, dusty and damp areas. 3. Near car heaters. 4. On the seats or dashboard. Disc Cleaning Use a dry soft cloth to wipe the surface.
INSTALLATION Notes: y Choose the mounting location where the unit will not interfere with the normal driving function of the driver. y Before finally installing the unit, connect the wiring temporarily and make sure it is all connected up properly and the unit and the system work properly. y Use only the parts included with the unit to ensure proper installation. The use of unauthorized parts can cause malfunctions.
INSTALLATION back of the unit in place. Use the supplied hardware (Hex Nut (M5mm) and Spring Washer) to attach one end of the strap to the mounting bolt on the back of the unit. If necessary, bend the metal strap to fit your vehicle’s mounting area. Then use the supplied hardware (Tapping Screw (5x25mm) and Plain Washer) to attach the other end of metal strap to a solid metal part of the vehicle under the dashboard. This strap also helps ensure proper electrical grounding of the unit.
INSTALLATION 3. Press the release button to remove the front panel. 4. Lift the top of the outer trim ring then pull it out to remove it. 5. Insert both of the supplied keys into the slots at the middle left and right sides of the unit, then pull the unit out of the dashboard. To fasten the unit to the factory radio mounting brackets. Align the screw holes on the bracket with the screw holes on the unit, and then tighten the screws (5x5mm) on each side.
USING THE DETACHABLE FRONT PANEL To Detach the Front Panel 1. Press the release button, then the front panel will be folded down. 3. Note that if the front panel fails to lock in position properly, pressing control button may not function and the display may be missing some segments. Press the release button and then reinstall the front panel again. Release button OPEN 2.
CONNECTIONS Connector A 1. N.C 2. N.C 3. N.C 4. MEMORY +12V (YELLOW) 5. AUTO ANTENNA OUTPUT (BLUE) 6. N.C 7. +12V (TO IGNITION KEY) (RED) 8. GROUND (BLACK) Connector B 1. REAR RIGHT SPEAKER (+) (VIOLET) 2. REAR RIGHT SPEAKER (-) (VIOLET/BLACK) 3. FRONT RIGHT SPEAKER (+) (GRAY) 4. FRONT RIGHT SPEAKER (-) (GRAY/BLACK) 5. FRONT LEFT SPEAKER (+) (WHITE) 6. FRONT LEFT SPEAKER (-) (WHITE/BLACK) 7. REAR LEFT SPEAKER (+) (GREEN) 8.
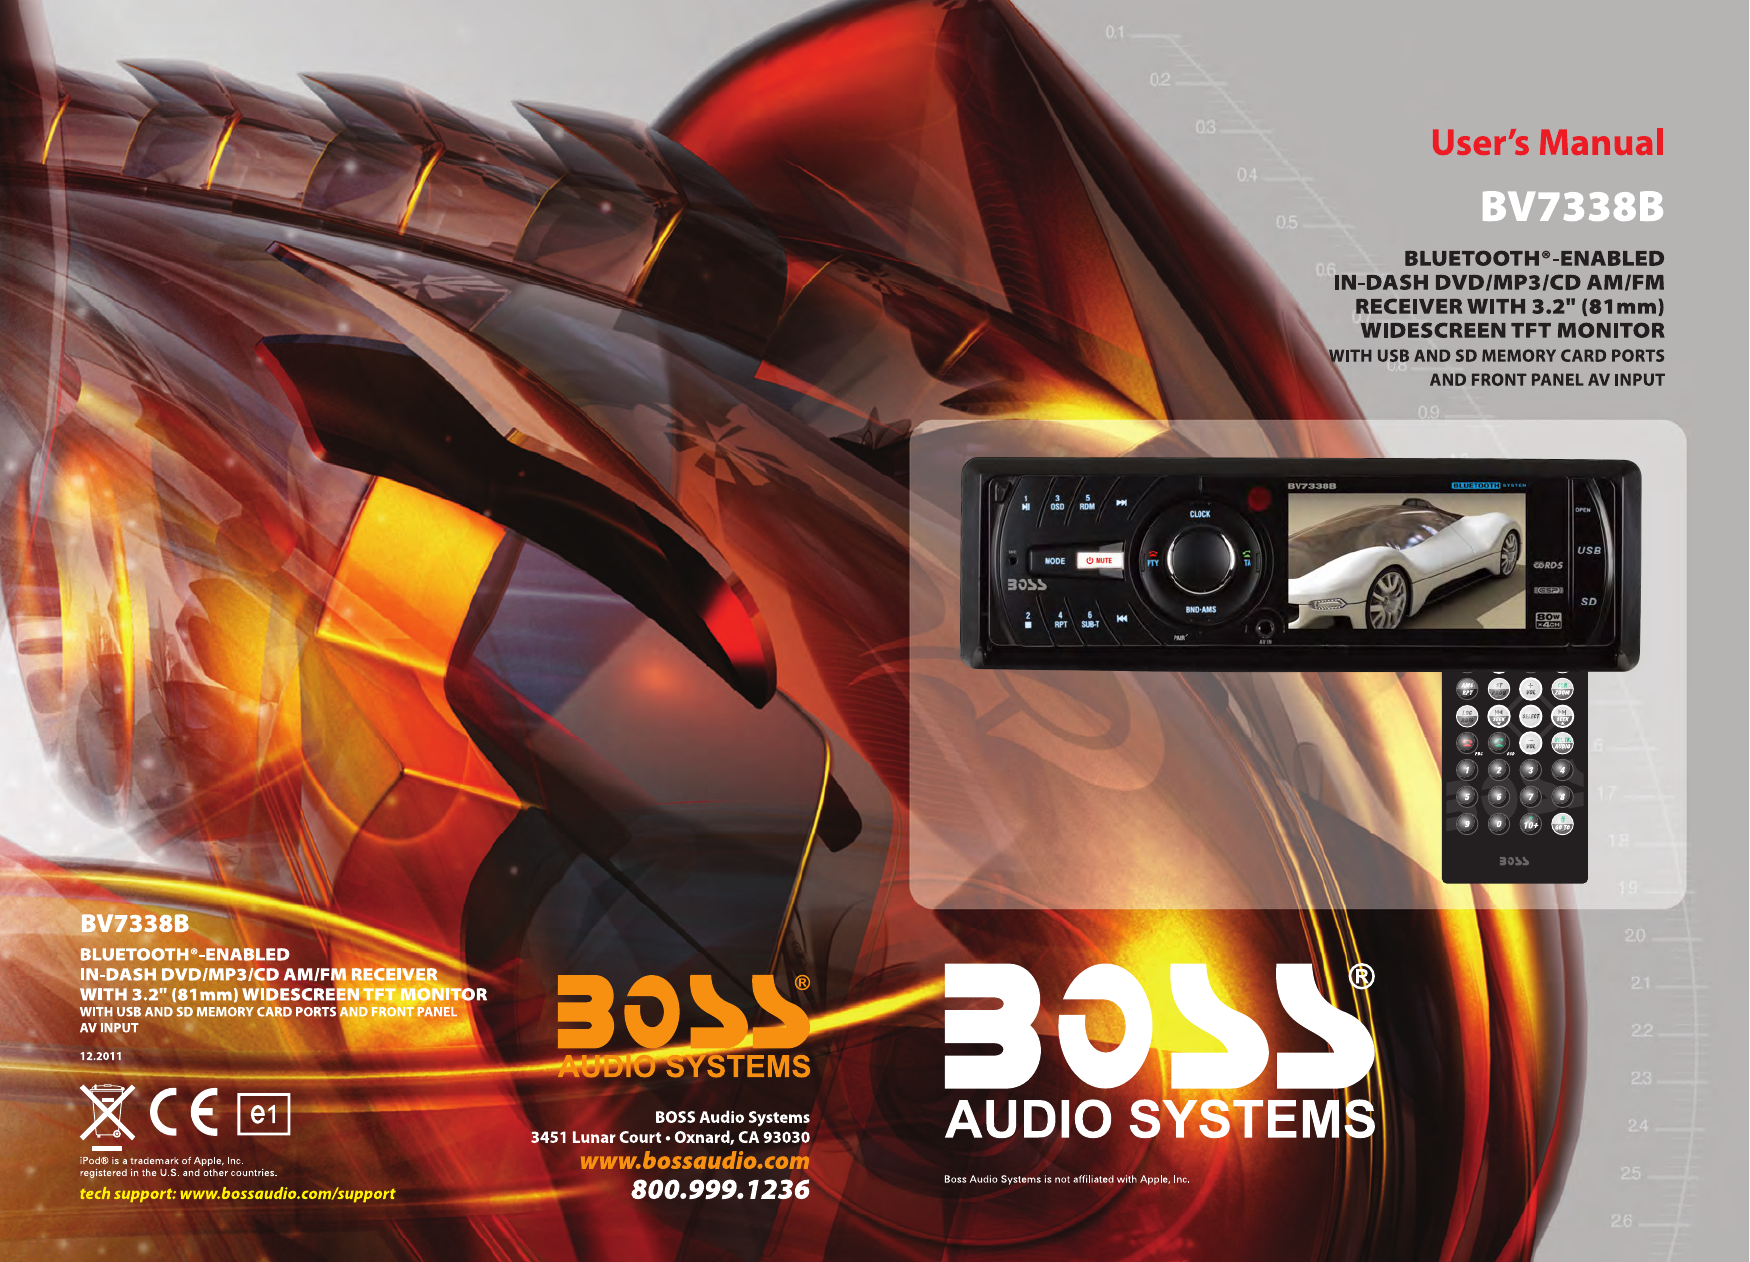
LOCATIONS AND FUNCTION OF THE PLAYER Open the cover When the front panel is folded down: 13. TA/ (pick up phone) 14. 15. 16. MODE 17. CLOCK 18. USB/SD cover 19. USB interface 20. Memory card interface 21. Remote Sensor 22. Disc slot 23. (eject) 1. Release button 2. Volume knob (when rotated) Push SEL (when pressed) (hang up phone) 3. PTY/ 4. 3.2 inch TFT display 5. 1 6. 2 7. 3 OSD 8. 4 RPT 9. 5 RDM 10. 6 SUB-T 11. /MUTE 12. BND/AMS/PAIR 24. RST (reset) 25. AV IN jack 26.
LOCATIONS AND FUNCTION OF THE REMOTE CONTROL 12
LOCATIONS AND FUNCTION OF THE REMOTE CONTROL In media play mode, press to play all tracks in random order. 10. VOL+/VOLPress to increase/decrease the volume level. 11. PBC/ It can be used to change between PBC ON and PBC OFF on the VCD disc. For DVD disc, press to enter into the menu interface. In Bluetooth mode, press to hang up the phone. 12. OSD/ In media play mode, press to display OSD (the on-screen display) information. In Bluetooth mode, press to pick up the phone or make a phone. 13.
LOCATIONS AND FUNCTION OF THE REMOTE CONTROL buttons. 20. SLOW/PAIR In Bluetooth mode, press to input the icon. 26. GO TO/ GOTO (Disc search button) used in media play mode, cooperatively used with numeric buttons. For some discs, press to start slow forward function. Press it to enter the pair function for Bluetooth operation. 21. ZOOM/CLR Press to allow the picture to be increased in size. CLR button serves as back spaces key in Bluetooth operation. 22. SELECT Press to enter into the system setup menu.
OPERATION BASIC OPERATION ◆ Turn the unit on/off BRIGHTNESS CONTRAST SHARTPNESS COLOR HUE RESET When all the connection is finished, press MUTE button on the front panel or on the remote control will turn the unit on. When the unit is on, hold press MUTE button or press to turn the unit off. ◆ Fold down the front panel Press the release button on the front panel, the panel will be folding down.
OPERATION displayed on the screen. Pressing MUTE button on the front panel or MUTE button on the remote control will mute the sound. Press it again will resume the sound. ◆ Rearview function On the back of the unit, there is a yellow jack for rearview video in. When backing a car, the picture of the screen will switch to rearview picture automatically and the unit will play the video information that inputted from the yellow rearview video in jack.
OPERATION 2. Press / , / cursor buttons on the remote control to move between the highlight bars in the menu. 3. Press ENTER button on the remote control to confirm the selected item. Note when playing a DVD disc, you can press PBC button on the remote control to enter the menu play interface of the disc. Then you can select the desired item to play. Each time the button is hold pressed, the speed of rapid forward /reverse changes according to the disc as follows.
OPERATION Notes: a) The angle number is different according to the disc. b) The function only works for discs having scenes recorded at different angles. ◆ Multi-audio Language function Press AUDIO during playback. The corresponding information will be shown on the screen. Each time the button is pressed, the audio soundtrack language changes on sequential order. Notes: - The language number is different according to the disc. - Some discs only contain one soundtrack language.
OPERATION and PBC OFF on the disc. In PBC ON mode, such as REPEAT, RANDOM functions are unavailable. ◆ DVD Setup In DVD mode, when the disc is playing or in stop mode, press SETUP button on the remote control to enter setup menu. a) When the cursor is on the topside, use / buttons to move between the different pages, such as SYSTEM SETUP, LANGUAGE SETUP, AUDIO SETUP, VIDEO SETUP, SPEAKER SETUP and DIGITAL SETUP.
OPERATION * KEY: Change the tone within a certain range. 4) VIDEO SETUP When you open the VIDEO menu, you will see the following picture: * VIDEO: Change among S-VIDEO INTERLACE-YUV, TV-RGB, P-SCAN YPBPR and PC-VGA. * TV TYPE: Change the TV TYPE among 4:3 PS, 4:3 LB and 16:9. * PASSWORD: Change the PASSWORD lock or unlock, the default PASSWORD is “0000”. * RATING: Change the parental RATING among 1KID SAFE, 2G, 3PG, 4PG13, 5PG-R, 6R, 7NC-17, 8ADULT. * DEFAULT: Restore the system setup to the default setup.
OPERATION * DYNAMIC RANGE: you can adjust the dynamic range between OFF, 1/8, 2/8. 3/8, 1/2, 5/8, 3/4, 7/8, full. * DUAL MONO: there are STEREO, MONO L, MONO R and MIX MONO to be selected. 7) C: Display the played time of the current chapter. 8) Display the current disc’s LANGUAGE, AUDIO TYPE, SUBTITLE LANGUAGE and PLAY ANGLE. Note: The displayed information is different according to different type of discs.
OPERATION z When connecting an MP3 player and there has normal battery in the player (non rechargeable battery), you should remove the battery from the MP3 player then connect it to the USB interface. Otherwise, it may cause battery burst. ◆ Selecting the Frequency Band Press BAND button on the remote control or BND/AMS button on the front panel to select desired band.
OPERATION ¾ USE PTY BUTTON ◆ Automatic memory storing & Press PTY button will enter PTY SELECT MENU. In the menu, use VOL+/- buttons on the remote control or volume knob on the front panel to change the items. program scanning 1) Program scanning Shortly press AMS button on remote control to scan preset station.
OPERATION ◆ Answering/Rejecting and Incoming BLUETOOTH OPERATION Call When a call coming, you can shortly button on the front panel of press the unit or button on the remote control to answer the call. When a call coming, you can shortly press button on the unit or button on the remote control to reject the incoming call. ◆ Switching to TV Mode Press MODE button on remote control or MODE on the front panel enter Bluetooth mode.
OPERATION When in A2DP mode, the / , , , MUTE, VOL and SELECT buttons are functional. / buttons on the unit or on Use the remote control to choose the previous/next track. button to pause the play. Press Press button to stop the play. AV IN OPERATION On the front panel of the unit, there is an AV IN jack. When you connected the audio/video device from the jack, press MODE button on the remote control or MODE on the front panel to select AV IN mode.
TROUBLE SHOOTING If it appears that your DVD unit is faulty, first consult this checklist. It may be that something simple has been overlooked. with the video system. Replace the disc with one compatible with your video system. The desired source is not selected although you press the MODE button. ¾ An optional unit required to listen to each source is not connected yet. Connect the optional unit correctly. ¾ The reset button is not pressed yet although the optional unit has been connected to the unit.
TROUBLE SHOOTING The sound/picture skips on a DVD/VCD/CD/MP3. ¾ The disc is scratched or dirty. Clean the disc. A track will not play. ¾ Random play has been selected. Turn off random play. A VCD cannot be played using menus. ¾ The VCD disc being played is not compatible with PBC. Menu playback is available only with VCD discs recorded with PBC. The viewing angle cannot be changed. ¾ The DVD disc being played does not contain the recording of more than one angle.
SPECIFICATIONS GENERAL Power Supply Requirements Maximum Output Power Current Drain : DC 12 Volts, Negative Ground : 4x80 watts : 15 Ampere (max.) RADIO Frequency Coverage FM 87.5 to 107.9 MHz (USA) 87.