
Installation Guide Owner's manual
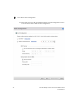
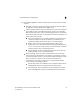
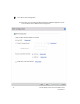


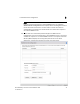
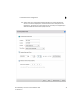
Table Of Contents
- Introduction
- Hardware Installation
- Installation instructions
- Precautions
- Access Point placement
- Integrated antenna model wall mount instructions
- Integrated antenna model suspended ceiling t-bar mount
- External antenna model wall mount instructions
- External antenna model suspended ceiling t-bar mount
- External antenna suspended ceiling tile (Plenum) mount
- Mobility 1220 Access Point external antenna model antenna options
- LED indicators
- Initial Access Point Configuration
- Specifications
- Regulatory Information
- Country Approvals
- Health and Safety Recommendations
- Health and Safety Recommendations
- RF Exposure Guidelines
- Wireless Devices - Countries
- Radio Frequency Interference Requirements—FCC
- Radio Frequency Interference Requirements – Canada
- CE Marking and European Economic Area (EEA)
- Statement of Compliance
- Waste Electrical and Electronic Equipment (WEEE)
- TURKISH WEEE Statement of Compliance
- Mobility 1220 China ROHS Compliance
Initial Access Point Configuration
3
Brocade Mobility 1220 Access Point Installation Guide 43
53-1002916-01
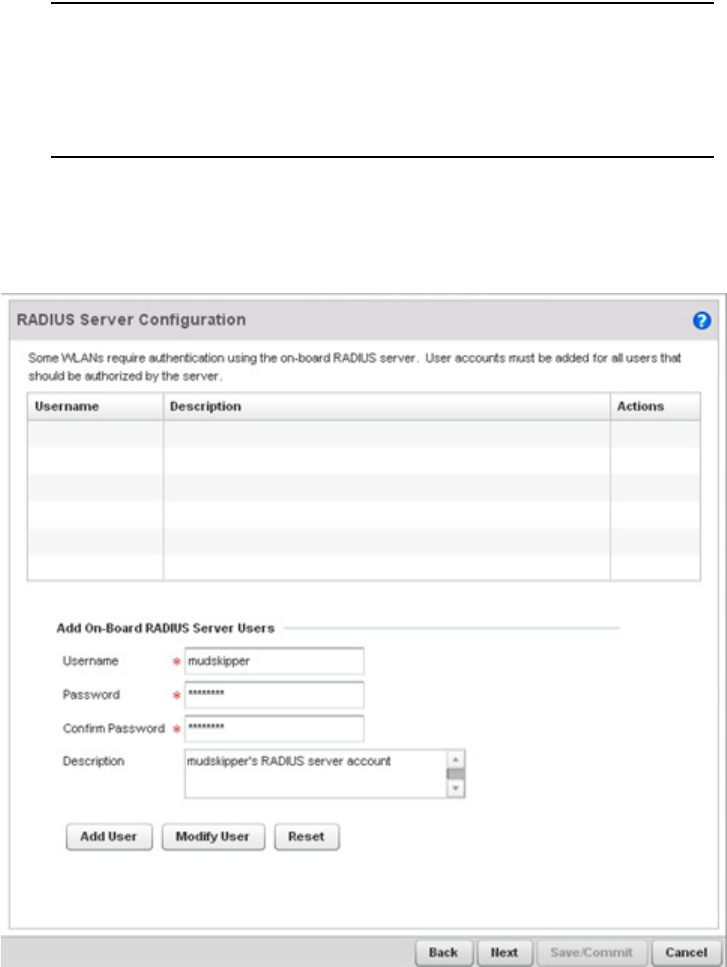
NOTE
If you are using the Access Point’s onboard RADIUS server, an additional
RADIUS Server Configuration screen displays within the Navigation Panel on
the left-hand side of the screen. Use this screen to create user accounts
validated when the Access Point authenticates client connection requests to
the onboard RADIUS server.
22. Select Next. The Initial AP Setup Wizard displays the RADIUS Server
Configuration screen if the Access Point’s onboard RADIUS server is required to
validate user requests. If an onboard RADIUS server is not required, the Initial
AP Setup Wizard displays the Country/Date/Time screen to set device
deployment, administrative contact and system time information.