
(Supporting ADX v03.1.00) Owner's manual
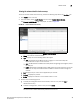
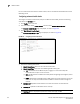
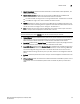
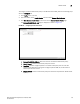
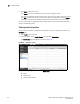
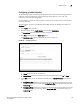
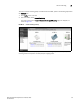
Table Of Contents
- Contents
- Preface
- Introduction to the Brocade Virtual ADX Web Interface
- Navigating the Web Interface
- Navigating the Dashboard
- Configuration Overview
- System Settings
- Network Settings
- Traffic Settings
- GSLB Settings
- Security Settings
- Monitoring Overview
- Viewing System Information
- Viewing Network Status
- Viewing Traffic Statistics
- Viewing Security Statistics
- Maintenance Overview
- Managing Software Images
- Restarting the System
- License Management
- Packet Capture
- Accessing the CLI
- Retrieving System Information for Technical Support
- Troubleshooting
- Config Template XML Schema
- Managing Config Templates through the CLI
Brocade Virtual ADX Graphical User Interface Guide 105
53-1003242-01
Health checks
7
Configuring a match list policy
The Brocade Virtual ADX currently supports compound and simple content-matching statements
under the match-list configuration. This enhancement adds support for “start” and “end”
statements in the match-list configuration.
You can configure a match list policy to mark the server port up or down when the rule defined in
the match list is met.
To create a match list policy on the Brocade Virtual ADX, perform the following steps within the
Configure tab.
1. Click Traffic on the menu bar.
2. From the sidebar, select Health Checks, and then select Match Lists.
The Match Lists page is displayed, as shown in Figure 85.
3. Click New at the bottom of the Match Lists page.
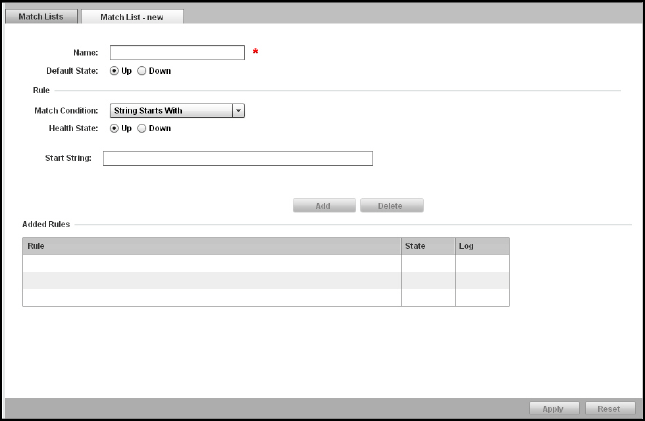
The Match List - new page tab is displayed, as shown in Figure 86.
FIGURE 86 Configuring match list
4. Provide the following information:
• Name: Enter the name of the match list.
• Default State: Specifies the selection criteria in the matching list. Click Up or Down.
5. Under Rule, select one of the following conditions from the Match Condition list to define a
rule:
• String Starts With: Specifies the string that should match with the beginning string of the
response sent by the real server. Select String Starts With and enter the string that in the
Start String field.
• String Ends With: Specifies the string that should match with the string present at the end
of response sent by the real server. Select String Ends With, and enter the string in the
Ends String field.