
(Supporting ADX v03.1.00) Owner's manual
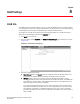

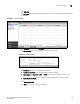
Table Of Contents
- Contents
- Preface
- Introduction to the Brocade Virtual ADX Web Interface
- Navigating the Web Interface
- Navigating the Dashboard
- Configuration Overview
- System Settings
- Network Settings
- Traffic Settings
- GSLB Settings
- Security Settings
- Monitoring Overview
- Viewing System Information
- Viewing Network Status
- Viewing Traffic Statistics
- Viewing Security Statistics
- Maintenance Overview
- Managing Software Images
- Restarting the System
- License Management
- Packet Capture
- Accessing the CLI
- Retrieving System Information for Technical Support
- Troubleshooting
- Config Template XML Schema
- Managing Config Templates through the CLI
138 Brocade Virtual ADX Graphical User Interface Guide
53-1003242-01
SSL certificates
9
Uploading private keys
To upload an existing SSL key to the device, perform the following steps within the Configure tab.
1. Click Security on the menu bar.
2. From the sidebar, select SSL, and then select SSL Keys.
3. Click Upload at the bottom of the SSL Keys page.
The Upload Key task pane is displayed, as shown in Figure 109.
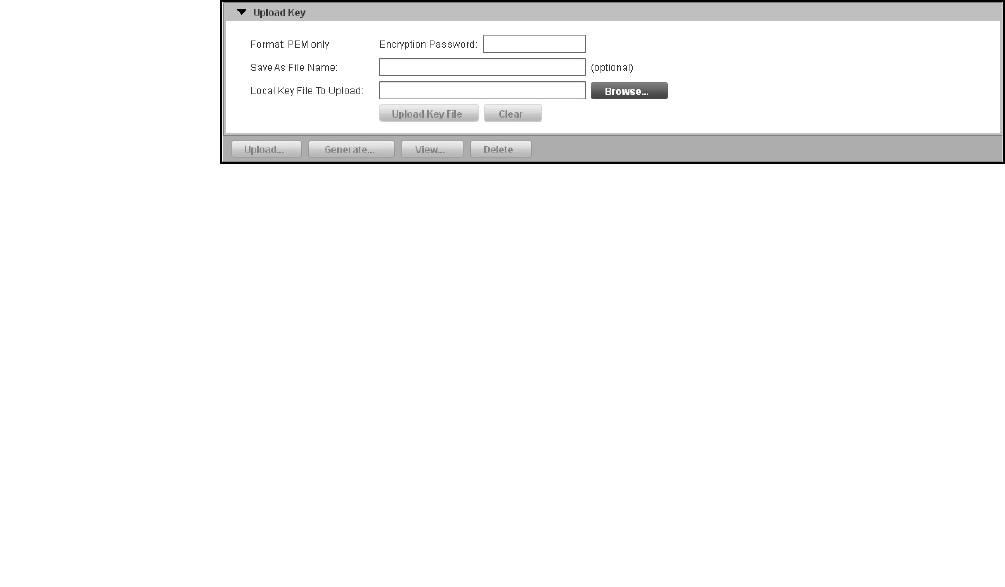
FIGURE 109 Uploading SSL key
4. Provide the following information:
• Format: Displays the supported format of the server certificates. The supported format is
Privacy Enhanced Mail (PEM) only.
• Encryption Password: Enter the password if the SSL key is encrypted; otherwise leave the
field blank.
• Save As File Name: Enter the file name if you want to save the SSL key file on the device
with different name. If the field is left blank, the SSL key file is saved with the same name.
• Local Key File To Upload: Click Browse the find the SSL key in the local directory to upload
the file to the device.
5. Click Upload Key File.
Click Clear to clear all the entries in the fields.
SSL certificates
The Brocade Virtual ADX allows you to upload existing certificates, generate certificate signing
requests and self-signed certificates.
Generating Certificate Signing Requests
You can generate a Certificate Signing Requests (CSR) and have it signed by a known Certificate
Authority (CA) to create a certificate and then import it. Before generating a CA signed certificate,
you must obtain an RSA key pair. For more information on obtaining an RSA key pair, refer to
“Generating private keys”.