
(Supporting ADX v03.1.00) Owner's manual
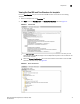
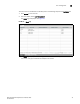
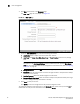
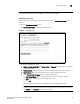
Table Of Contents
- Contents
- Preface
- Introduction to the Brocade Virtual ADX Web Interface
- Navigating the Web Interface
- Navigating the Dashboard
- Configuration Overview
- System Settings
- Network Settings
- Traffic Settings
- GSLB Settings
- Security Settings
- Monitoring Overview
- Viewing System Information
- Viewing Network Status
- Viewing Traffic Statistics
- Viewing Security Statistics
- Maintenance Overview
- Managing Software Images
- Restarting the System
- License Management
- Packet Capture
- Accessing the CLI
- Retrieving System Information for Technical Support
- Troubleshooting
- Config Template XML Schema
- Managing Config Templates through the CLI
34 Brocade Virtual ADX Graphical User Interface Guide
53-1003242-01
User management
5
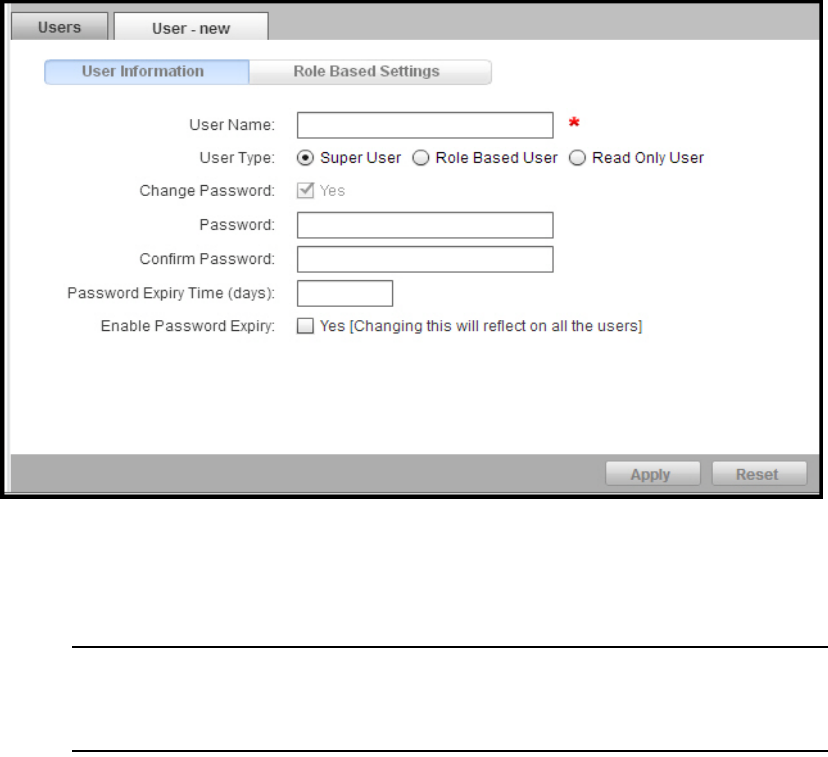
3. Click New at the bottom of the Summary page.
The User - new page tab is displayed. See Figure 25.
FIGURE 25 User - new page
4. Under the User Information tab, provide the following information:
• User Name: Enter a unique name for the local user account.
• User Type: Click Super User, Role Based User, or Read Only User based on the privilege
level.
NOTE
The options in the Role Based Settings tab are enabled only when you click Role Based
User type. For more information on the configuration of role-based user, refer to “Assigning
a user role” on page 35.
• Change Password: Select the Yes check box to change the password.
• Password: Enter the password with a minimum of eight characters. The password is always
masked to ensure security.
• Confirm Password: Enter the password again for confirmation.
• Password Expiry Time (days): Enter the number of days for the password validity. The range
is from 1 through 365 days. The default is 90 days.
5. Click Apply to save your entries.
Click Reset to revert the configuration to the previous configured values.
To modify the configured user information, in the Summary table, select an entry and click Edit or
double-click the entry. You can also delete a user by clicking Delete.