
(Supporting ADX v03.1.00) Owner's manual
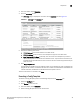
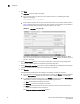
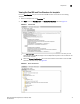
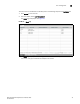
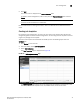
Table Of Contents
- Contents
- Preface
- Introduction to the Brocade Virtual ADX Web Interface
- Navigating the Web Interface
- Navigating the Dashboard
- Configuration Overview
- System Settings
- Network Settings
- Traffic Settings
- GSLB Settings
- Security Settings
- Monitoring Overview
- Viewing System Information
- Viewing Network Status
- Viewing Traffic Statistics
- Viewing Security Statistics
- Maintenance Overview
- Managing Software Images
- Restarting the System
- License Management
- Packet Capture
- Accessing the CLI
- Retrieving System Information for Technical Support
- Troubleshooting
- Config Template XML Schema
- Managing Config Templates through the CLI
Brocade Virtual ADX Graphical User Interface Guide 35
53-1003242-01
User management
5
NOTE
You cannot delete the user currently logged in to the Brocade Virtual ADX.
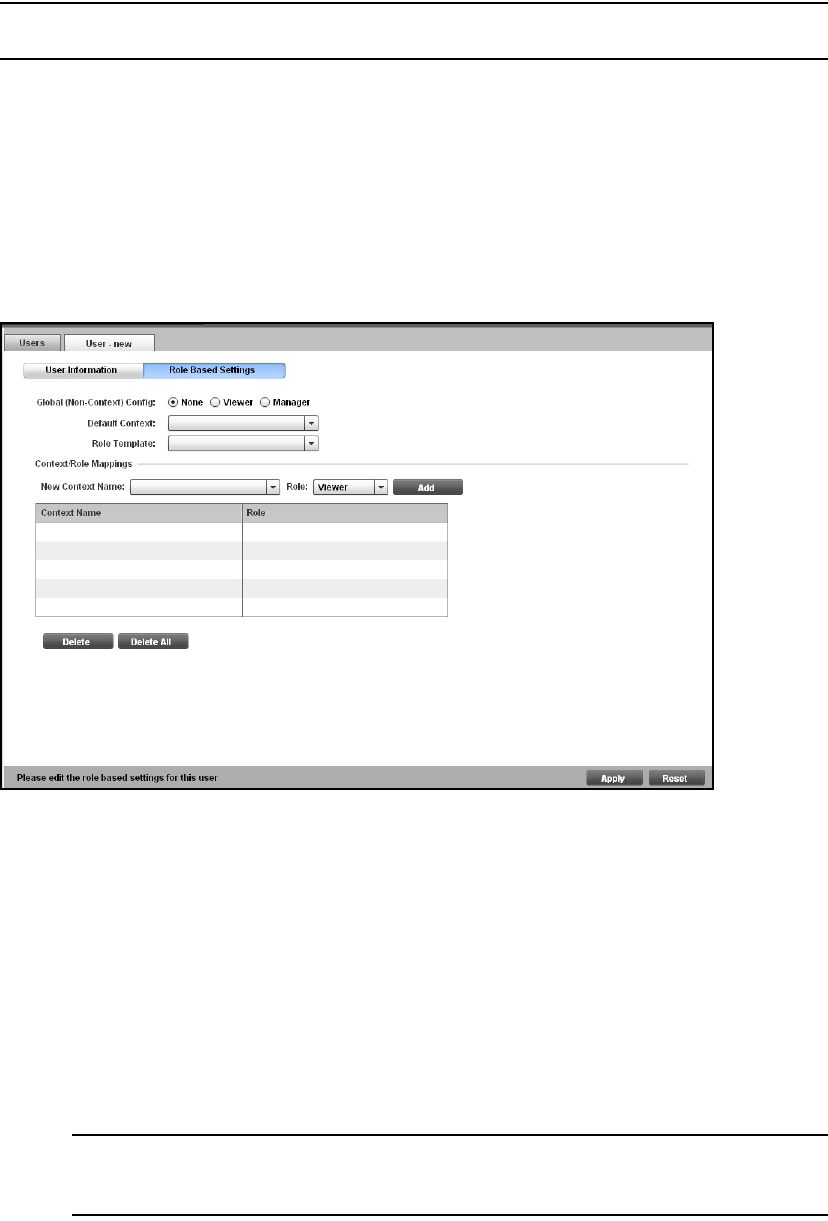
Assigning a user role
When the user type is selected as role-based, the fields under the Role Based Settings tab are
enabled.
1. Click the Role Based Settings button.
The Role Based Settings tab is displayed. See Figure 26.
FIGURE 26 Assigning user role
2. Provide the following information:
• Global (non-Context) Config: Click None, Viewer, or Manager to assign a role for the global
configuration pages.
• Default Context: Select the context that has to be associated with the user by default.
• Role Template: Select the role template that is to be associated with the user.
• Under Context/Role Mappings, enter the following information:
• New Context Name: Select a context name that you want to assign to the user.
• Role: Select a role that you want to assign to the user.
• Click Add.
The context names along with their respective roles are displayed in the table.
NOTE
To delete a context-role mapping entry from the table, select an entry from the table and
click Delete. Click Delete All to delete all the entries.