
(Supporting ADX v03.1.00) Owner's manual
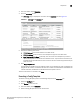
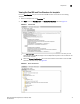
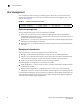
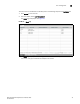
Table Of Contents
- Contents
- Preface
- Introduction to the Brocade Virtual ADX Web Interface
- Navigating the Web Interface
- Navigating the Dashboard
- Configuration Overview
- System Settings
- Network Settings
- Traffic Settings
- GSLB Settings
- Security Settings
- Monitoring Overview
- Viewing System Information
- Viewing Network Status
- Viewing Traffic Statistics
- Viewing Security Statistics
- Maintenance Overview
- Managing Software Images
- Restarting the System
- License Management
- Packet Capture
- Accessing the CLI
- Retrieving System Information for Technical Support
- Troubleshooting
- Config Template XML Schema
- Managing Config Templates through the CLI
36 Brocade Virtual ADX Graphical User Interface Guide
53-1003242-01
User management
5
3. Click Apply to save your entries.
Click Reset to revert the configuration to the previous configured values.
For more information on role based users, refer to the Brocade Virtual ADX Administration Guide.
Creating contexts
After login, the user is automatically associated with the configured context or default context. To
edit the context-related configurations, the user must be associated with that context. Within a
context, a user can be a manager, operator, or viewer of the context-related configurations. A user
can navigate to different contexts by selecting the context name in the login bar.
To create a context on the Brocade Virtual ADX, perform the following steps within the Configure
tab.
1. Click System on the menu bar.
2. From the sidebar, select User Management.
3. Select Contexts.
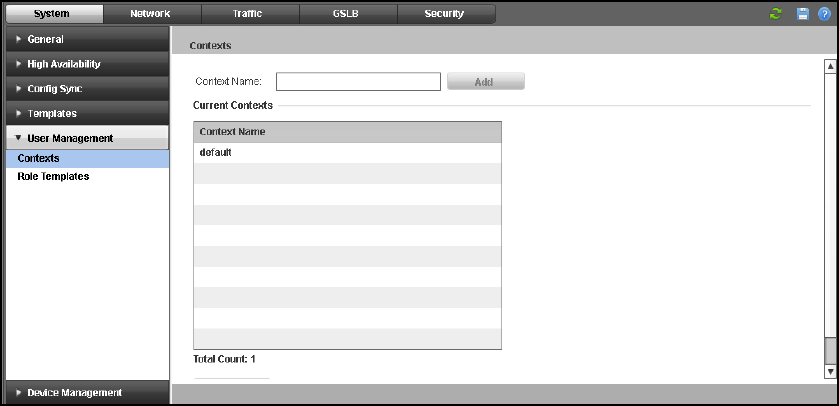
The Contexts page is displayed. See Figure 27.
FIGURE 27 Contexts page
4. Enter the context name, for example, Finance in the Context Name field.