(Supporting ADX v03.1.00) Owner's manual
Table Of Contents
- Contents
- Preface
- Introduction to the Brocade Virtual ADX Web Interface
- Navigating the Web Interface
- Navigating the Dashboard
- Configuration Overview
- System Settings
- Network Settings
- Traffic Settings
- GSLB Settings
- Security Settings
- Monitoring Overview
- Viewing System Information
- Viewing Network Status
- Viewing Traffic Statistics
- Viewing Security Statistics
- Maintenance Overview
- Managing Software Images
- Restarting the System
- License Management
- Packet Capture
- Accessing the CLI
- Retrieving System Information for Technical Support
- Troubleshooting
- Config Template XML Schema
- Managing Config Templates through the CLI

Brocade Virtual ADX Graphical User Interface Guide 43
53-1003242-01
Device management
5
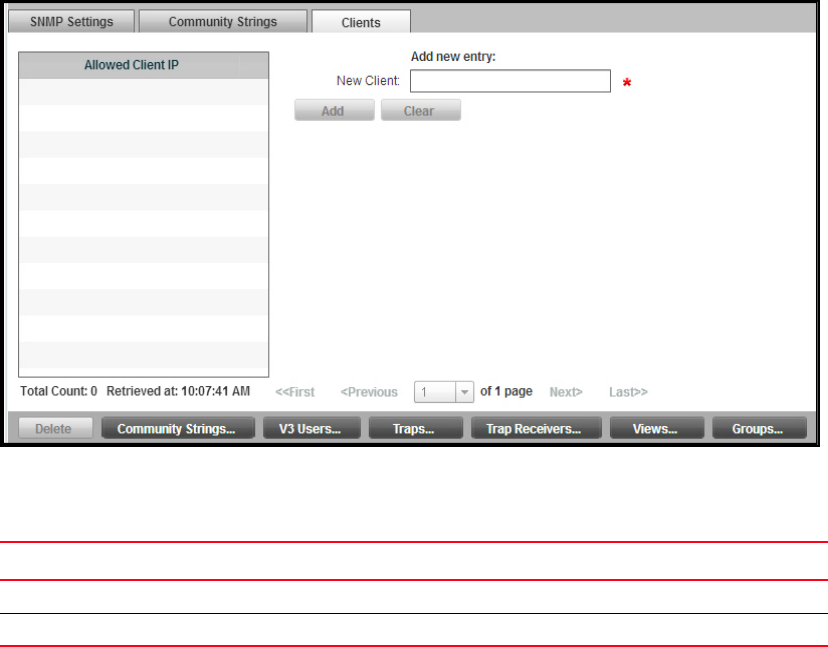
4. Click the Clients button at the bottom of the window.
The Clients tab is displayed. See Figure 32.
FIGURE 32 Clients page
The SNMP Clients tab has the following controls. See Table 11.
Perform the following functions in the Clients tab:
• Select a single row in the table to populate the associated editing fields with the contents of
that row.
• Select one or more rows to enable the Delete button to delete Clients from the table.
• Click Clear to deselect all rows and empty the edit fields in order to create a new Client.
V3 Users tab
The V3 Users tab displays an editable table of V3 users allowed access to the server.
To view the V3 Users page, perform the following actions in the Configure tab:
1. Click System on the menu bar.
2. From the sidebar, select Device Management.
3. Click SNMP in the sidebar sub-menu to display the SNMP Settings tab.
TABLE 11 SNMP Clients tab controls
Column Content
Allowed Client IP Allowed client IP address (IPv4). Once created, it cannot be altered; it can only be deleted.
Add New Entry Field for adding/editing IP address entries.


