
Operation Manual
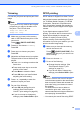

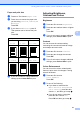
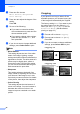

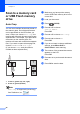
Table Of Contents
- ADVANCED USER’S GUIDE DCP-J515W DCP-J715W
- User's Guides and where do I find it?
- Table of Contents
- 1 General setup
- 2 Printing reports
- 3 Making copies
- Copy settings
- Stop copying
- Changing copy speed and quality
- Enlarging or reducing the copied image
- Making N in 1 copies or a poster (Page Layout)
- Sorting copies using the ADF (DCP-J715W only)
- Adjusting Density
- Ink Save Mode
- Book Copy
- Watermark Copy
- Setting your changes as a new default
- Restoring all settings to the factory settings
- Copy settings
- 4 Printing photos from a memory card or USB Flash memory drive
- 5 Printing photos from a camera (DCP-J715W only)
- A Routine maintenance
- B Glossary
- Index
- brother UK/IRE/GEN
Chapter 4
24
Scan to a memory card
or USB Flash memory
drive
4
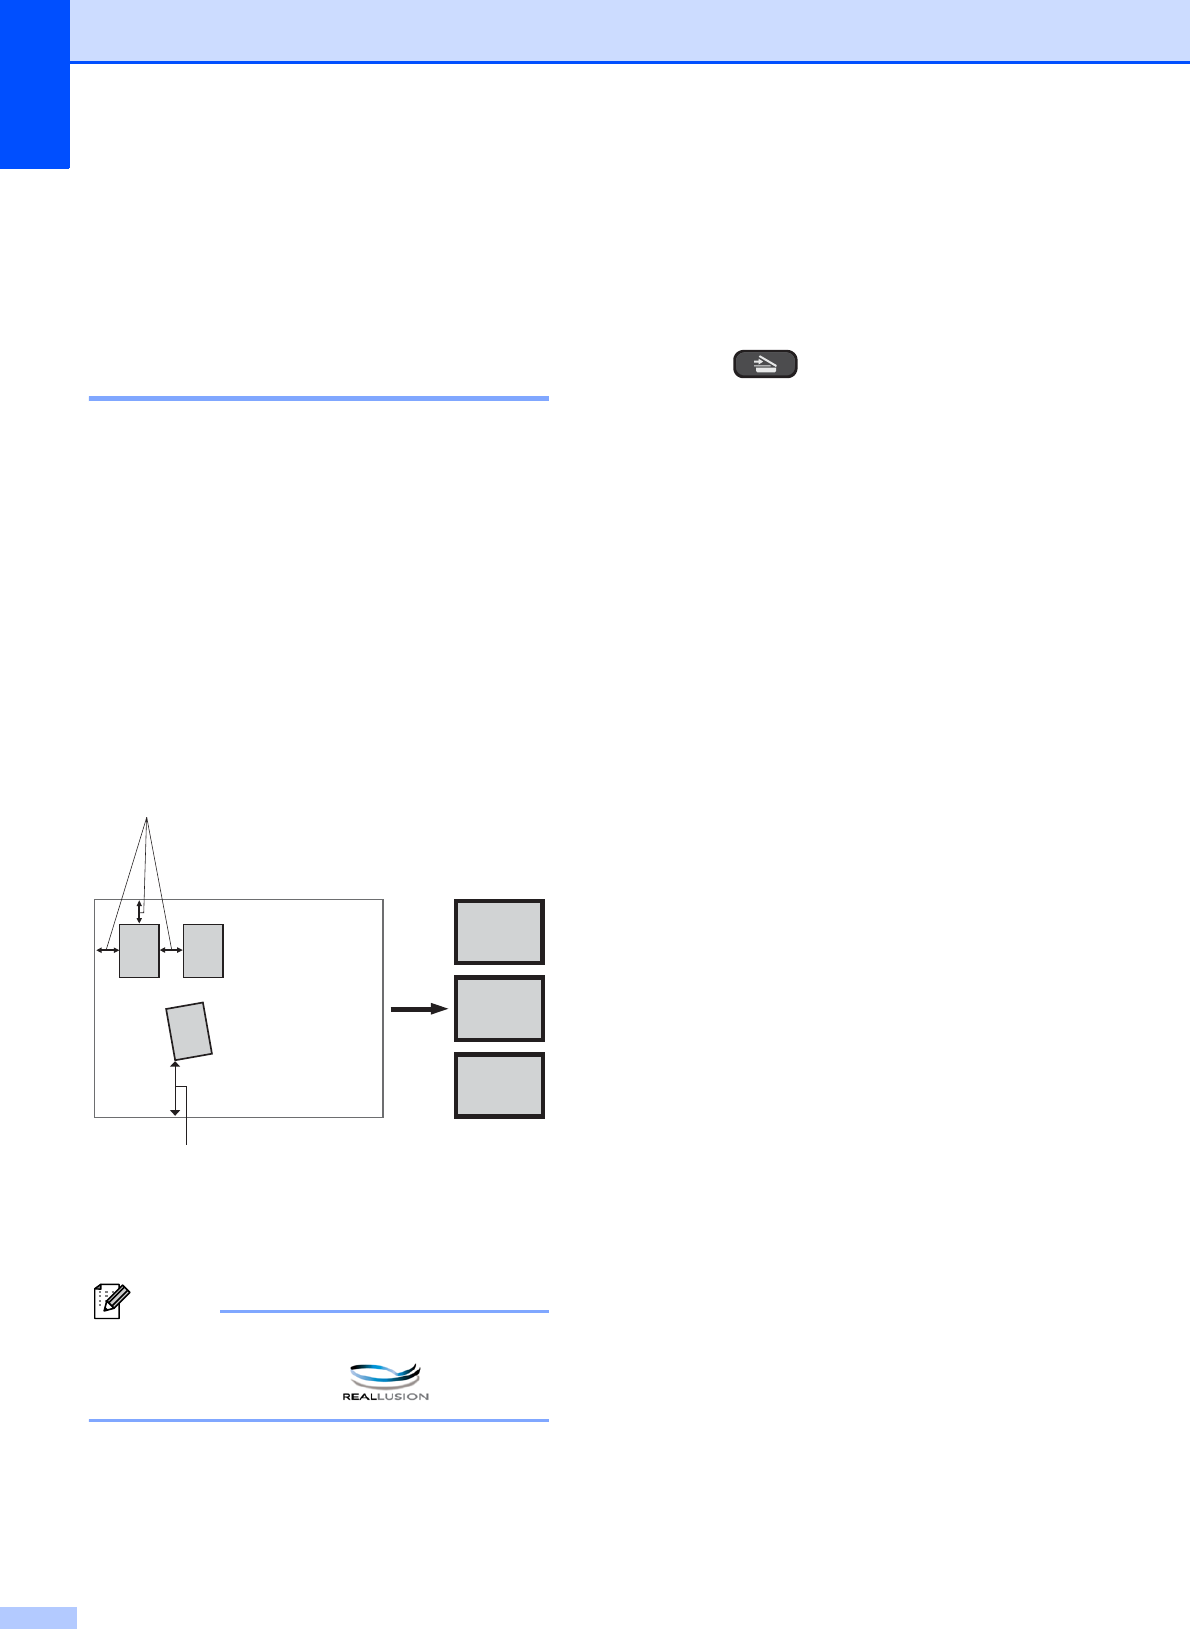
Auto Crop 4
You can scan multiple documents placed on
the scanner glass. An individual document
can be previewed on the LCD before you
save it. When you choose Auto Crop, the
machine will scan each document and create
separate files. For example, if you place three
documents on the scanner glass, the
machine will scan and create three separate
files. If you want to create a three page file,
choose PDF or TIFF for File Type.
(If you choose JPEG, each document is
created as three separate files.)
1 10 mm or greater (top, left, right)
2 20 mm or greater (bottom)
Note
Auto Crop is supported by technology
from Reallusion, Inc.
a Make sure you have put the memory
card or USB Flash memory drive in the
correct slot.
b Load your document.
c Press (SCAN).
d Press a or b to choose
Scan to Media.
Press OK.
e Press a or b to choose Auto Crop.
f Press d or c to choose On.
Press OK.
g If you do not want to change additional
settings, press Mono Start or
Colour Start to start scanning.
h The number of the scanned documents
appears on the LCD.
Press OK.
i Press d or c to preview each document
data.
j Press OK to save the data.
1
2
3
1
2
3
1
2