
User`s guide
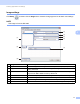
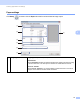
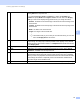
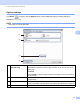
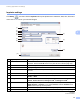
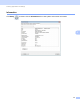
Table Of Contents
- User’s Guide DS-620/DS-720D
- Using the documentation
- Trademarks
- Table of Contents
- General Information
- Installing the Scanner Driver and Scanning Software
- Document Specifications
- Scan Preparation
- Scanning Applications and Settings
- Choosing your scanning software
- Using DSmobileCapture (for Windows®)
- Changing DSmobileCapture scan settings (for Windows®)
- Using DSmobileCapture (for Macintosh)
- Changing DSmobileCapture scan settings (for Macintosh)
- Using Button Manager V2 (for Windows®)
- Scan buttons in the Button Manager V2 Button Panel (for Windows®)
- Scanner Calibration
- Scanner Maintenance
- Troubleshooting
- Appendix A
- Appendix B
Scanning Applications and Settings
19
5
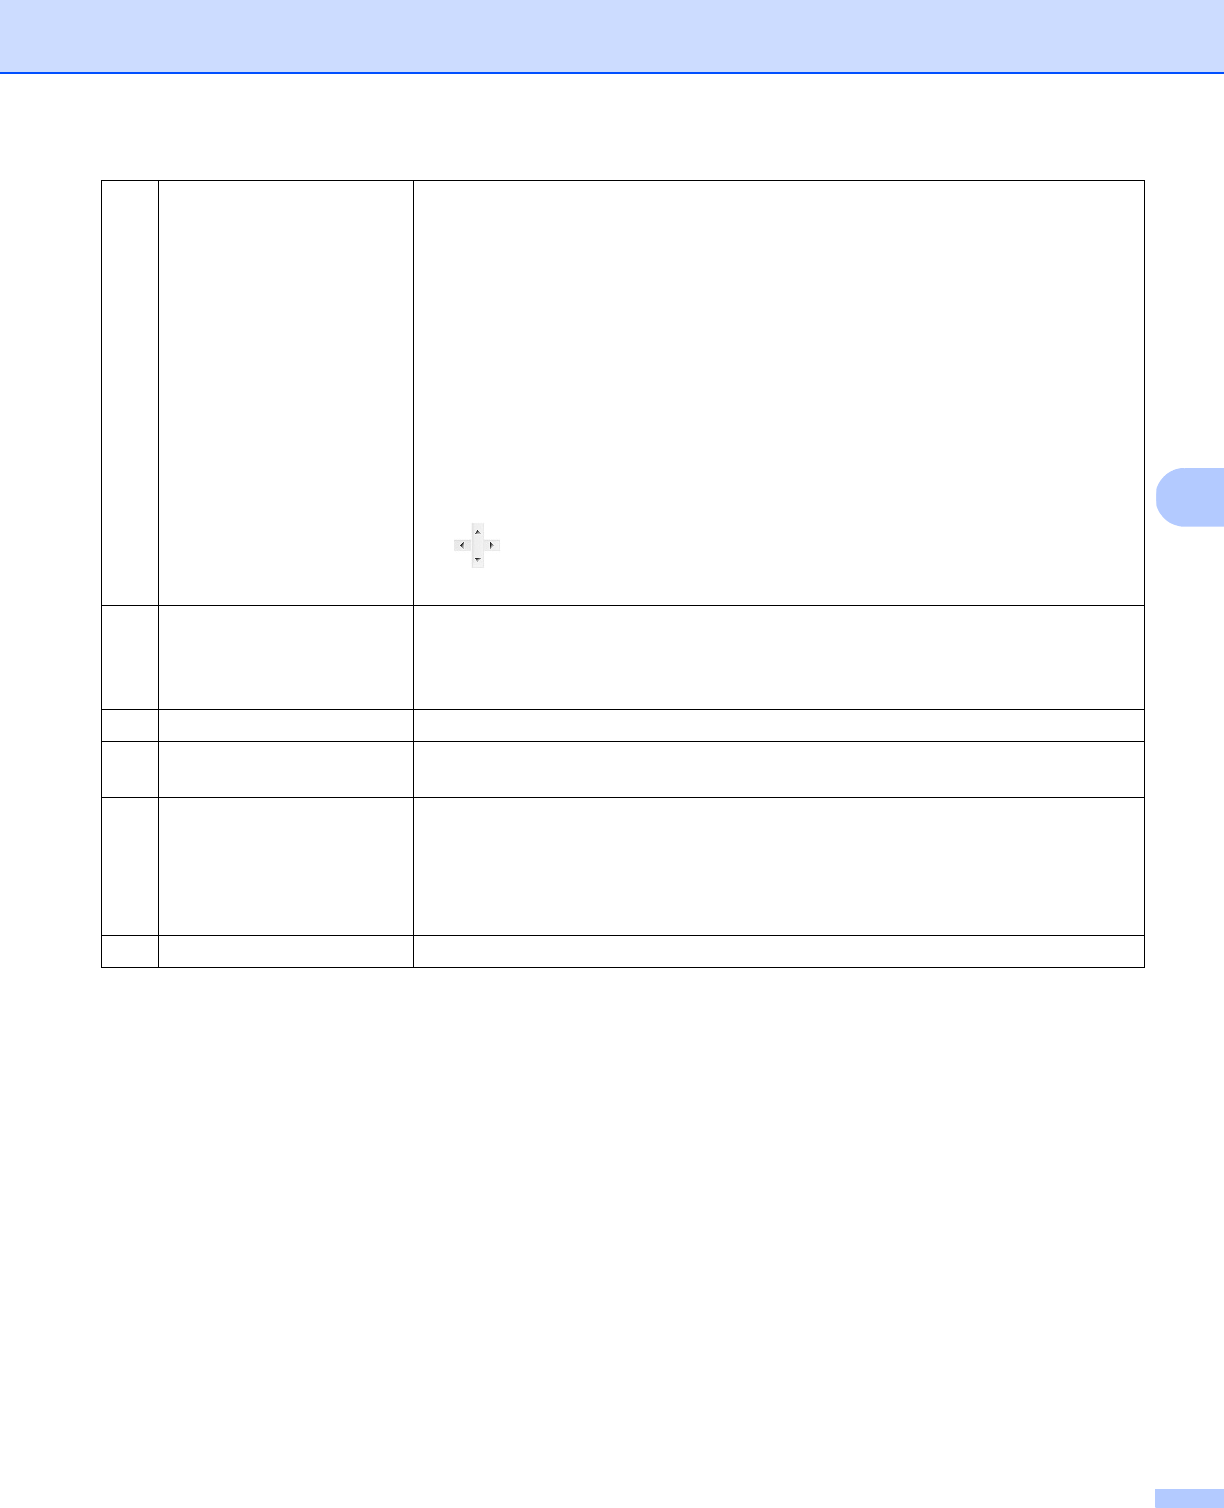
(2) Scan Area Choose your paper size from the drop-down list or create a custom paper size by
clicking Add in the drop-down list.
If you selected Fix for Transfer in Cropping (1), define the X-Offset and
Y-Offset or specify Width and Length to redefine the scan area. The Display
Area (4) in this screen displays image placement as you change the values.
• X-Offset - the distance from the left edge of the document to the left edge of the
scanned area.
• Y-Offset - the distance from the top edge of the document to the top edge of the
scanned area.
• Width - the width of the scanned area.
• Length - the length of the scanned area.
• Use these arrows (or your mouse) to move the scan area; you can view
the results in the Display Area of this screen.
(3) Adjustment Adjustment allows you to add a specific margin at the left, right, top and bottom
of your image. This may help to reduce possible corner clipping on any skewed
images. Select a value from 0 to +5 mm. The Adjustment result will not be shown
in the Display Area.
(4) Display Area Displays image placement as you change the values in Scan Area (2).
(5) Unit Unit allows you to define your preferred measurement system. Select Inches,
Millimeters, or Pixels from the drop-down list.
(6) Transfer Timeout Transfer Timeout allows you to set the amount of time (in seconds) the scanner
will wait before starting automatic scanning after the first scan job is completed.
When you have many separate documents that need to be scanned with the same
scan settings, this feature is especially useful. The default time is 30 seconds.
The value ranges from 0 to 60 seconds.
(7) Defaults Reset values in this and all other Properties tabs to the original factory settings.