
Printer/Fax/Scanner/Copier USER'S GUIDE MFC-5460CN, MFC-5860CN
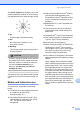
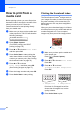
Table Of Contents
- USER’S GUIDE MFC-5460CN MFC-5860CN
- Brother numbers
- Ordering accessories and supplies
- Compilation and Publication Notice
- Table of Contents
- General
- 1 General Information
- 2 Loading documents and paper
- 3 General setup
- 4 Security features
- Fax
- 5 Sending a fax
- Entering Fax mode
- Broadcasting (Black & White only)
- Additional sending operations
- Sending faxes using multiple settings
- Contrast
- Changing Resolution
- Dual access (Black & White only)
- Real time transmission
- Overseas Mode
- Delayed Faxing (Black & White only)
- Delayed Batch Transmission (Black & White only)
- Checking and canceling waiting jobs
- Sending a fax manually
- Sending a fax at the end of a conversation
- Out of Memory message
- 6 Receiving a Fax
- 7 Telephone Services and External devices
- 8 Dialing and storing numbers
- 9 Remote fax options
- 10 Printing Reports
- 11 Polling
- 5 Sending a fax
- Copy
- Walk-up Photo Printing
- Software
- Appendixes
- A Safety and Legal
- Choosing a location
- To use the machine safely
- Important safety instructions
- Standard telephone and FCC Notices (These notices are in effect on models sold and used in the United States only.)
- Federal Communications Commission (FCC) Declaration of Conformity (USA only)
- Industry Canada Compliance Statement (Canada only)
- LAN connection
- Legal limitations for copying
- Trademarks
- B Troubleshooting and Routine Maintenance
- C Menu and Features
- D Specifications
- E Glossary
- F Index
- A Safety and Legal
- brother USA/CAN
83
14
14
Your Brother machine supports the
PictBridge standard, allowing you to connect
to and print photos directly from any
PictBridge compatible digital camera.
Before Using
PictBridge
14
PictBridge requirements 14
To avoid errors, remember the following
points:
The machine and the digital camera must
be connected using a suitable USB cable.
The image file extension must be .JPG
(Other image file extensions like .JPEG,
.TIF, .GIF and so on will not be
recognized).
PhotoCapture Center
®
operations are not
available when using the PictBridge
feature.
Using PictBridge 14
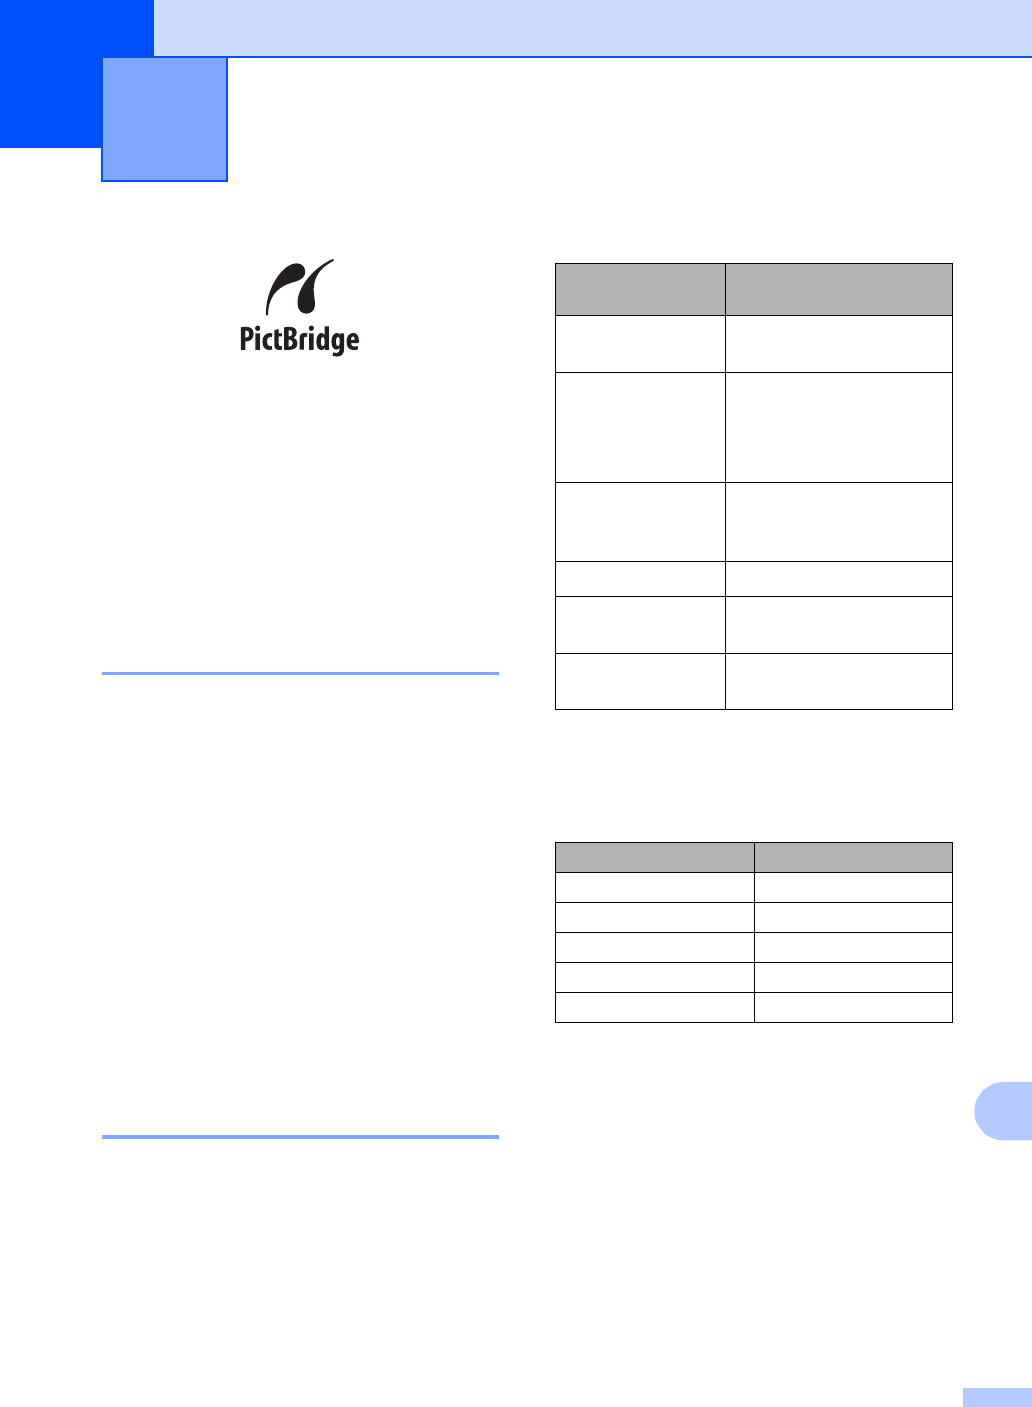
Setting your digital camera 14
Make sure your camera is in PictBridge
mode. The following PictBridge settings may
be available from the LCD of your PictBridge
compatible camera.
Depending on your camera some of these
settings may not be available.
1
See DPOF printing on page 84 for more details.
2
If your camera is set to use the Printer Settings
(Default setting), the machine will print your photo
using the settings below.
The names and availability of each setting
depends on the specification of your
camera.
Please refer to the documentation supplied
with your camera for more detailed
information on changing PictBridge settings.
PictBridge 14
Camera Menu
Selections
Options
Paper Size Letter, A4, 4"×6", Printer
Settings (Default setting)
2
Paper Type Plain Paper, Glossy
Paper, Inkjet Paper,
Printer Settings (Default
setting)
2
Layout Borderless: On,
Borderless: Off, Printer
Settings (Default setting)
2
DPOF setting
1
-
Print Quality Normal, Fine, Printer
Settings (Default setting)
2
Color
Enhancement
On, Off, Printer Settings
(Default setting)
2
Settings Options
Paper Size 4"×6"
Paper Type Glossy Paper
Layout Borderless: On
Print Quality Fine
Color Enhancement Off