
Installation Instructions
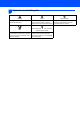
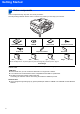
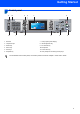
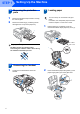
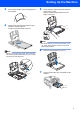

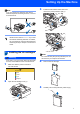
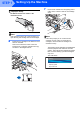
Table Of Contents
- Quick Setup Guide MFC-680CN
- Table of Contents
- Getting Started
- STEP 1 Setting Up the Machine
- 1 Removing the protective parts
- 2 Connecting the handset
- 3 Loading paper
- 4 Connecting the power cord and telephone line
- 5 Installing the ink cartridges
- 6 Print quality check
- 7 Setting the LCD contrast
- 8 Setting the date and time
- 9 Setting your station ID
- 10 Setting tone or pulse dialling mode
- 11 Setting the telephone line type
- 12 Choosing a Receive Mode
- 13 Setting up the TAD
- STEP 2 Installing the Driver & Software
- For Network Users
- Installing FaceFilter Studio Help
- Consumables
- brother UK/IRE/GEN/SAF
Getting Started
2
1
1
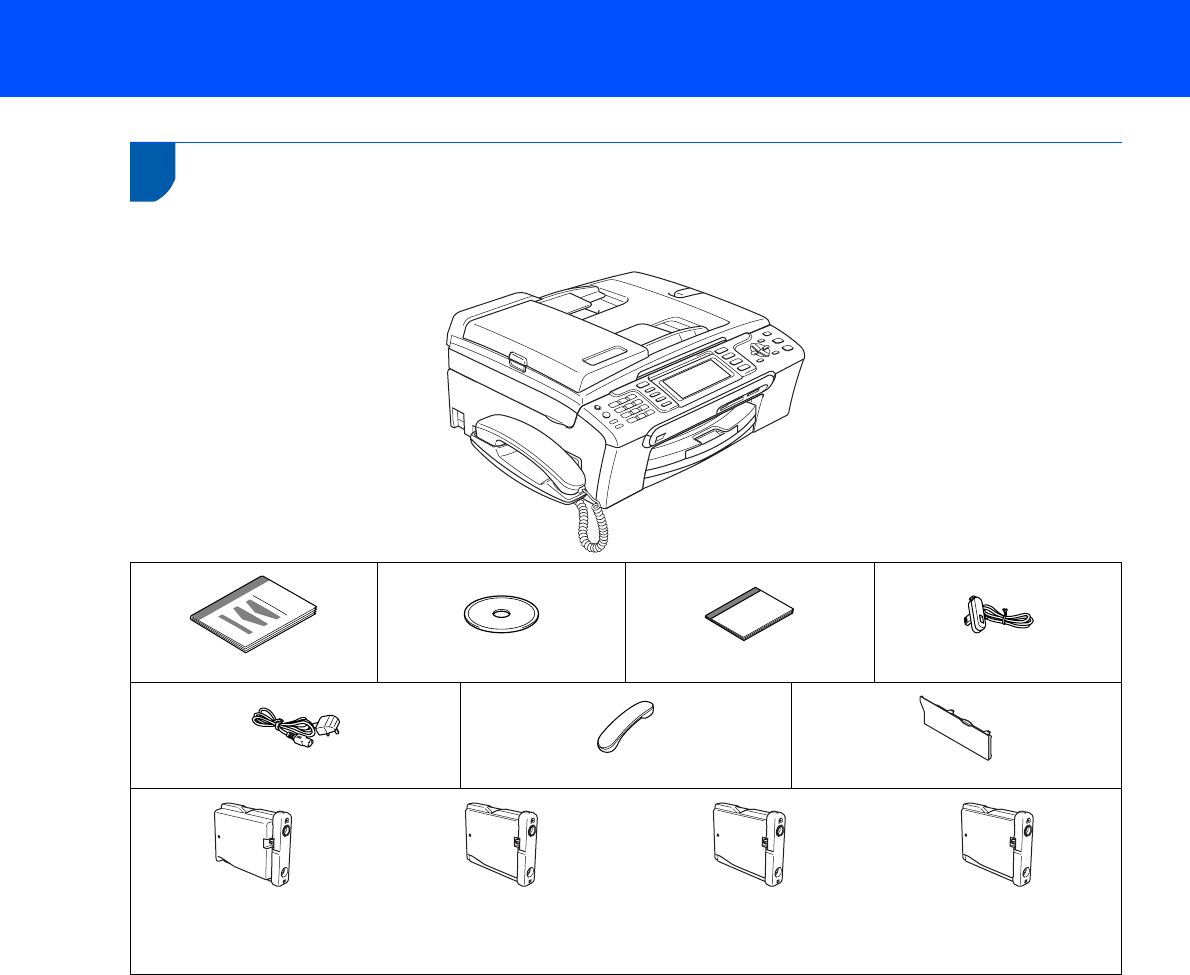
Carton components
Carton components may vary from one country to another.
Save all packing materials and the carton in case for any reason you must ship your machine.
An interface cable is not a standard accessory. You need to purchase an appropriate USB 2.0 interface cable or
network cable.
USB cable
Please make sure you use a USB 2.0 cable that is no longer than 2 metres.
Your machine has a USB interface that is compatible with the USB 2.0 specification.
DO NOT connect the interface cable at this time.
Connecting the interface cable is done during the software installation process.
Network cable
Use a straight-through Category5 (or greater) twisted-pair cable for 10BASE-T or 100BASE-TX Fast Ethernet
Network.
Quick Setup Guide
CD-ROM
User’s Guide
Telephone Line Cord
Power Cord
Telephone Handset
Side Cover
Black (LC1000BK)
Yellow (LC1000Y)
Cyan (LC1000C)
Magenta (LC1000M)
The ink cartridges are on top of the paper tray. See Removing the protective parts on page 4
Ink Cartridges