
User Manual
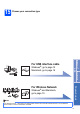
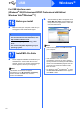
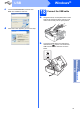
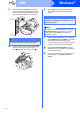
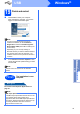
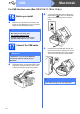
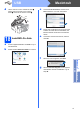
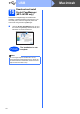
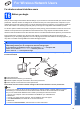
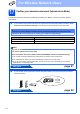
Table Of Contents
- Quick Setup Guide MFC-J265W MFC-J415W
- Start Here
- 1 Unpack the machine and check the components
- 2 Load plain A4 paper
- 3 Connect the power cord and telephone line
- 4 Set your country (For Australia/New Zealand Customer Only)
- 5 Install the ink cartridges
- 6 Check the print quality
- 7 Choose your language (if needed) (Not available in Australia and New Zealand)
- 8 Choose a Receive Mode
- 9 Set the LCD contrast (if needed)
- 10 Set the date and time
- 11 Enter personal information (Station ID)
- 12 Fax Transmission Report
- 13 Set Tone or Pulse dialling mode (Not available for New Zealand)
- 14 Set the phone line compatibility
- 15 Choose your connection type
- For USB interface users (Windows® 2000 Professional/XP/XP Professional x64 Edition/Windows Vista®/Windows® 7)
- For USB interface users (Mac OS X 10.4.11, 10.5.x, 10.6.x)
- For wireless network interface users
- 16 Before you begin
- 17 Confirm your network environment (Infrastructure Mode)
- Connecting the Brother machine to the wireless network
- Troubleshooting
- Install the drivers & software (Windows® 2000 Professional/XP/XP Professional x64 Edition/Windows Vista®/Windows® 7)
- Install the drivers & software (Mac OS X 10.4.11, 10.5.x, 10.6.x)
- Install Optional Applications Windows®
- For Network Users
- Consumables
- brother ARL/ASA/NZ
- Start Here

18
Macintosh
USB
19
Download and install
Presto! PageManager
(MFC-J415W only)
When Presto! PageManager is installed OCR
capability is added to Brother ControlCenter2. You
can easily scan, share and organize photos and
documents using Presto! PageManager.
a Click the Presto! PageManager icon to go to
the Presto! PageManager download site, and
follow the on-screen instructions.
Finish
The installation is now
complete.
Note
To use Image Capture on Mac OS X 10.6.x,
please install the CUPS Printer Driver, which can
be downloaded from the Brother Solutions Center
(http://solutions.brother.com/
).