
Installation Instructions
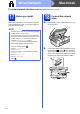
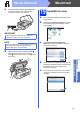

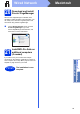
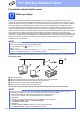

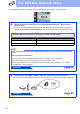
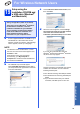
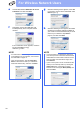
Table Of Contents
- Quick Setup Guide MFC-J4510DW MFC-J4710DW
- Start Here
- 1 Unpack the machine and check the components
- 2 Load plain A4 paper
- 3 Connect the power cord and telephone line
- 4 Install the ink cartridges
- 5 Check the print quality
- 6 Set the paper settings (MFC-J4710DW)
- 7 Review Touchscreen display
- 8 Choose a Receive Mode
- 9 Set the date and time
- 10 Enter personal information (Station ID)
- 11 Fax Transmission Report
- 12 Set Tone or Pulse dialling mode
- 13 Set the telephone line type
- 14 Set the telephone line compatibility (VoIP)
- 15 Set the Time Zone
- 16 Choose your connection type
- For USB interface users (Windows® XP Home/XP Professional/Windows Vista®/Windows® 7)
- For USB interface users (Mac OS X v10.5.8, 10.6.x, 10.7.x)
- For wired network interface users (Windows® XP Home/XP Professional/Windows Vista®/Windows® 7)
- For wired network interface users (Mac OS X v10.5.8, 10.6.x, 10.7.x)
- For wireless network interface users
- 17 Before you begin
- 18 Choose your wireless setup method
- 19 Setup using the installation CD-ROM and a USB cable (Windows® and Macintosh)
- 19 Manual setup from the control panel using the Setup Wizard (Windows®, Macintosh and mobile devices)
- 19 One-push setup using WPS or AOSS™ (Windows®, Macintosh and mobile devices)
- Troubleshooting
- Install the drivers & software (Windows® XP Home/XP Professional/Windows Vista®/Windows® 7)
- Install the drivers & software (Mac OS X v10.5.8, 10.6.x, 10.7.x)
- Install Optional Applications Windows®
- For Network Users
- Consumables
- brother UK/IRE/GEN
- Start Here
23
Macintosh
Wired Network
Windows
®
Macintosh
Wired Network
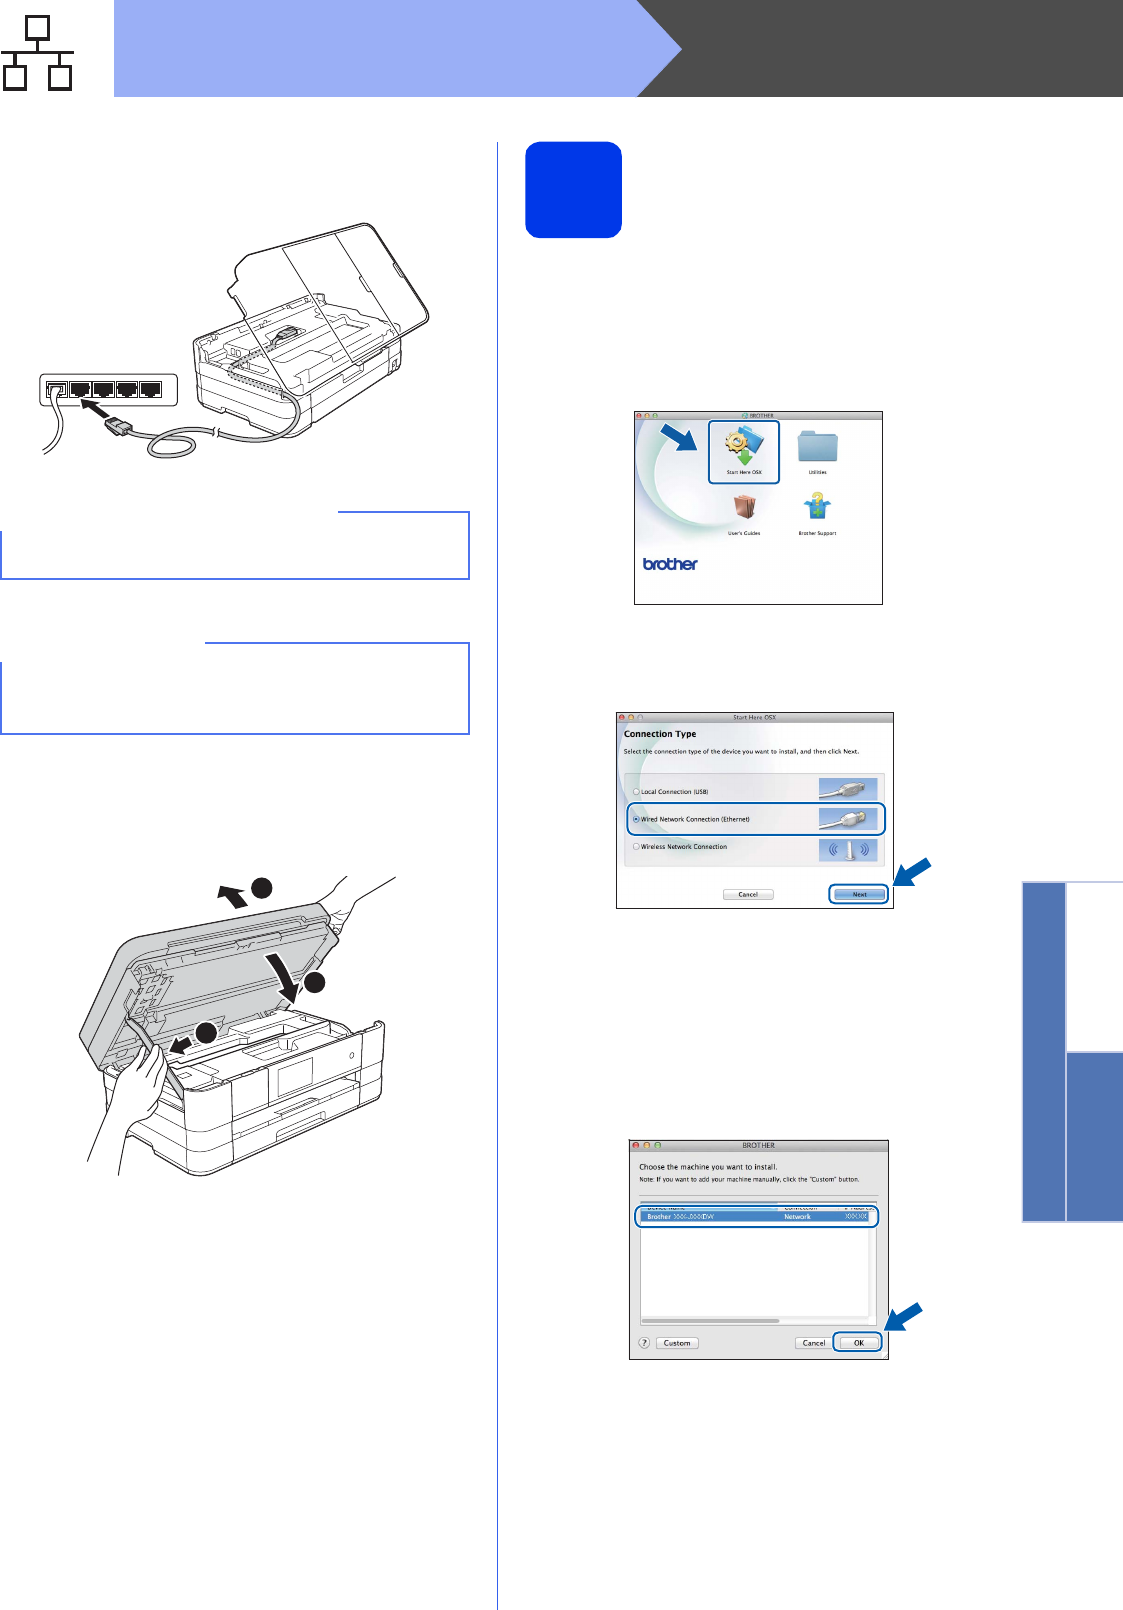
c Carefully guide the network cable into the cable
channel and out the back of the machine.
Connect the cable to your network.
d Lift the scanner cover to release the lock a.
Gently push the scanner cover support
down b and close the scanner cover c using
both hands.
19
Install MFL-Pro Suite
a Put the supplied installation CD-ROM into your
CD-ROM drive.
b Double-click the Start Here OSX icon to install.
If the model name screen appears, choose
your machine.
c Choose Wired Network Connection
(Ethernet), and then click Next. Follow the
on-screen instructions.
d Please wait for the software to install. After the
installation, the Brother software will search for
the Brother device. This will take a few
moments to complete.
e If the machine is configured for your network,
choose your machine from the list, and then
click OK.
IMPORTANT
Make sure that the cable does not restrict the
cover from closing, or an error may occur.
NOTE
If both the USB and the network cables are being
used, guide both cables through the cable
channel with one on top of the other.
1
2
3