
User's Manual
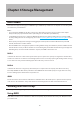
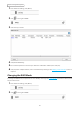
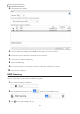
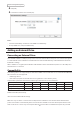
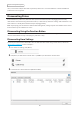
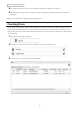
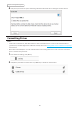
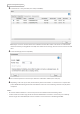
Table Of Contents
- User Manual
- Chapter 1 Getting Started
- Chapter 2 Configuration
- Chapter 3 File Sharing
- Chapter 4 Storage Management
- Chapter 5 Remote Access
- Chapter 6 Backup
- Chapter 7 Multimedia
- Chapter 8 Advanced Features
- Chapter 9 Configuring from Mobile Devices
- Chapter 10 Utilities
- Chapter 11 Appendix
- Chapter 12 Regulatory Compliance Information

44
Chapter 4 Storage Management
4 Set the RAID mode to “RAID 1”.
5 Select the “Add a disk to RAID array with RMM. Your data will be preserved.” checkbox.
6 Select the drive whose data will be saved from the drop-down list.
7 Select the drive to add to the RAID array.
8 Click [Create RAID Array].
9 The “Confirm Operation” screen will open. Enter the confirmation number, then click [OK].
10 Click [OK] when completed.
RAID Scanning
A RAID scan checks your RAID array for bad sectors and if it finds any, it automatically repairs them. Only RAID 1
arrays are supported. For best results, run a RAID scan regularly.
1 From Advanced Settings, click [Drives].
2 Move the RAID scanning switch to the position to enable RAID scanning.
3 Click to the right of “RAID Scanning”.