
Owner's Manual


Table Of Contents
- Table of Contents
- How to Use this Manual
- Seats and Restraint Systems
- Seats and Seat Controls
- Head Restraints
- Safety Belts
- How to Wear Safety Belts Properly
- Lap-Shoulder Belt
- Supplemental Restraint System
- Safety Belt Use During Pregnancy
- Children
- Smaller Children and Babies
- Child Restraints
- Larger Children
- Safety Belt Extender
- Checking Your Restraint System
- Replacing Safety Belts After a Crash
- Features and Controls
- Comfort Controls and Audio Systems
- Your Driving and the Road
- Problems on the Road
- Service and Appearance Care
- Maintenance Schedule
- Customer Assistance Information
- Index
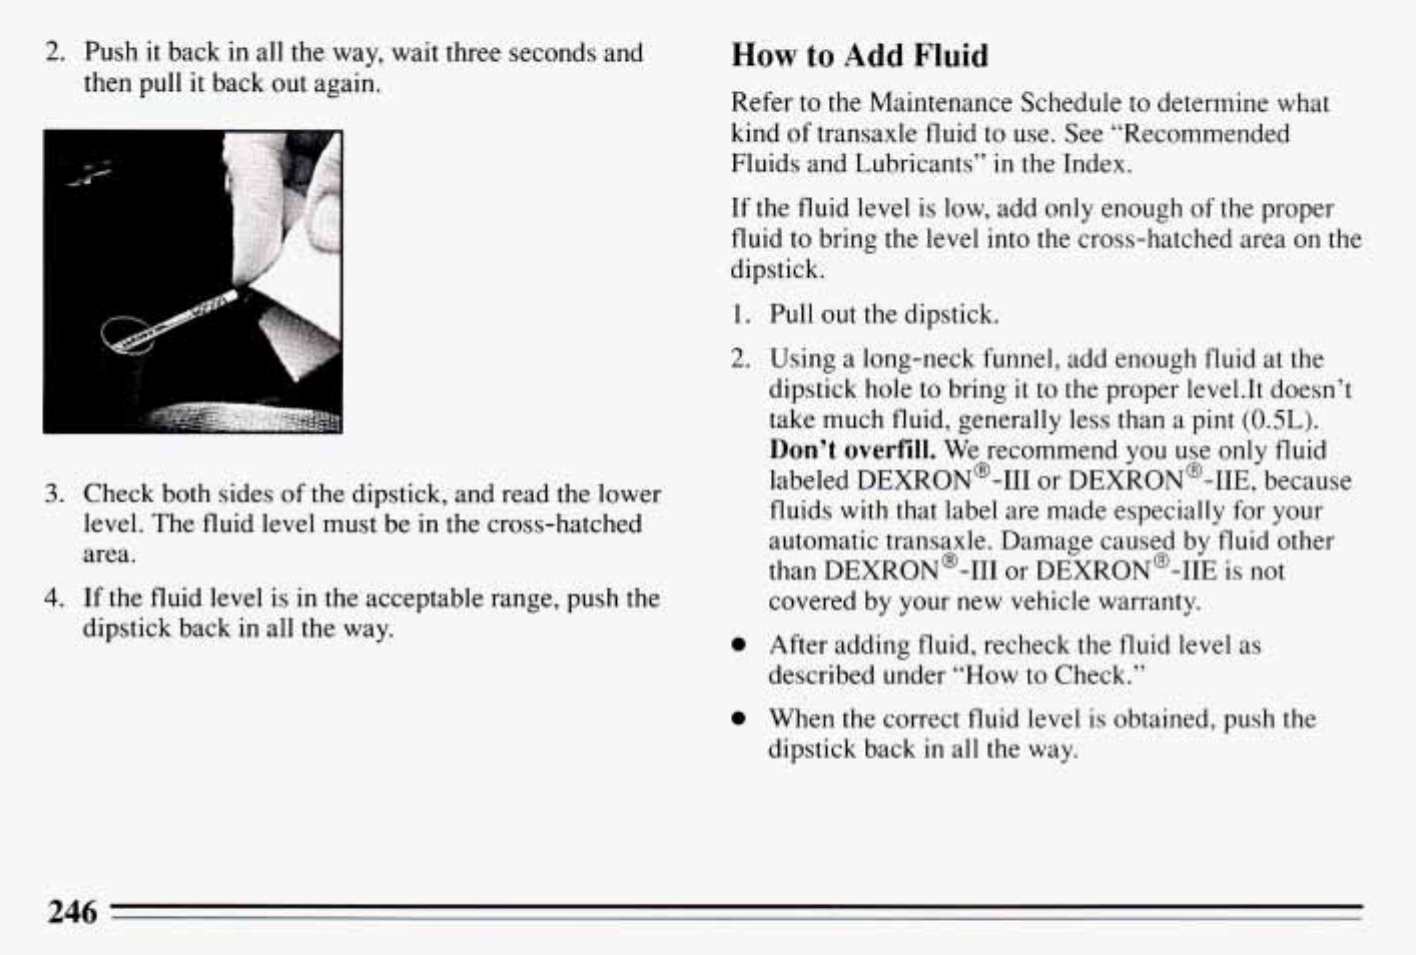
2.
Push
it
back
in
all the way, wait three seconds and
then pull
it
back
out
again.
3.
Check both sides of the dipstick, and read
the
lower
level. The fluid level must be in the cross-hatched
area.
4.
If the fluid level is
in
the acceptable range, push the
dipstick back
in
all the way.
How
to
Add
Fluid
Refer
to
the Maintenance Schedule to determine what
kind
of
transaxle fluid
to
use. See “Recommended
Fluids and Lubricants’’
in
the Index.
If the fluid level is low, add only enough of the proper
fluid to bring the level into the cross-hatched area on the
dipstick.
1.
2.
e
0
Pull out the dipstick.
Using a long-neck funnel, add enough fluid at the
dipstick hole to bring
it
to the proper 1evel.It doesn’t
take much fluid, generally less than a pint
(OSL).
Don’t
overfill.
We recommend you use only fluid
labeled DEXRON@-111 or DEXRON@-IIE, because
fluids with that label are made especially for your
automatic transaxle. Damage caused by fluid other
than DEXRON@-I11 or DEXRON@-IIE is not
covered by your new vehicle warranty.
After adding fluid, recheck the fluid level as
described under “How
to
Check.”
When the correct fluid level is obtained, push the
dipstick back
in
all the way.
246