
Facsimile User's Guide
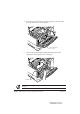
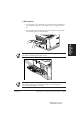
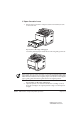


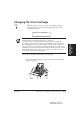
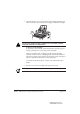
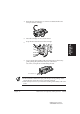
Table Of Contents
- Contents
- Chapter 1 Welcome !
- Chapter 2 Setting Up
- Chapter 3 Getting Started
- Chapter 4 Setting Up and Using Speed Dialing
- Chapter 5 Using the Fax as a Copier
- Chapter 6 Sending Documents
- Chapter 7 Receiving Documents
- Chapter 8 Using the Memory Features
- Chapter 9 Using a Relay Network
- Chapter 10 Using Confidential Mailboxes
- Chapter 11 Setting Up and Using Polling
- Chapter 12 Other Special Features
- Chapter 13 Restricting Use of the Fax
- Chapter 14 Printing Reports and Lists
- Chapter 15 Maintenance & Frequently Asked Questions
- Chapter 16 Summary of Important Settings
- Appendix A Specifications
- Appendix B Documents You Can Scan
- Glossary
- Index
Chapter 15 Maintenance & Frequently Asked Questions 15-13
Maintenance &
Frequently Asked
Questions
LASER CLASS 3170 Series.
CFYA/YAH/YAN 120v US V1.0
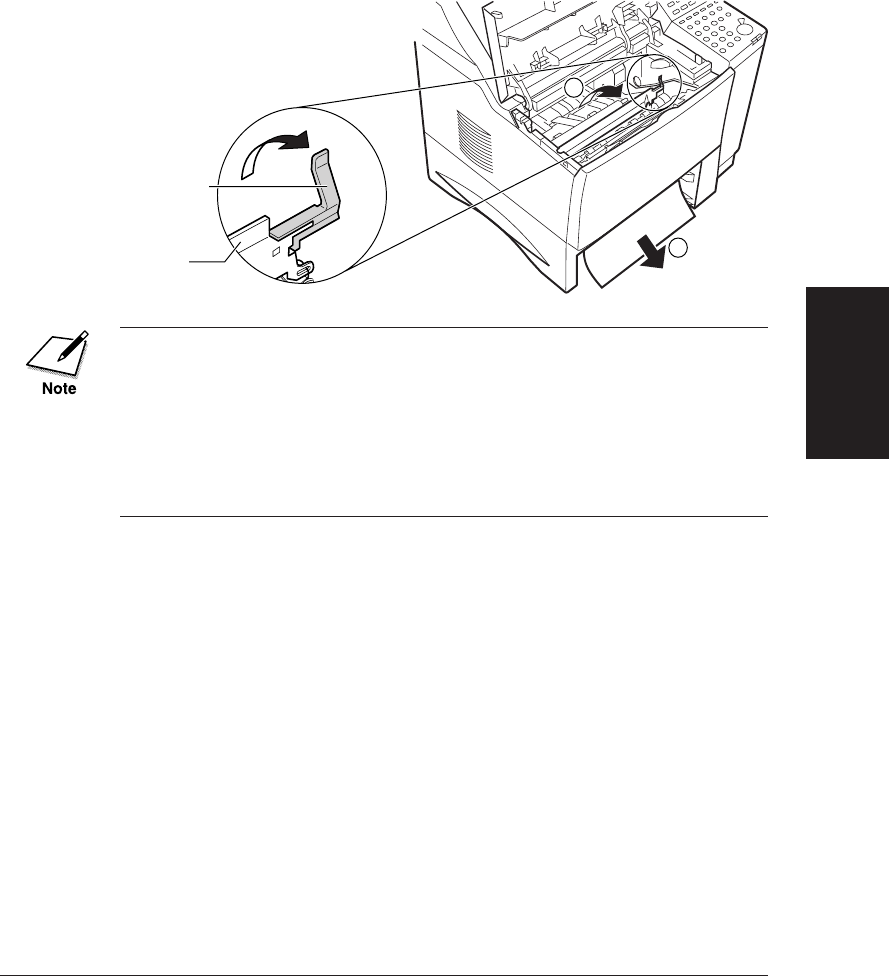
3.
Hold the green lever and flip the transfer guide up, then slowly
pull the paper out from below.
2
1
• The spring for the transfer guide is strong. Always guide the transfer
guide slowly back to its original position by holding the green lever.
Never let it jump back by releasing the lever.
• When removing the jammed paper, be careful not to touch the transfer
charging roller. If the roller becomes dirty, the print quality will
deteriorate.
•After removing the jammed paper, make sure you insert the cassette all
the way into the fax unit until it locks into place.
6. Paper Cassette 2 area
Before removing Paper Cassette 2, check inside the printer cover. If you
see the edge of the paper, follow the procedure of removing the jammed
paper in the imaging area. (➞15-8 to 15-10) If you do not see the edge,
follow the procedure below:
GREEN LEVER
TRANSFER
GUIDE