
Digital Photo Professional Ver.4.3 for Macintosh Instruction Manual

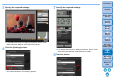

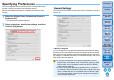
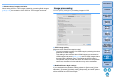


Table Of Contents
- Digital Photo Professional
- Introduction
- Downloading Images
- Viewing Images
- Organizing and Sorting Images
- Editing Images
- RAW Images
- Editing JPEG and TIFF Images
- Tool Palettes
- Editing with the Basic Adjustment Tool Palette
- Editing with the Tone Adjustment Tool Palette
- Editing with the Color Adjustment Tool Palette
- Editing with the Detailed Adjustment Tool Palette
- Editing with the Trimming/Angle Adjustment Tool Palette
- Editing with the Lens Correction Tool Palette
- Editing with the Dust Delete/Copy Stamp Tool Palette
- Setting Work Color Space
- Using the Soft-Proof Colors Function
- Saving Editing Results
- Re-Editing an Image
- Utilizing Adjustment Contents (Recipe)
- Adjusting by Comparing Multiple Images
- Editing Efficiently
- Compositing Images
- Creating HDR (High Dynamic Range) Images
- Transferring a RAW Image to Photoshop
- Customizing the Main Window Toolbar
- Printing Images
- Processing Large Numbers of RAW Images
- Remote Shooting
- Specifying Preferences
- Reference
122
3
Sorting
Images
1
2
4
5
Introduction
Contents
Downloading
Images
Viewing
Images
Printing
Images
Editing
Images
Reference/
Index
6
Processing
Large Numbers
of RAW Images
7
Remote
Shooting
8
Specifying
Preferences
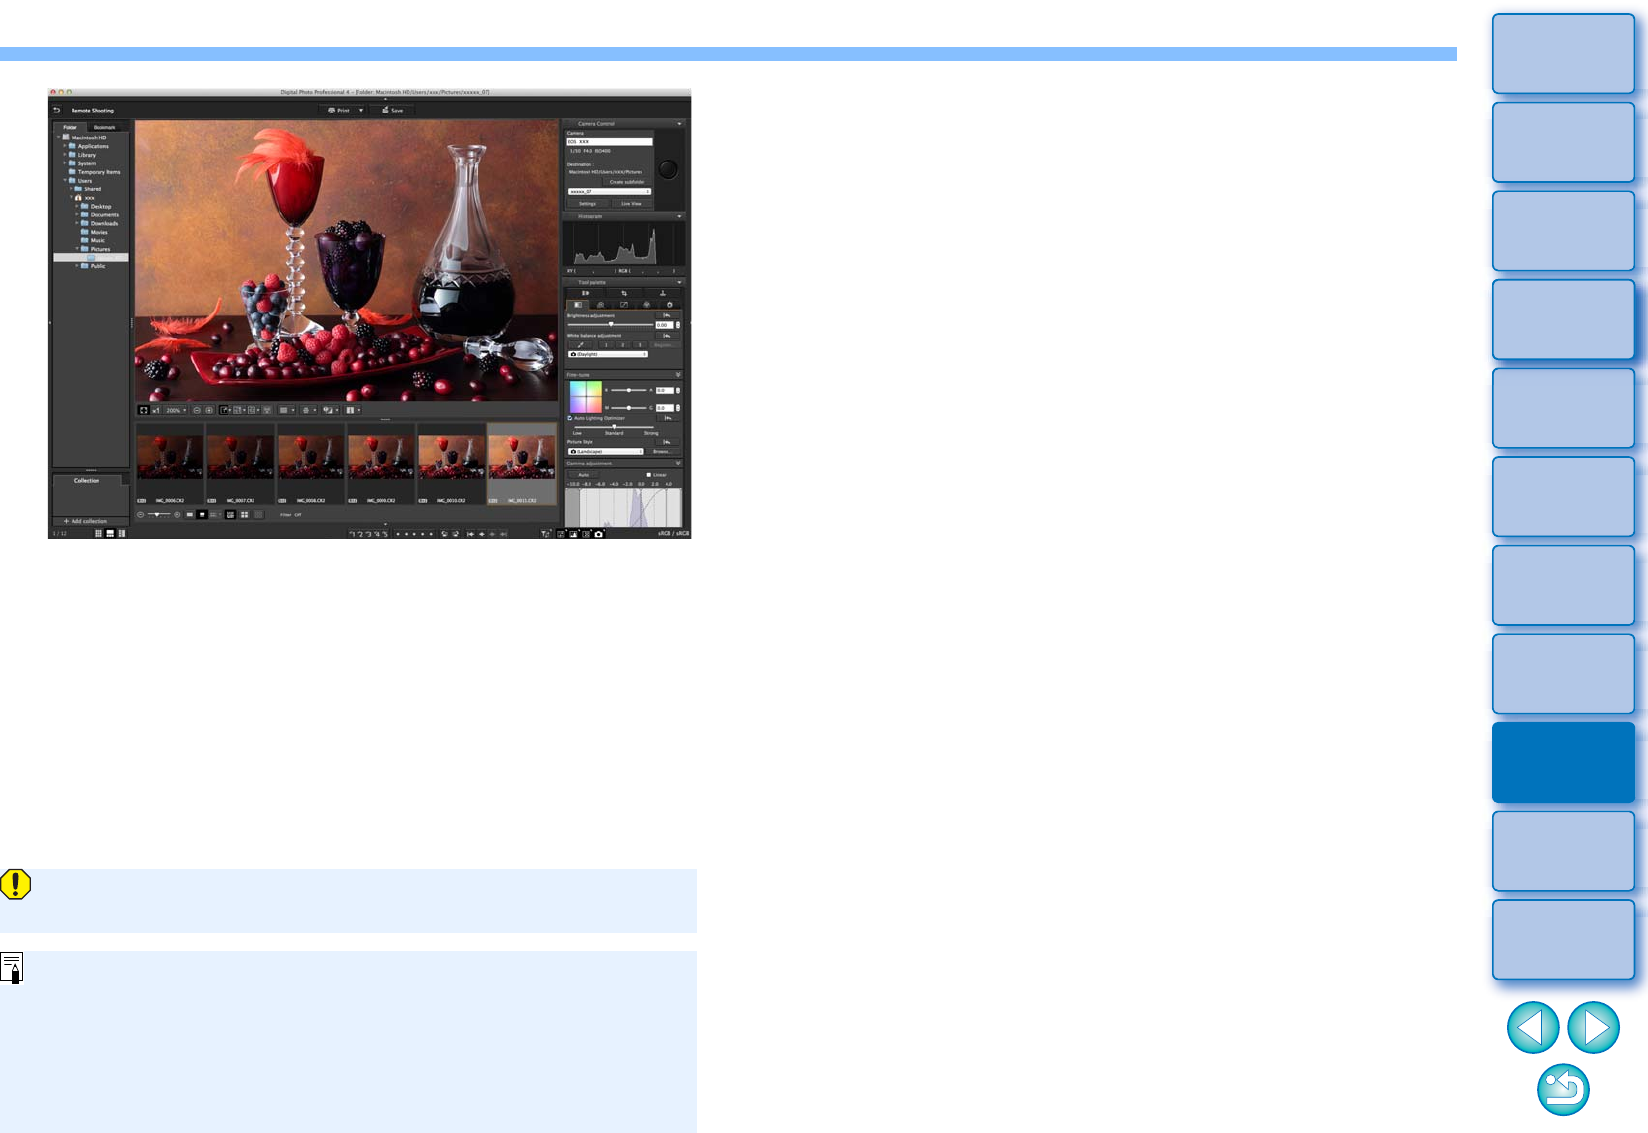
The shot image is displayed.
The shot image will be saved in the folder created in step 2.
The images in the folder mentioned above will be displayed in
the thumbnail display area.
You can also create a sub-folder in the folder mentioned above to
save images. To create a sub-folder, click the [Create subfolder]
button on the remote shooting window, enter [Folder name] on
the screen appeared, then click the [OK] button.
Do not quit “EOS Utility” when remote shooting is being set or
performed.
In the cases below, perform shooting with EOS Utility.
• You want to autofocus with EOS Utility’s shoot button
• You want to perform continuous shooting
You can perform shooting while comparing the shot image with a
pinned image by pinning an image (p.19). This is convenient for
image selection.