
Digital Photo Professional Ver.4.3 for Macintosh Instruction Manual


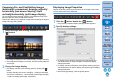
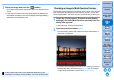
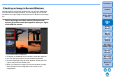


Table Of Contents
- Digital Photo Professional
- Introduction
- Downloading Images
- Viewing Images
- Organizing and Sorting Images
- Editing Images
- RAW Images
- Editing JPEG and TIFF Images
- Tool Palettes
- Editing with the Basic Adjustment Tool Palette
- Editing with the Tone Adjustment Tool Palette
- Editing with the Color Adjustment Tool Palette
- Editing with the Detailed Adjustment Tool Palette
- Editing with the Trimming/Angle Adjustment Tool Palette
- Editing with the Lens Correction Tool Palette
- Editing with the Dust Delete/Copy Stamp Tool Palette
- Setting Work Color Space
- Using the Soft-Proof Colors Function
- Saving Editing Results
- Re-Editing an Image
- Utilizing Adjustment Contents (Recipe)
- Adjusting by Comparing Multiple Images
- Editing Efficiently
- Compositing Images
- Creating HDR (High Dynamic Range) Images
- Transferring a RAW Image to Photoshop
- Customizing the Main Window Toolbar
- Printing Images
- Processing Large Numbers of RAW Images
- Remote Shooting
- Specifying Preferences
- Reference
21
3
Sorting
Images
1
2
4
5
Introduction
Contents
Downloading
Images
Viewing
Images
Printing
Images
Editing
Images
Reference/
Index
6
Processing
Large Numbers
of RAW Images
7
Remote
Shooting
8
Specifying
Preferences
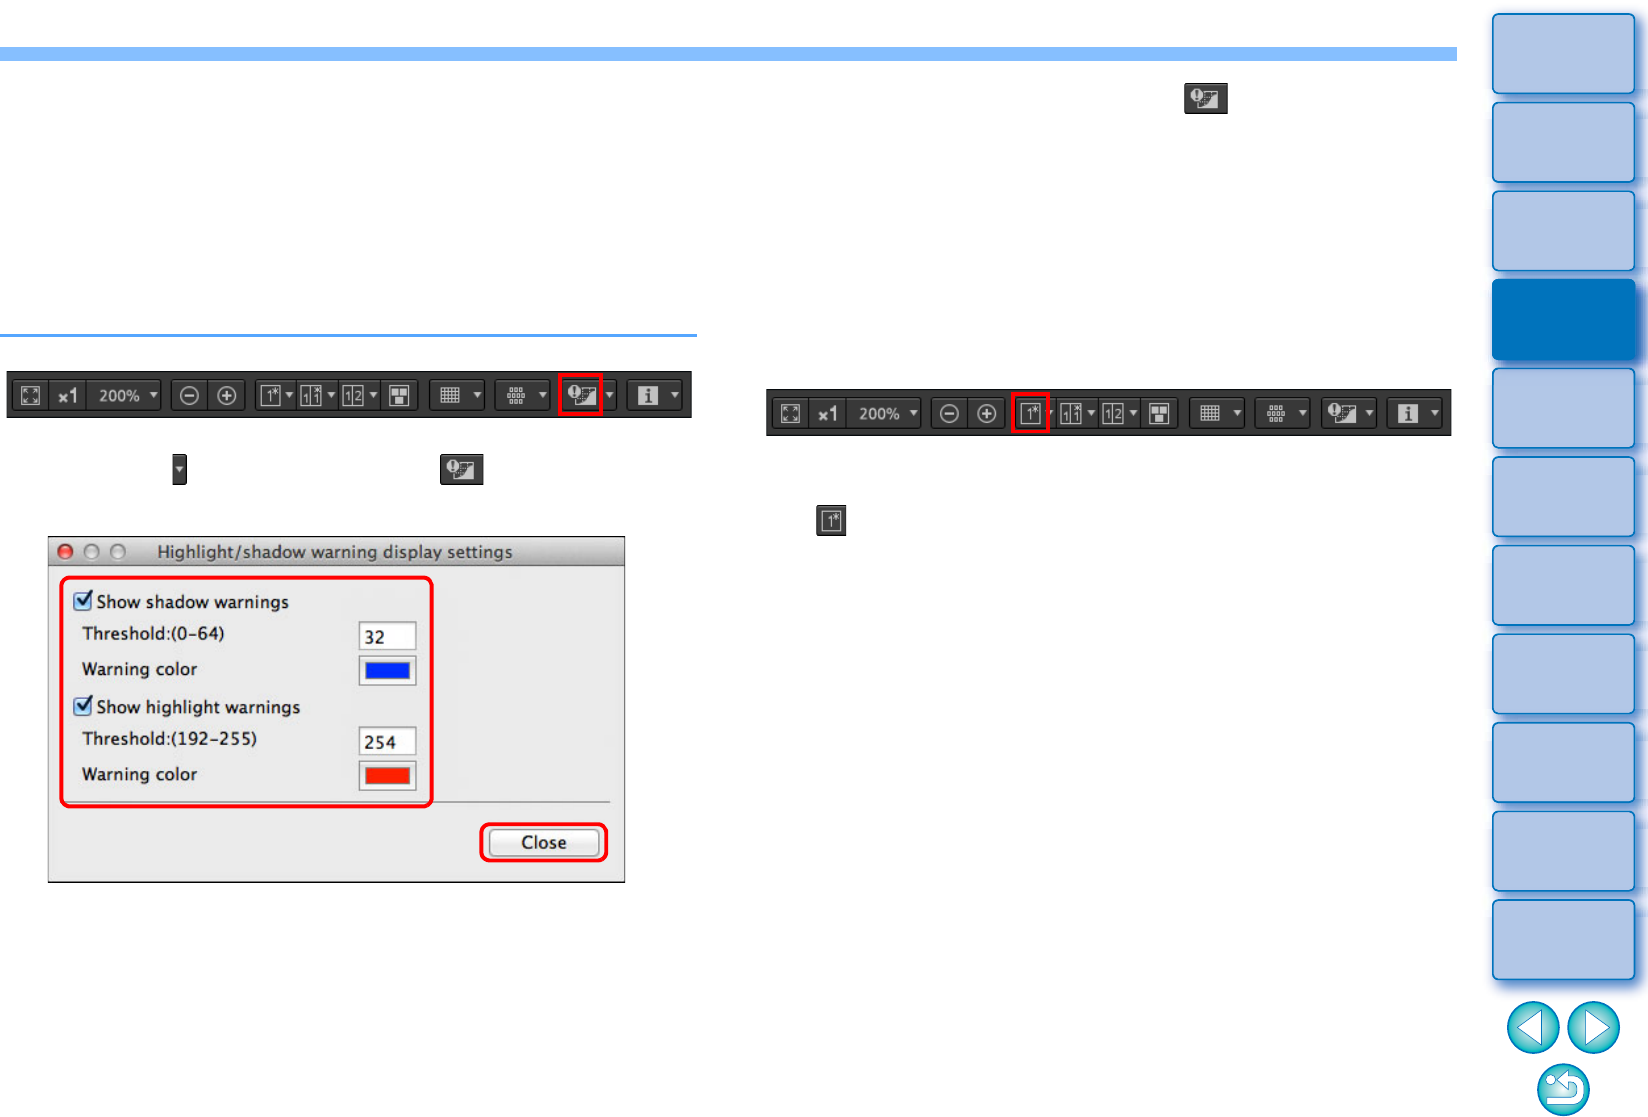
Displaying Areas Beyond the Set Range with
Warning Indicators (Highlight/Shadow
Warning)
You can set up warning indicators for both highlighted and shadowed
parts, which is effective for checking the clipped highlights and shadows
and preventing excessive adjustment of an image. Where the area on
the image has exceeded the set range, you can display the highlighted
part in red and the shadowed part in blue.
1
Click the [ ] button beside the [ ] button, and
specify settings on the menu that appears.
Checkmark the [Show highlight warnings] and [Show shadow
warnings] checkboxes and enter the warning values.
You can also select different warning colors from the dialog that
appears when you click the [Warning color] box.
After specifying settings, click the [Close] button and close the
window.
Comparing Pre- and Post-Editing Images
(Single-Image Display)
2
Select an image and click the [ ] button.
On the opened image, if there is an area that exceeds the value
entered in step 1, the highlighted part of that area is displayed in
red and the shadowed part is displayed in blue. If you selected
different warning colors, the parts are displayed in the specified
colors.
Select an image that is being edited and click the
[ ] button.
By clicking the button, the display switches between the image
before editing and the current image (being edited).