PLAIN APRON TABLES ASSEMBLY INSTRUCTIONS *Model views may not represent exact model purchased [1]
TABLE OF CONTENTS ASSEMBLY COMPONENTS_______________________________________3 APRON TO LEG ATTACHMENT___________________________________4 LEG ASSEMBLY_________________________________________________5 LEG BRACES & STRETCHERS_____________________________________6 [2]
ASSEMBLY COMPONENTS ITEMS INCLUDED PART # PART# 1-LEG KIT,TABLE 1-APRON ASSY,TABLE 1-TOP,TABLE BOX,TABLES 1--SCREW,#12.
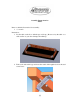
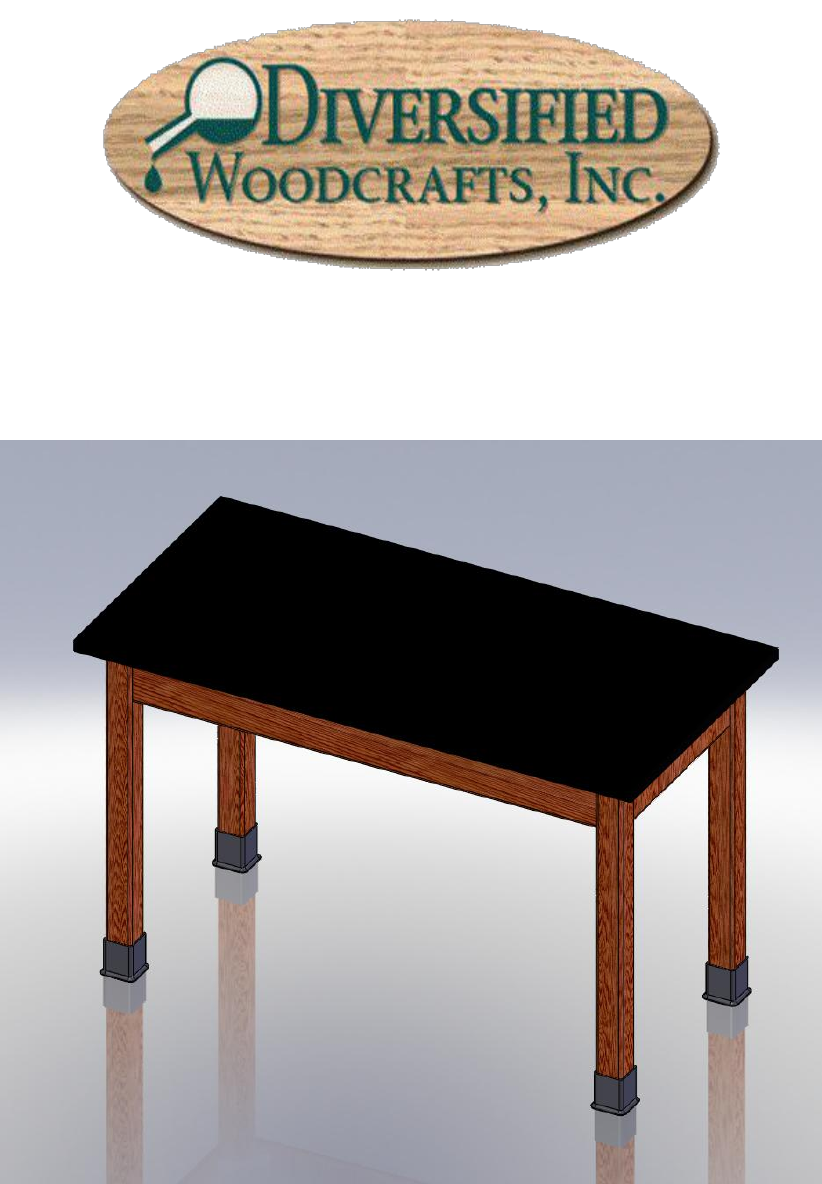
Assembly Instructions for Tables Items not included but needed for assembly: 1. ½” wrench Instructions: 1. Lay the table on the floor with the apron side up. (Be sure to lay the table on a clean surface so you don’t damage the tabletop.) 2. Take each of the table legs and insert the stud bolt through the hole in the steel corner brace.
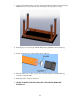
3. Apply a lock washer and a 5/16” nut onto each stud bolt. Tighten each nut using a minimum of 12 foot-pounds but not exceeding 17 foot-pounds of torque. 4. Slide leg boots onto the legs with the flared end toward the bottom of the leg. 5. Screw leg levelers into t-nut in the bottom of the leg. 6. Turn the table over so the top is up. Set your table in place and adjust the leg levelers to level the table. 7. Slide the leg boot down to the floor. 8.
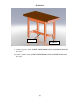
FIGURE 8A Stretcher Leg Brace 9. Attach leg braces with: (SCREW,7MMX90MM,CONN,ALLENHEAD,BLACK) Provided 10.