
User Guide


Table Of Contents
- UNPACKING
- CONTENTS
- QUICK START BASICS
- INTRODUCTION
- GETTING READY
- SHOOTING A SNAPSHOT
- SHOOTING A MOVIE
- USING BEST SHOT
- ADVANCED SETTINGS
- Changing the Focus Mode
- Correcting Image Brightness (EV Shift)
- Controlling White Balance
- Specifying ISO Sensitivity
- Specifying the Metering Mode
- Using the Camera’s Filter Effects
- Controlling Image Sharpness
- Controlling Color Saturation
- Adjusting Image Contrast
- Date Stamping Snapshots
- Using the On-screen Histogram to Check Exposure
- Other Useful Recording Functions
- VIEWING SNAPSHOTS AND MOVIES
- EDITING IMAGES
- USING AUDIO
- MANAGING YOUR FILES
- DELETING FILES
- OTHER SETTINGS
- Configuring Camera Sound Settings
- Turning the Startup Screen On or Off
- Specifying the File Name Serial Number Generation Rule
- Changing the Camera Date and Time Setting
- Using World Time
- Changing the Display Language
- Changing the USB Port Protocol
- [_] (REC) and [>] (PLAY) Button Settings
- Formatting Built-in Memory
- PRINTING
- USING THE CAMERA WITH A COMPUTER
- APPENDIX
105
ADVANCED SETTINGS
2. Use [W] and [X] to focus the image, as you
view the results on the monitor screen.
At this time the image that is within the boundary will enlarge
and fill the monitor screen, which aids in focusing.
• The monitor screen will return to step 1 if you do not
perform any operation for about two seconds.
3. Press the shutter button to shoot.
NOT
E
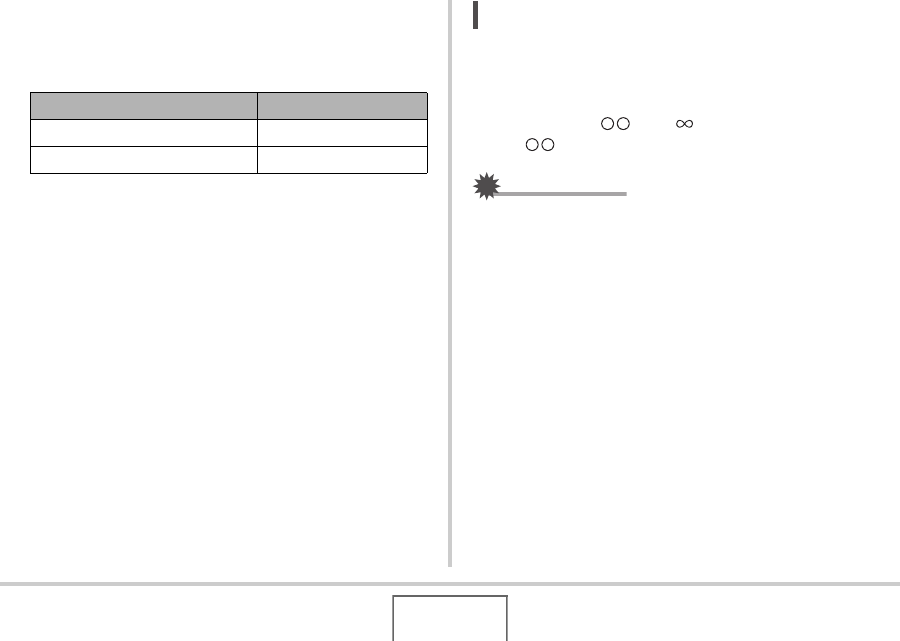
• Whenever you perform an optical zoom operation (page
67) while shooting with manual focus, a value will appear
on the monitor screen as shown below to tell you the
focusing range.
Example: MF cm –
* will be replaced by the actual focus range values.
IMPORTANT!
• While Manual Focus is selected as the focus mode, the [W]
and [X] keys are used to adjust the focus setting. Any other
functions assigned to the [W] and [X] keys with Key
Customize (page 119) are not performed when you press
the keys during manual focus.
For this: Press this button:
Closer focus [W]
More distant focus [X]