User Guide
Table Of Contents
- UNPACKING
- CONTENTS
- QUICK START BASICS
- INTRODUCTION
- GETTING READY
- SHOOTING A SNAPSHOT
- SHOOTING A MOVIE
- USING BEST SHOT
- ADVANCED SETTINGS
- Changing the Focus Mode
- Correcting Image Brightness (EV Shift)
- Controlling White Balance
- Specifying ISO Sensitivity
- Specifying the Metering Mode
- Using the Camera’s Filter Effects
- Controlling Image Sharpness
- Controlling Color Saturation
- Adjusting Image Contrast
- Date Stamping Snapshots
- Using the On-screen Histogram to Check Exposure
- Other Useful Recording Functions
- VIEWING SNAPSHOTS AND MOVIES
- EDITING IMAGES
- USING AUDIO
- MANAGING YOUR FILES
- DELETING FILES
- OTHER SETTINGS
- Configuring Camera Sound Settings
- Turning the Startup Screen On or Off
- Specifying the File Name Serial Number Generation Rule
- Changing the Camera Date and Time Setting
- Using World Time
- Changing the Display Language
- Changing the USB Port Protocol
- [_] (REC) and [>] (PLAY) Button Settings
- Formatting Built-in Memory
- PRINTING
- USING THE CAMERA WITH A COMPUTER
- APPENDIX

132
VIEWING SNAPSHOTS AND MOVIES
• When connecting the bundled AV cable to the camera’s
USB/AV port, insert the plug into the port until you feel it
click securely into place. Failure to insert the plug fully
can result in poor communication or malfunction of the
connected components.
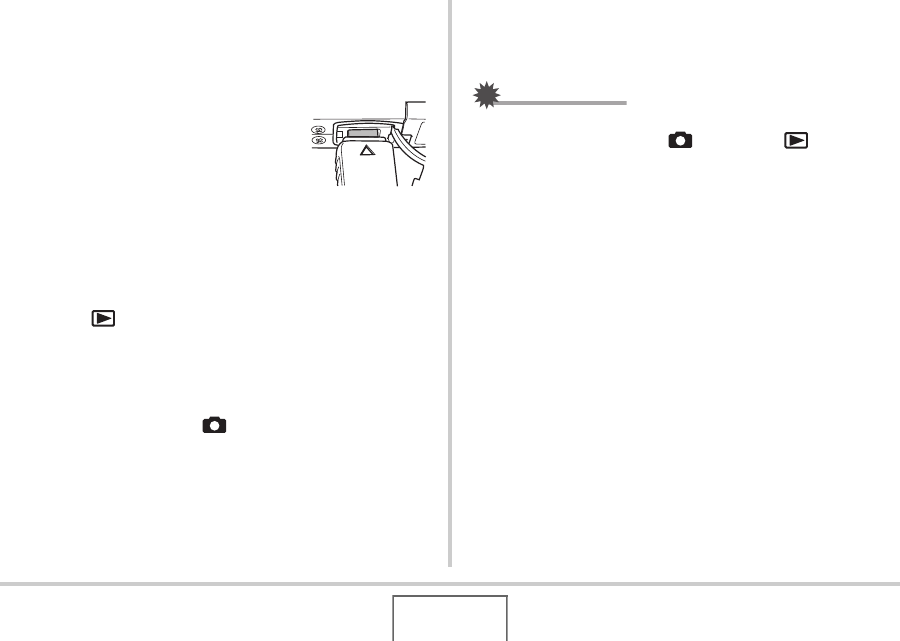
• Some metal of the plug is visible
even when the plug is inserted
correctly.
2. Turn on the TV and select its video input
mode.
If the TV has more than one video input, select the one
where the camera is connected.
3. Press [ ] to turn on the camera and enter the
PLAY mode.
When the camera turns on in the PLAY mode, an image will
appear on the TV screen. The camera’s monitor screen will
not turn on.
• Pressing [ON/OFF] or [ ] will not turn on the camera.
4. Now you can perform the applicable operation
on the camera for the type of file you want to
play.
To turn off the camera
You can turn off the camera by pressing the camera’s [ON/OFF]
button.
IMPORTANT!
• When connecting to a TV to display images, be sure to
configure the camera’s [ ] (REC) and [ ] (PLAY)
buttons for “Power On” or “Power On/Off” (page 171).
• All icons and indicators that appear on the monitor screen
also appear on the TV screen.
You can use [S] (DISP) to change the display contents.
• Audio is monaural.
• Certain TVs may cut off part of the images.
• Audio is initially output by the camera at maximum volume.
When you first start displaying images, set the TV volume
control at a relatively low level and then adjust it as
required.
B


