
User Guide


Table Of Contents
- UNPACKING
- CONTENTS
- QUICK START BASICS
- INTRODUCTION
- GETTING READY
- SHOOTING A SNAPSHOT
- SHOOTING A MOVIE
- USING BEST SHOT
- ADVANCED SETTINGS
- Changing the Focus Mode
- Correcting Image Brightness (EV Shift)
- Controlling White Balance
- Specifying ISO Sensitivity
- Specifying the Metering Mode
- Using the Camera’s Filter Effects
- Controlling Image Sharpness
- Controlling Color Saturation
- Adjusting Image Contrast
- Date Stamping Snapshots
- Using the On-screen Histogram to Check Exposure
- Other Useful Recording Functions
- VIEWING SNAPSHOTS AND MOVIES
- EDITING IMAGES
- USING AUDIO
- MANAGING YOUR FILES
- DELETING FILES
- OTHER SETTINGS
- Configuring Camera Sound Settings
- Turning the Startup Screen On or Off
- Specifying the File Name Serial Number Generation Rule
- Changing the Camera Date and Time Setting
- Using World Time
- Changing the Display Language
- Changing the USB Port Protocol
- [_] (REC) and [>] (PLAY) Button Settings
- Formatting Built-in Memory
- PRINTING
- USING THE CAMERA WITH A COMPUTER
- APPENDIX
138
EDITING IMAGES
IMPORTANT!
• You cannot resize a VGA (640 × 480 pixels) size image.
• Resizing a snapshot shot with an aspect ratio of 16:9 or 3:2
will cause the left and right sides of the image to be cut off.
The aspect ratio of the resulting image will be 4:3.
• The recording date of the resized version of the snapshot
will be the same as the recording date of the original
snapshot.
You can crop a snapshot to trim parts you do not need, and save
the result in a separate file. The original snapshot is also
retained.
1. In the PLAY mode, use [W] and [X] to scroll
through images and display the snapshot you
want to crop.
2. Press [MENU].
3. On the “PLAY” tab,
select “Trimming” and
then press [X].
• This operation can be
performed only while a
snapshot is on the monitor
screen.
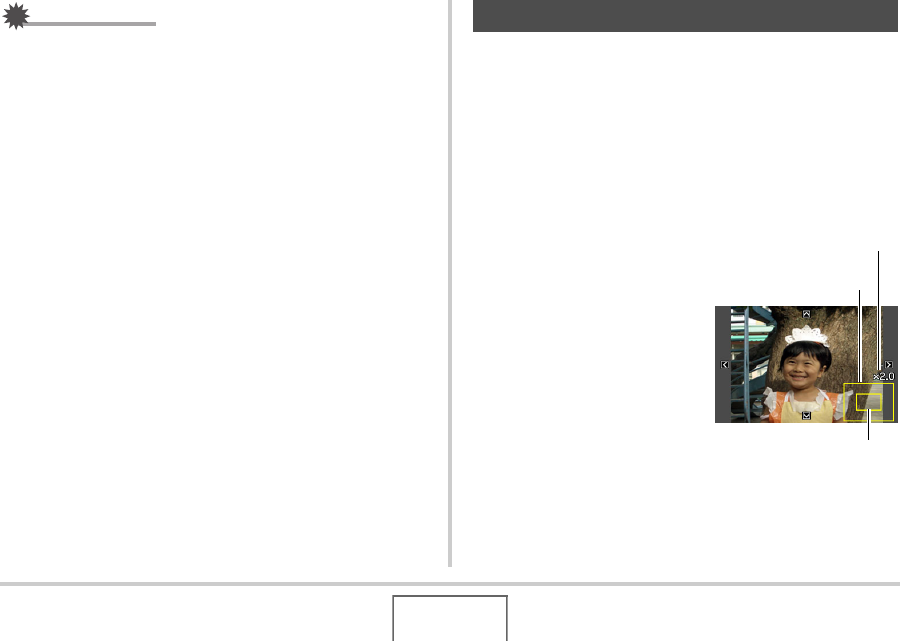
Cropping a Snapshot
Represents
Snapshot Area
Zoom Factor
Part of image that is
currently displayed.