User Guide
Table Of Contents
- UNPACKING
- CONTENTS
- QUICK START BASICS
- INTRODUCTION
- GETTING READY
- SHOOTING A SNAPSHOT
- SHOOTING A MOVIE
- USING BEST SHOT
- ADVANCED SETTINGS
- Changing the Focus Mode
- Correcting Image Brightness (EV Shift)
- Controlling White Balance
- Specifying ISO Sensitivity
- Specifying the Metering Mode
- Using the Camera’s Filter Effects
- Controlling Image Sharpness
- Controlling Color Saturation
- Adjusting Image Contrast
- Date Stamping Snapshots
- Using the On-screen Histogram to Check Exposure
- Other Useful Recording Functions
- VIEWING SNAPSHOTS AND MOVIES
- EDITING IMAGES
- USING AUDIO
- MANAGING YOUR FILES
- DELETING FILES
- OTHER SETTINGS
- Configuring Camera Sound Settings
- Turning the Startup Screen On or Off
- Specifying the File Name Serial Number Generation Rule
- Changing the Camera Date and Time Setting
- Using World Time
- Changing the Display Language
- Changing the USB Port Protocol
- [_] (REC) and [>] (PLAY) Button Settings
- Formatting Built-in Memory
- PRINTING
- USING THE CAMERA WITH A COMPUTER
- APPENDIX

176
PRINTING
• Some metal of the plug is visible
even when the plug is inserted
correctly.
• Take care when connecting the USB
cable to the camera or your printer.
USB ports and cable plugs are
shaped for proper positioning.
6. Turn on the printer.
7. Load paper into the printer.
8. Turn on the camera.
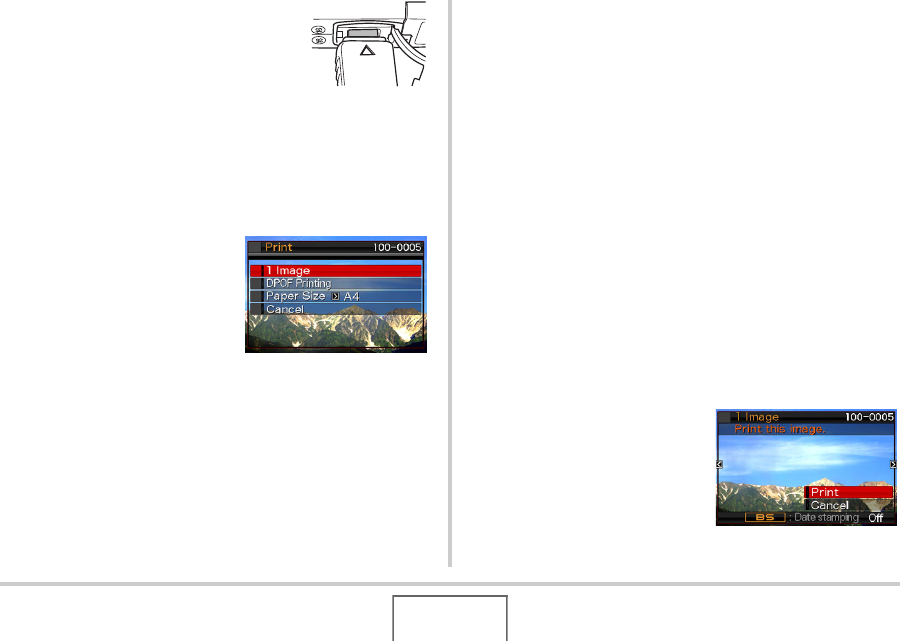
This displays a print menu on
the camera’s monitor screen.
9. Use [S] and [T] to select “Paper Size” and
then press [X].
10.
Use [S] and [T] to select a paper size and
then press [SET].
• The following are the available paper sizes.
3.5" × 5", 5" × 7", 4" × 6", A4, 8.5" × 11", By Printer
• Selecting “By Printer” prints using a paper size selected
on the printer.
• Available paper settings depend on the connected
printer. For full details, see the user documentation that
comes with your printer.
11.
Use [S] and [T] to specify the print option
you want.
If you want to print a specific image:
Select “1 Image” and then press [SET]. After that, use [W]
and [X] to display the image you want to print.
If you want to print multiple images:
Select “DPOF Printing” and then press [SET]. Next, use
the DPOF settings (page 177) to specify the images you
want to select.
• To toggle date stamping on
and off, press [BS]. The
date stamp will be printed
when “On” is indicated on
the monitor screen.
B


