User Guide
Table Of Contents
- UNPACKING
- CONTENTS
- QUICK START BASICS
- INTRODUCTION
- GETTING READY
- SHOOTING A SNAPSHOT
- SHOOTING A MOVIE
- USING BEST SHOT
- ADVANCED SETTINGS
- Changing the Focus Mode
- Correcting Image Brightness (EV Shift)
- Controlling White Balance
- Specifying ISO Sensitivity
- Specifying the Metering Mode
- Using the Camera’s Filter Effects
- Controlling Image Sharpness
- Controlling Color Saturation
- Adjusting Image Contrast
- Date Stamping Snapshots
- Using the On-screen Histogram to Check Exposure
- Other Useful Recording Functions
- VIEWING SNAPSHOTS AND MOVIES
- EDITING IMAGES
- USING AUDIO
- MANAGING YOUR FILES
- DELETING FILES
- OTHER SETTINGS
- Configuring Camera Sound Settings
- Turning the Startup Screen On or Off
- Specifying the File Name Serial Number Generation Rule
- Changing the Camera Date and Time Setting
- Using World Time
- Changing the Display Language
- Changing the USB Port Protocol
- [_] (REC) and [>] (PLAY) Button Settings
- Formatting Built-in Memory
- PRINTING
- USING THE CAMERA WITH A COMPUTER
- APPENDIX

68
SHOOTING A SNAPSHOT
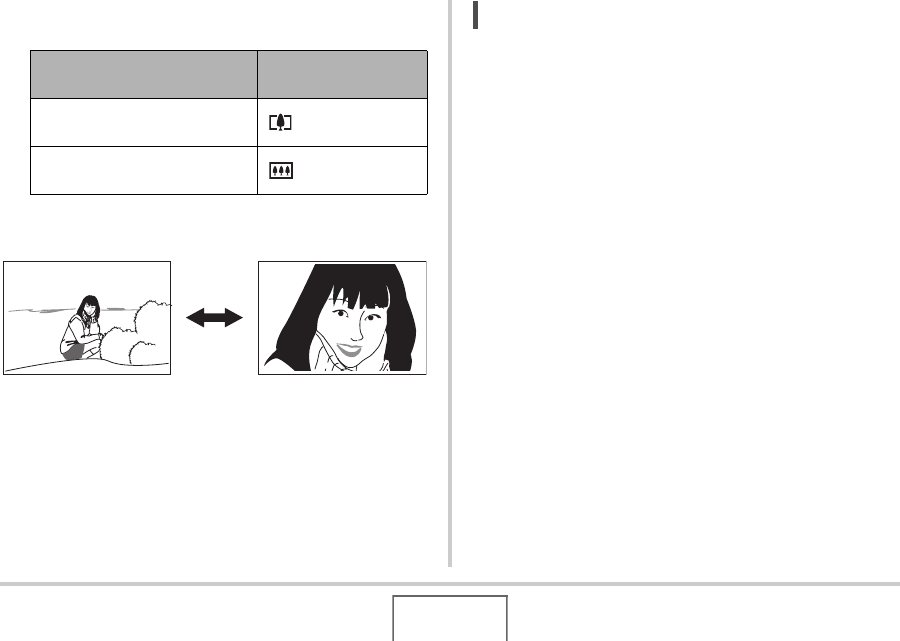
2. Press the zoom button to change the zoom
factor.
– For more information, see “Optical Zoom and Digital
Zoom Switch Point” on page 69.
3. Press the shutter button to shoot.
NOT
E
• Performing a zoom operation changes the lens aperture.
• Use of a tripod is recommended to protect against hand
movement when using the telephoto setting (zoom in).
• Optical zoom is disabled while shooting a movie. Digital
zoom only is available while shooting a movie. Make sure
you select the optical zoom setting you want to use before
you press the shutter button to start shooting your movie.
To do this:
Press this side of the
zoom button:
Enlarge the subject and narrow
the range
[ ] (telephoto)
Reduce the size of the subject
and broaden the range
[ ] (wide angle)
Wide Angle Telephoto


