
User Guide


Table Of Contents
- UNPACKING
- CONTENTS
- QUICK START BASICS
- INTRODUCTION
- GETTING READY
- SHOOTING A SNAPSHOT
- SHOOTING A MOVIE
- USING BEST SHOT
- ADVANCED SETTINGS
- Changing the Focus Mode
- Correcting Image Brightness (EV Shift)
- Controlling White Balance
- Specifying ISO Sensitivity
- Specifying the Metering Mode
- Using the Camera’s Filter Effects
- Controlling Image Sharpness
- Controlling Color Saturation
- Adjusting Image Contrast
- Date Stamping Snapshots
- Using the On-screen Histogram to Check Exposure
- Other Useful Recording Functions
- VIEWING SNAPSHOTS AND MOVIES
- EDITING IMAGES
- USING AUDIO
- MANAGING YOUR FILES
- DELETING FILES
- OTHER SETTINGS
- Configuring Camera Sound Settings
- Turning the Startup Screen On or Off
- Specifying the File Name Serial Number Generation Rule
- Changing the Camera Date and Time Setting
- Using World Time
- Changing the Display Language
- Changing the USB Port Protocol
- [_] (REC) and [>] (PLAY) Button Settings
- Formatting Built-in Memory
- PRINTING
- USING THE CAMERA WITH A COMPUTER
- APPENDIX
84
USING BEST SHOT
USING BEST SHOT
With BEST SHOT, you simply select the sample scene that is
like the one you are trying to shoot, and the camera sets up
automatically. Even difficult backlight scenes (which result in the
main subject being too dark if set up improperly) come out
looking great!
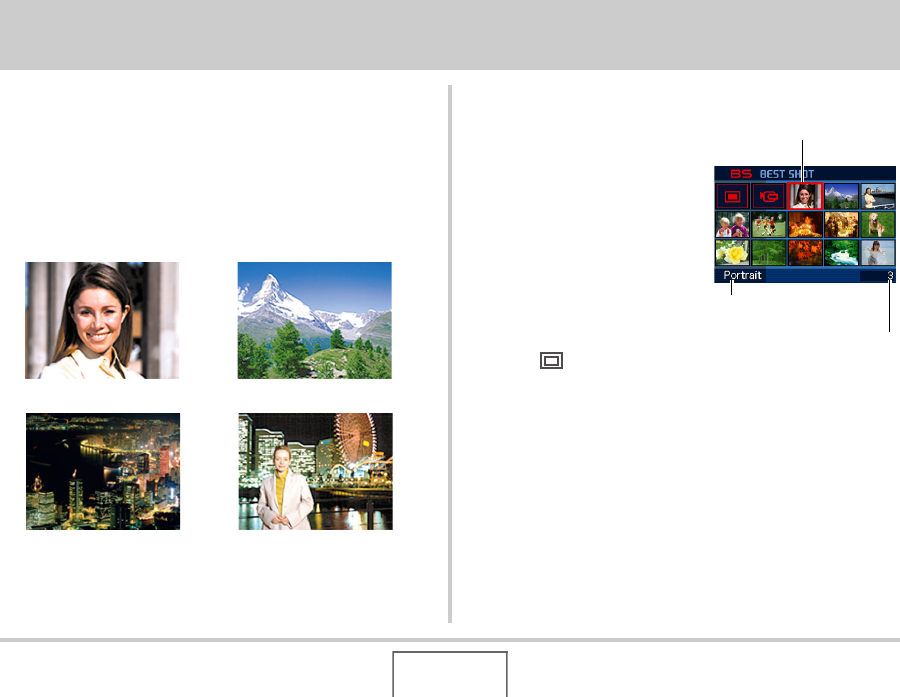
■ Some Sample Scenes
■ Selecting a Sample Scene
1. In the REC mode,
press [BS].
This enters the BEST SHOT
mode and displays a screen
showing thumbnails of 15
sample scenes.
• The currently selected
sample scene is the one
with the red boundary
around it.
• The initial default selection
is “ ” (Auto).
• Portrait • Scenery
• Night Scene • Night Scene Portrait
Scene Number
Red Boundary
Scene Name