
User Guide


Table Of Contents
- UNPACKING
- CONTENTS
- QUICK START BASICS
- INTRODUCTION
- GETTING READY
- SHOOTING A SNAPSHOT
- SHOOTING A MOVIE
- USING BEST SHOT
- ADVANCED SETTINGS
- Changing the Focus Mode
- Correcting Image Brightness (EV Shift)
- Controlling White Balance
- Specifying ISO Sensitivity
- Specifying the Metering Mode
- Using the Camera’s Filter Effects
- Controlling Image Sharpness
- Controlling Color Saturation
- Adjusting Image Contrast
- Date Stamping Snapshots
- Using the On-screen Histogram to Check Exposure
- Other Useful Recording Functions
- VIEWING SNAPSHOTS AND MOVIES
- EDITING IMAGES
- USING AUDIO
- MANAGING YOUR FILES
- DELETING FILES
- OTHER SETTINGS
- Configuring Camera Sound Settings
- Turning the Startup Screen On or Off
- Specifying the File Name Serial Number Generation Rule
- Changing the Camera Date and Time Setting
- Using World Time
- Changing the Display Language
- Changing the USB Port Protocol
- [_] (REC) and [>] (PLAY) Button Settings
- Formatting Built-in Memory
- PRINTING
- USING THE CAMERA WITH A COMPUTER
- APPENDIX
92
USING BEST SHOT
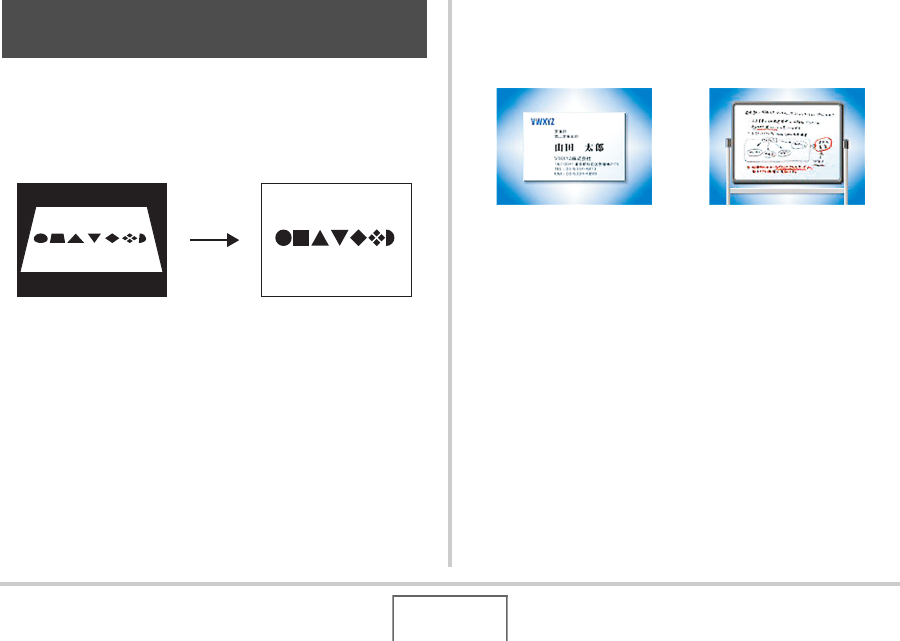
Shooting a business card, document, whiteboard, or similarly
shaped object from an angle can cause the subject to appear
misshaped in the resulting image. The BEST SHOT Business
Shot scenes correct the shape of rectangular objects so they
appear natural.
BEST SHOT has two Business Shot scenes from which to
choose.
■ Selecting a Business Shot Scene
1. In the REC mode, press [BS].
2. Use [S], [T], [W], and [X] to select the
“Business cards and documents” or the
“White board, etc.” scene and then press
[SET].
Whichever you select will remain in effect until you select a
different BEST SHOT scene.
Shooting Images of Business Cards
and Documents (Business Shot)
Before Keystone Correction After Keystone Correction
• Business cards and
documents
• White board, etc.