
Digital Camera User's Guide EX-P505


Table Of Contents
- INTRODUCTION
- QUICK START GUIDE
- GETTING READY
- BASIC IMAGE RECORDING
- OTHER RECORDING FUNCTIONS
- Selecting the Focus Mode
- Exposure Compensation (EV Shift)
- Using the Built-in ND Filter
- Adjusting White Balance
- Specifying the Exposure Mode
- Using the BEST SHOT Mode
- Recording a Movie
- Instant Movie Setups (MOVIE BEST SHOT Mode)
- Recording Audio
- Using the Histogram
- REC Mode Camera Settings
- Specifying ISO Sensitivity
- Selecting the Metering Mode
- Using the Filter Function
- Specifying Outline Sharpness
- Specifying Color Saturation
- Specifying Contrast
- Turning the On-screen Grid On and Off
- Turning Image Review On and Off
- Using Icon Help
- Assigning Functions to the [<] and [>] Keys
- Specifying Power On Default Settings
- Resetting the Camera
- Using the Shortcut Menu (EX Menu)
- Installing the Lens Hood and a Lens Filter
- PLAYBACK
- DELETING FILES
- FILE MANAGEMENT
- OTHER SETTINGS
- USING A MEMORY CARD
- PRINTING IMAGES
- VIEWING IMAGES ON A COMPUTER
- USING THE CAMERA WITH A COMPUTER
- APPENDIX
QUICK START GUIDE
20
1.
Open the monitor screen to turn on the camera.
• You can also turn on the camera by pressing the power button.
2.
Align the mode dial with “ ” (PLAY mode).
3.
Press [왔] ( ).
4.
Use [왗] and [왘] to display the image you want to delete.
5.
Use [왖] and [왔] to select “Delete”.
• To exit the image delete operation without deleting anything, select
“Cancel”.
6.
Press [SET] to delete the image.
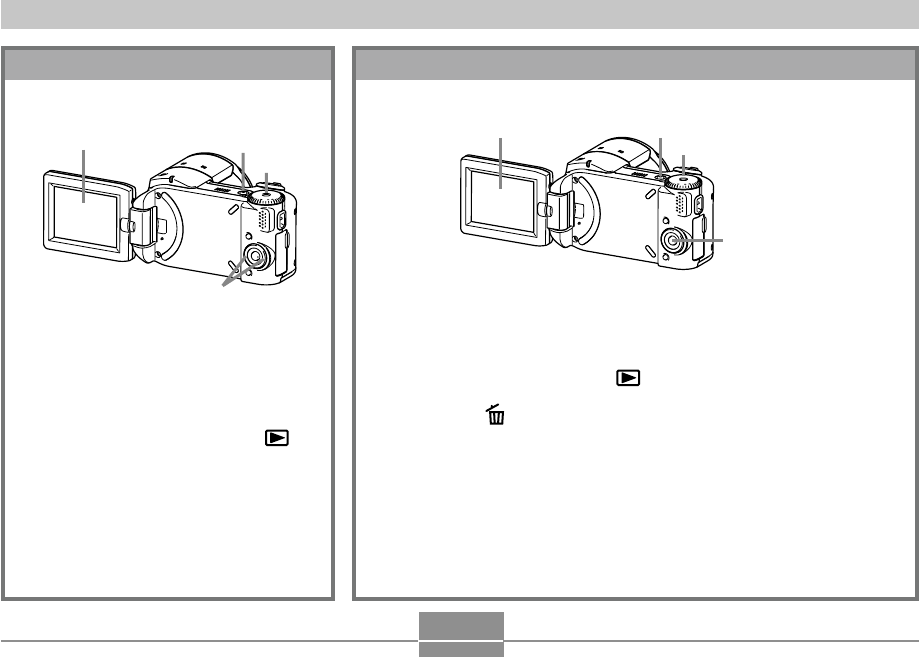
To delete an image
See page 152 or details.
1.
Open the monitor screen to turn
on the camera.
• You can also turn on the camera by
pressing the power button.
2.
Align the mode dial with “ ”
(PLAY mode).
3.
Use [왗] and [왘] to scroll
through the images.
To view a recorded image
See page 130 or details.
1
2
3, 4, 5, 6
1
1
2
3
1