G-3 and G-5 Telescope Models #11090 / #11091 / #11050/ #11051 CG-3 Equatorial Mount Model #91503-A INSTRUCTION MANUAL
Focuser Ring Finderscope Finder Bracket Eyepiece Star Diagonal ¼"x20 Photo Adapter Mounting Platform Mounting Block Photo Adapter Tightening Knob Optical Tube Fig 1 – G-3 Optical tube Finderscope Corrector Plate Finder Bracket Eyepiece Mounting Block (G-5 Only) ¼" x 20 Photo Adapter Mounting Platform (Used for the G-3) Star Diagonal Declination Setting Circle Declination Locking Knob R.A. Locking Knob Declination Slow Motion Knob Declination Shaft R.A.
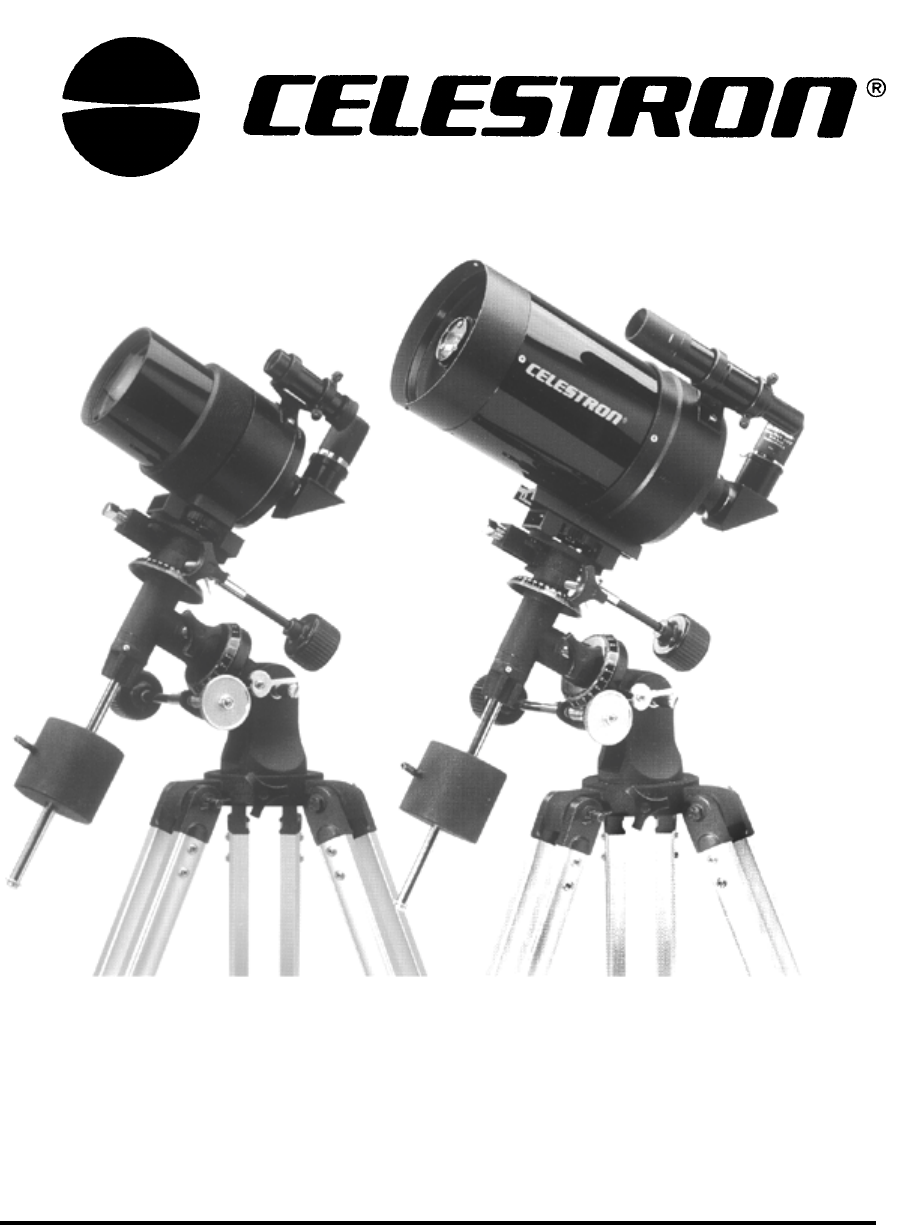
INTRODUCTION Congratulations on your purchase and welcome to the Celestron world of astronomy. If you’re a newcomer to the hobby of astronomy, some of the terms and telescope components described in this instruction manual may be new to you. This manual is designed to instruct you in the proper use of your Celestron G-3 and G-5 telescopes. To assist you in assembling and operating your telescope, take time to review this manual and the parts diagram listed in Figures 1 & 2.
1. Place the accessory tray on the center support brace of the tripod and align the holes on the tray with those on the support brace. 2. Insert the wingnut screws through the bottom of the tripod support brace and thread them into the accessory tray holes (See figure 3). With the accessory tray in place, the tripod will be much more stable, making it easier to attach the telescope.
3. Place the end of one of the slow motion knobs over the shaft and tighten the thumb screw on the side. 4. Do the same for the declination slow motion shaft located just above the dec setting circle. Attaching the Optical Tube (G-3 optical tube) Before you attach the optical tube, make sure that the declination and right ascension locking knobs are tight. The optical tube attaches to the mount via the ¼" x 20 photo mounting platform, which must be attached to the top of the mount.
5. Thread the second mounting screw into the hole nearest the declination slow motion cable. You may wish to remove the slow motion knob in order to access the hole more freely. It may be necessary to lift the optical tube slightly to allow the mounting screw to pass by the metal declination indicator attached to the mount. Tighten both mounting screws. Note: You may attach your optical tube to any heavy duty photo tripod (via the optical tube's mounting block) if desired.
2. Point the telescope at your target and center it in the main optics of the telescope. You may have to move the telescope slightly to center your target. 3. Adjust the screws on the finderscope bracket, tightening one while loosening another, until the cross hairs are centered on the target seen through the telescope. If the image orientation through the finder (on the G-5) is inverted (i.e.
3. Tighten the thumbscrew on the visual back (rear cell) to hold the star diagonal in place. If you wish to change the orientation of the star diagonal, loosen the thumbscrew on the visual back until the diagonal rotates freely. Rotate the diagonal to the desired position and tighten the thumbscrew. The Eyepiece The eyepiece, or ocular, is the optical element that magnifies the image focused by the telescope. The eyepiece fits either into the visual back directly or into the star diagonal.
Telescope Basics Focusing • Focusing the G-5 telescope: The G-5 telescope has a focusing knob located on the rear cell of the optical tube to the right of the star diagonal and eyepiece. Turn the focusing knob until the image is sharp. If the knob will not turn, the primary mirror has reached the end of its travel on the focusing mechanism. Turn the knob in the opposite direction until the image is sharp.
The celestial equator is a full 360º circle bisecting the celestial sphere into the northern celestial hemisphere and the southern celestial hemisphere. Like the Earth's equator, it is the prime parallel of latitude and is designated 0º. The celestial parallels of latitude are called "coordinates of declination (Dec.)", and like the Earth's latitudes they are named for their angular distances from the equator. These distances are measured in degrees, minutes and seconds of arc.
Many of the methods of polar alignment require that you know how to find the celestial pole by identifying stars in the area. For those in the northern hemisphere, finding the celestial pole is not difficult. Fortunately, we have a naked eye star less than a degree away. This star, Polaris, is the end star in the handle of the Little Dipper.
northern horizon. All a latitude scale does then is to point the polar axis of the telescope at the right elevation above the northern (or southern) horizon. 4. Release the DEC lock knob and move the telescope so that the tube is parallel to the polar axis. When this is done, the declination setting circle will read +90°. If the declination setting circle is not aligned, move the telescope so that the tube is parallel to the polar axis.
Once the setting circles are aligned you can use them to find any objects with known coordinates. The accuracy of your setting circles is directly related to the accuracy of your polar alignment. 1. Select an object to observe. Use a seasonal star chart to make sure the object you chose is above the horizon. As you become more familiar with the night sky, this will no longer be necessary. 2. Look up the coordinates in an atlas or reference book. 3. Hold the telescope and release the DEC locking knob.
Collimation is the alignment of the optical elements. In the Schmidt-Cassegrain optical system used in the G-5, this is the alignment of the primary and secondary mirrors. To check the collimation of your telescope you will need a light source. A bright star near the zenith is ideal since there is a minimal amount of atmospheric distortion. If your telescope has a motor drive turn it on so that you won't have to manually track the star. Or, if you are not using the motor drive, use Polaris.
Technical Specifications G-3 G-5 (#11090 & 11091) Maksutov-Cassegrain HR Multi-Coating 90mm 1000mm f/11 40x 210x 1.29 1.54 165x 12.3 1.35° 71' 7.75" (#11050 &11051) Optical System: Schmidt-Cassegrain Coating: Starbright® Multi-Coated Aperture: 125mm Focal Length: 1250mm F/ratio: f/10 Magnification (with standard eyepiece) 50x Highest Useful Power Magnification: 300x Resolution in arc seconds (Dawes) .91 Resolution in arc seconds (Rayleigh) 1.
Eyepieces - A whole assortment of various sizes of 1 - 1/4" eyepieces are available to give you a wide range of magnifications. Eyepiece filters - A line of filters are available for 1-1/4" eyepieces to enhance your visual observations of the Moon and planets. Numerous other accessories are available. See the Celestron Accessory Catalog (#93685) or ask your Celestron dealer for details. LIST OF BRIGHT STARS The following is a list of bright stars that can be used to align the R.A. setting circle.
CELESTRON ONE YEAR WARRANTY A. Celestron International (CI) warrants this telescope to be free from defects in materials and workmanship for one year. CI will repair or replace such product or part thereof which, upon inspection by CI, is found to be defective in materials or workmanship. As a condition to the obligation of CI to repair or replace such product, the product must be returned to CI together with proof-of-purchase satisfactory to CI. B.
Celestron International 2835 Columbia Street Torrance, CA 90503 Tel. (310) 328-9560 Fax. (310) 212-5835 Web site: http://www.celestron.com Copyright 1999 Celestron International All rights reserved. (Products or instructions may change without notice or obligation).