
Manual


Table Of Contents
- Manual
- Preface
- Chapter 1: Quick Start Guide
- Overview
- Advanced Users
- Beginners and Non-Advanced Users
- Warning Boxes
- Not Included
- System Startup
- System Software
- Model Differences
- System Map: LCD Panel Open - Model A Design I
- System Map: LCD Panel Open - Model A Design II
- System Map: LCD Panel Open - Model A Design III
- System Map: LCD Panel Open - Model B
- System Map: LCD Panel Open - Model C
- LED Indicators
- Hot Key Buttons - Model A Design I Only
- Hot Key Buttons - Model A Design III Only
- Keyboard - Model A Designs I & II
- Keyboard - Model A Design III
- Keyboard - Models B & C
- Function/Hot Key Indicators
- System Map: Front & Left Views
- System Map: Right & Rear Views
- System Map: Bottom View - Model A
- System Map: Bottom View - Model B
- System Map: Bottom View - Model C
- Windows 7 Start Menu & Control Panel
- Video Features
- Power Options
- Chapter 2: Features & Components
- Chapter 3: Power Management
- Overview
- The Power Sources
- AC/DC Adapter
- Battery
- Turning On the Computer
- Power Plans
- Power-Saving States
- Sleep
- Hibernate
- Shut down
- Configuring the Power Buttons
- Resuming Operation
- Energy Star Power Saving
- Battery Information
- Battery Power
- Conserving Battery Power
- Battery Life
- New Battery
- Recharging the Battery with the AC/DC Adapter
- Proper handling of the Battery Pack
- Battery FAQ
- Chapter 4: Drivers & Utilities
- What to Install
- Module Driver Installation
- Driver Installation
- Updating/Reinstalling Individual Drivers
- User Account Control
- Windows Security Message
- New Hardware Found
- Driver Installation Procedure
- Video (VGA)
- LAN
- CardReader
- TouchPad
- Hot Key
- Audio
- Windows Experience Index
- Optional Drivers
- PC Camera Module
- Wireless LAN Module
- 3.75G/HSPA Module
- Chapter 5: BIOS Utilities
- Overview
- The Setup Utility
- Failing the POST
- Fatal Errors
- Non-Fatal Errors
- Setup Screens
- Main Menu
- System Time & Date (Main Menu)
- SATA Port # (Main Menu)
- System/Extended Memory: (Main Menu)
- MB Series / BIOS Revision / KBC/EC firmware Revision
- Advanced Menu
- Advanced Chipset Control (Advanced Menu)
- Bluetooth Power Setting (Advanced Menu > Advanced Chipset Control)
- SATA Mode Selection (Advanced Menu)
- Legacy USB Support: (Advanced Menu)
- Boot Logo (Advanced Menu)
- Power On Boot Beep (Advanced Menu)
- Battery Low Alarm Beep: (Advanced Menu)
- Security Menu
- Set Supervisor Password (Security Menu)
- Boot Menu
- Boot Sequence (Boot Menu)
- Exit Menu
- Chapter 6: Upgrading The Computer
- Chapter 7: Modules & Options
- Overview
- PC Camera Module
- PC Camera Driver Installation
- Wireless LAN Module
- 802.11b/g/n Driver Installation (for WLAN Module)
- 802.11b/g/n Driver Installation (for WLAN & Bluetooth Combo)
- Connecting to a Wireless Network in Windows 7
- Windows Mobility Center
- Bluetooth & Wireless LAN Combo Module
- 3rd Party Bluetooth Combo Driver Installation Information
- 3rd Party Bluetooth (V3.0) Combo Driver Installation
- 3rd Party Bluetooth (V3.0) & WLAN Combo Settings
- Bluetooth Networking Setup
- Bluetooth & WLAN Combo Module Configuration
- 3rd Party Bluetooth (V4.0) Combo Driver Installation
- Standard Bluetooth Configuration in Windows 7
- 3.75G/HSPA Module
- BandLuxe HSDPA Utility
- BandLuxe HSDPA Utility Installation
- BandLuxe HSDPA - Connection Manager
- Creating a Profile
- Choosing a Profile
- Editing a Profile
- Text Messaging Service (SMS)
- Setting
- Statistics & Information
- Wireless Manager
- Wireless Manager Installation
- Wireless Manager Application
- Profiles
- Settings
- Text Messaging Service (SMS)
- SMS Utility
- Sending a Text Message
- Phonebook
- SMS Settings
- Chapter 8: Troubleshooting
- Appendix A: Interface (Ports & Jacks)
- Appendix B: AMD Video Driver Controls
- Appendix C: Specifications
Modules & Options
7 - 36 3.75G/HSPA Module
7
BandLuxe HSDPA Utility
With the 3.75G/HSPA module and USIM card (supplied by your service provider)
installed you may then install the BandLuxe HSDPA Utility. The BandLuxe HS-
DPA Utility allows you to directly access your HSPA internet service from the com-
puter.
BandLuxe HSDPA Utility Installation
1. Enable power to the module by pressing the Fn + key combination (give
the module about 10 seconds to power on - the on screen icon will
indicate the module’s power status).
2. If a Found New Hardware window appears, click Cancel (click Cancel for
all Found New Hardware windows that appear).
3. Insert the Device Drivers & Utilities + User’s Manual disc into your exter-
nal optical device drive.
4. Click Option Drivers (button).
5. Click 4.Install 3G Driver > Yes, and then click Next.
6. Choose the language you prefer and click OK > Next.
7. Click the button to accept the license and click Next.
8. Click Next > Install.
9. Click Finish.
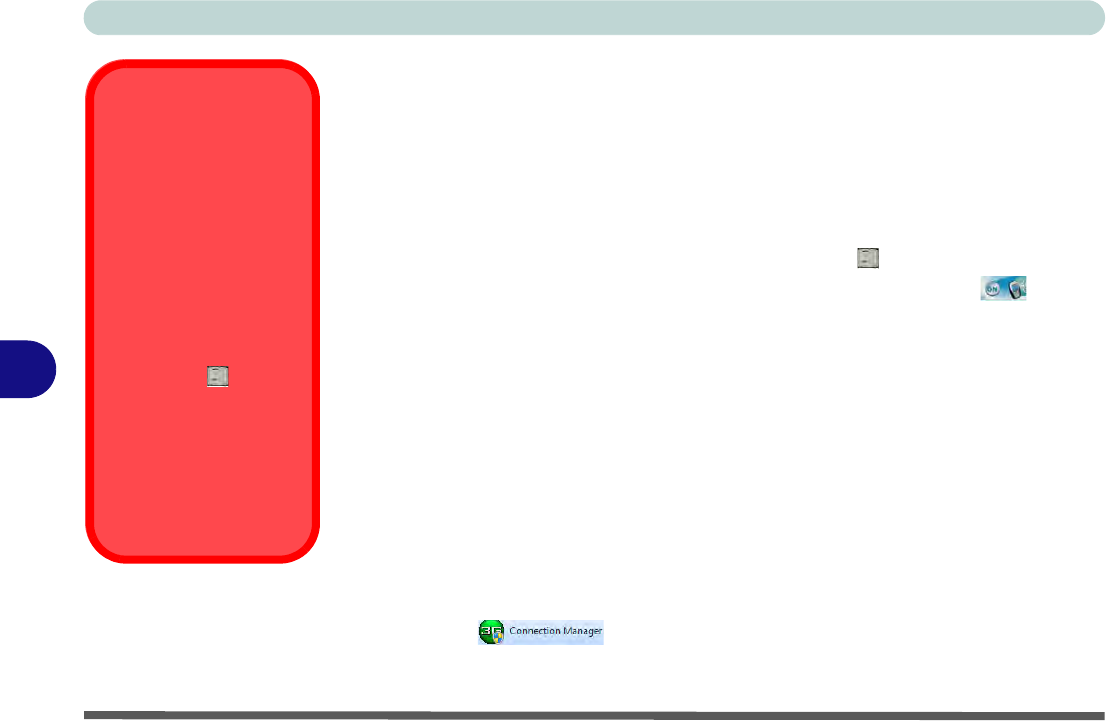
10. Access the BandLuxe HSDPA Utility from the Start menu (Connection
Manager ), or (Start > Programs/All Programs > Band-
Luxe > BandLuxe HSDPA Utility R11 > Connection Manager).
Wireless Device
Operation Aboard
Aircraft
The use of any portable
electronic transmission de-
vices aboard aircraft is usu-
ally prohibited. Make sure
the module(s) are OFF if
you are using the computer
aboard aircraft.
Use the Fn + key com-
bination to toggle power to
the 3.75G/HSPA module,
and check the indicator to
see if the module is pow-
ered on or not (see Table 1
- 6, on page 1 - 18/ Table 1
- 3, on page 1 - 12).