
User's Guide

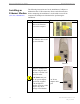
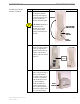


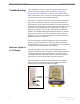
Table Of Contents
- Introduction
- Package Inventory
- Ripwave Models
- Minimum Computing Requirements
- Physical Characteristics
- Installing an Ethernet Modem
- Installing a USB Modem
- Accessing the Internet
- Troubleshooting
- Installing Ripwave Monitor
- TroubleshootingUsing Ripwave Monitor
- Uninstalling Ripwave Monitor
- Installing Navini Diagnostics (NavDiag)
- TroubleshootingUsing Navini Diagnostics (NavDiag)
- Uninstalling Navini Diagnostics
- Installing & Charging the Battery
- Care & Maintenance
- Upgrading the Modem
- ADDENDUM 1: Ripwave™ Modem - PC Troubleshooting
- ADDENDUM 2: End User Software License Agreement
Navini Networks, Inc. Ripwave Modem User Guide
Installing a USB Modem,
Continued
Step Action Illustration
7.
Turn your computer ON
and log in.
NOTE: For Windows
2000, you must be
logged into an account
having Administrative
privileges to install the
Ripwave Modem and its
software.
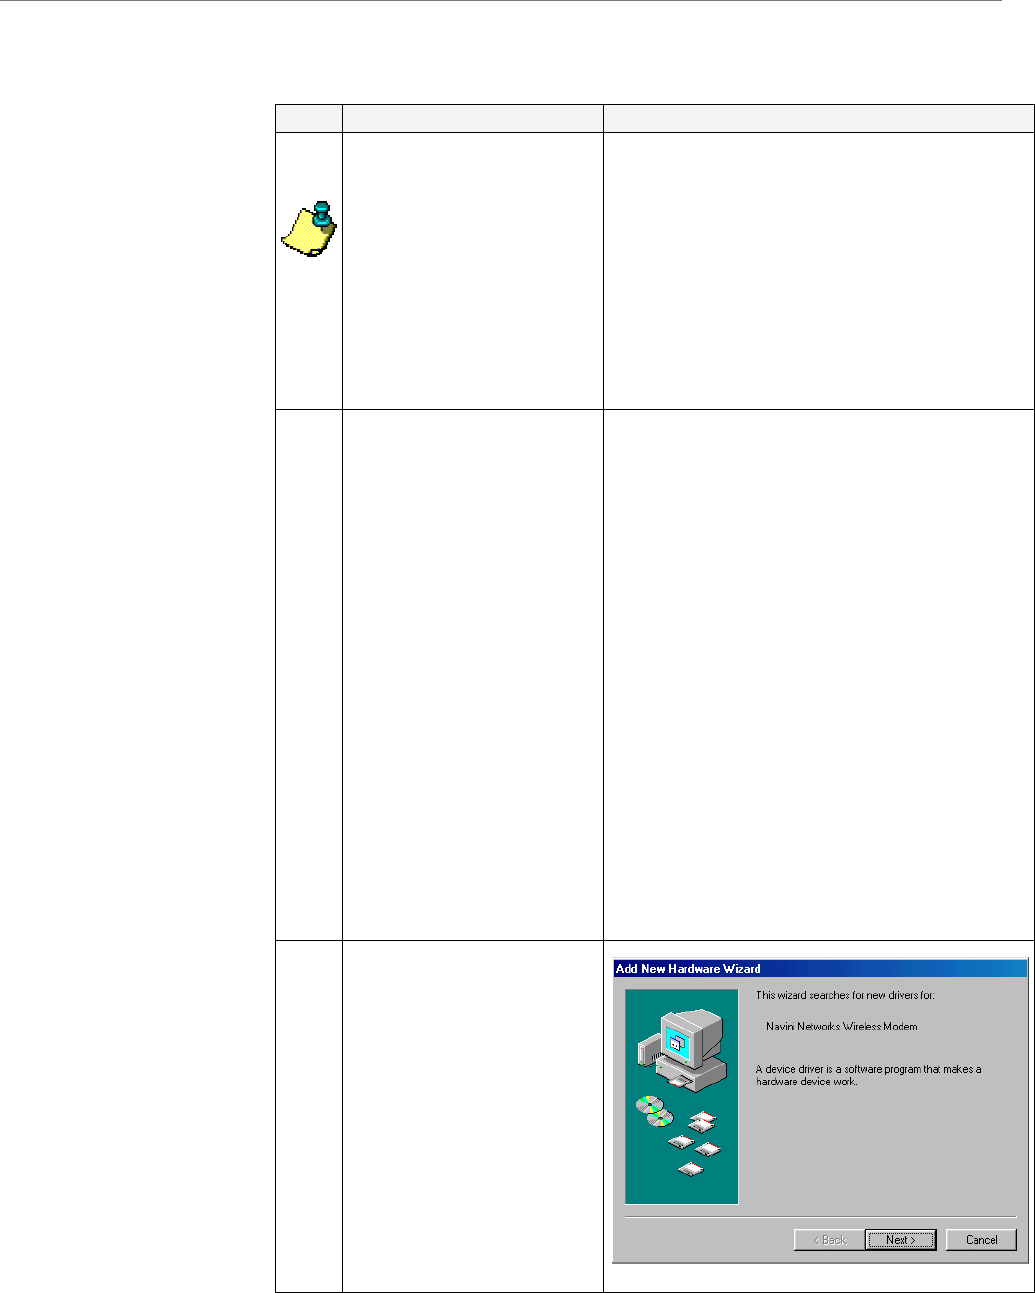
8. Plug-and-Play will
detect the Ripwave
device now attached to
the computer, and it will
launch the Plug-and-
Play application.
If this does not happen,
the problem may be due
to one of the following:
• Windows NT and
Windows 95 do not
support a USB
device.
• The Modem is not
turned on.
• The Modem is not
connected properly
to the computer.
9. The Add New Hardware
Wizard dialog box
appears. Click Next to
continue.
Part #40-00097-00 Rev F v1.0 17
May 21, 2004