
System information


Table Of Contents
- Introduction
- How to configure your system
- Using the remote control
- Using the menu system
- Using the web interface
- About password protection
7
Profile Series, Codec C Series and Quick Set C20 / C20 Plus Getting started guide
D14639.02 Profile Series, Codec C Series and Quick Set C20/C20 Plus Getting Started Guide TC4.0, November 2010.
Copyright © 2010 Cisco Systems, Inc. All rights reserved.
www.cisco.com
5 6
Add the system to the network
Contact your system administrator, or service provider, for information
about the network settings:
• For H.323 calls, this will include system name, H.323 alias, gatekeeper
address, etc.
• For SIP calls, similar types of information will be supplied.
• For networks administered through TMS (Cisco TelePresence
Management Suite), your TMS administrator will help you to get online.
The H.323 profile and SIP profile are configured from the Advanced
configuration menu:
• Go to Settings > Advanced > Advanced configuration and search
for H323 or SIP, or select H323 > Profile 1 or SIP > Profile 1 from the
menu.
• Expand the items you want to edit and enter the required information. If
in doubt, contact your system administrator or your service provider.
Verify your settings
Verify the settings by reviewing the System Information page.
1. Go to Settings > System Information
2. Verify the previous configurations.
• If you successfully registered to a Gatekeeper the Status will
show Registered. If the registration failed the Status will show Not
registered.
• If you successfully registered to a SIP server the Status will show
Registered. If the registration failed the Status will show Not
registered.
3. Press Home ( ) to exit.
7
Adjust the date and time settings
Check that the date and time settings are correct. The date and time are
located in the upper right corner of the screen.
To adjust the date and time settings:
1. Go to Settings > Date and time
2. When Set date and time is set to Auto there will be an automatic
update of the date and time settings. If you want to manually adjust the
date and time settings, select Manual and enter the Day, Month, Year
and Time. After having adjusted the settings manually, you can set the
Set date and time back to Auto for automatic update.
3. Select the appropriate Time zone from the list of GMT time zones.
4. Select the appropriate Date format from the list.
5. Select the appropriate Time format from the list.
6. Press Home ( ) to exit.
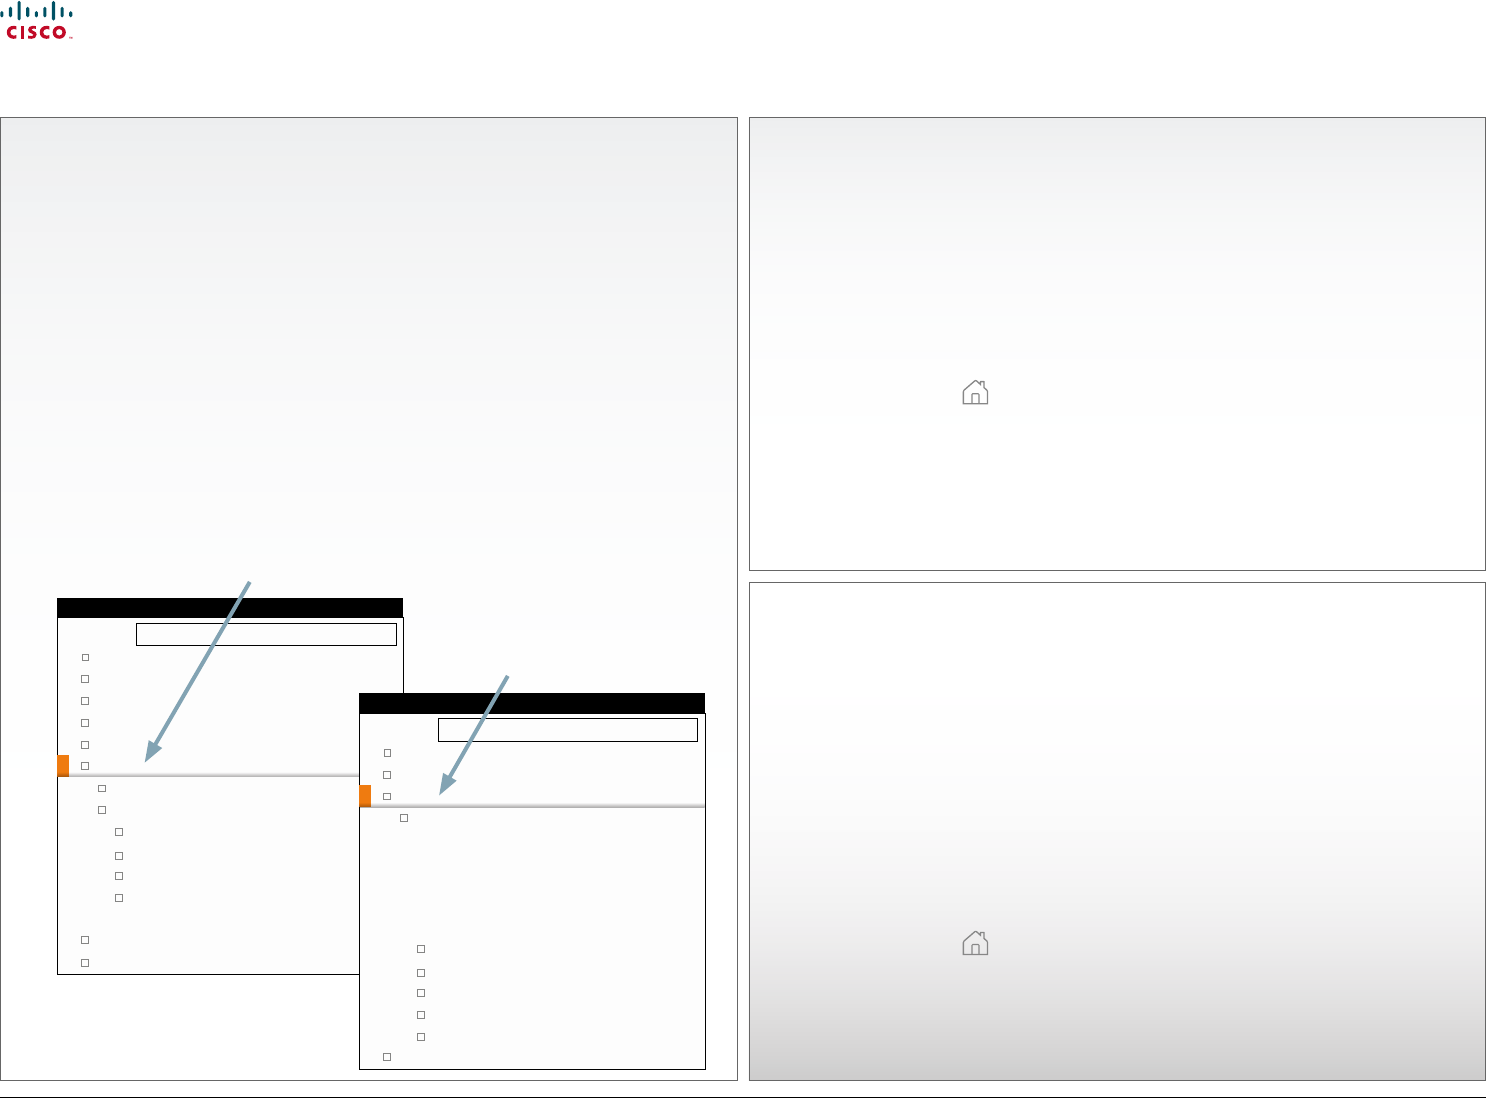
Configure the H.323 Profile in the
Advanced configuration menu
Configure the SIP Profile in the
Advanced configuration menu
Search
Audio
Cameras
Conference 1
Experimental
GPIO
H323
NAT
Profile 1
H323Alias
CallSetup
Gatekeeper
Authentication
PortAllocation: Dynamic
Network 1
NetworkServices
ADVANCED CONFIGURATION
+
+
+
+
+
_
+
+
+
+
+
+
+
_
Search
Phonebook
Provisioning
SIP
Profile 1
DefaultTransport: Auto
TlsVerify: Off
Type: Standard
Outbound: Off
URI: firstname.lastname@company.com
Proxy 1
Proxy 2
Proxy 3
Proxy 4
Authentication
Security
ADVANCED CONFIGURATION
+
+
+
+
+
+
+
_
_
+
Contents
Password protection
Introduction
Configure your system
The remote control
The menu system
The web interface
Configure your system