
Printer User Manual

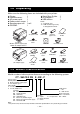

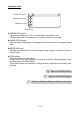
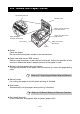
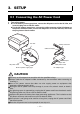
Table Of Contents
- WEEE MARK
- Declaration of Conformity
- GENERAL PRECAUTIONS
- SAFETY PRECAUTIONS
- THE TABLE OF CONTENTS
- 1. GENERAL OUTLINE
- 2. EXPLANATION OF PRINTER PARTS
- 3. SETUP
- 3.1 Connecting the AC Power Cord
- 3.2 Connecting Interface Cables
- 3.3 Connecting the Cash Drawer
- 3.4 Precautions for Installing the Printer
- 3.5 Partition for Paper Roll
- 3.6 Setting the DIP Switch on the Serial Interface Board
- 3.7 Adjusting the Paper Near-end Sensor
- 3.8 Loading Paper
- 3.9 Attaching the Power Switch Cover
- 3.10 Attaching the Interface Cover
- 3.11 Removing the Interface Cover
- 4. MAINTENANCE AND TROUBLESHOOTING
- 5. OTHER
—15—
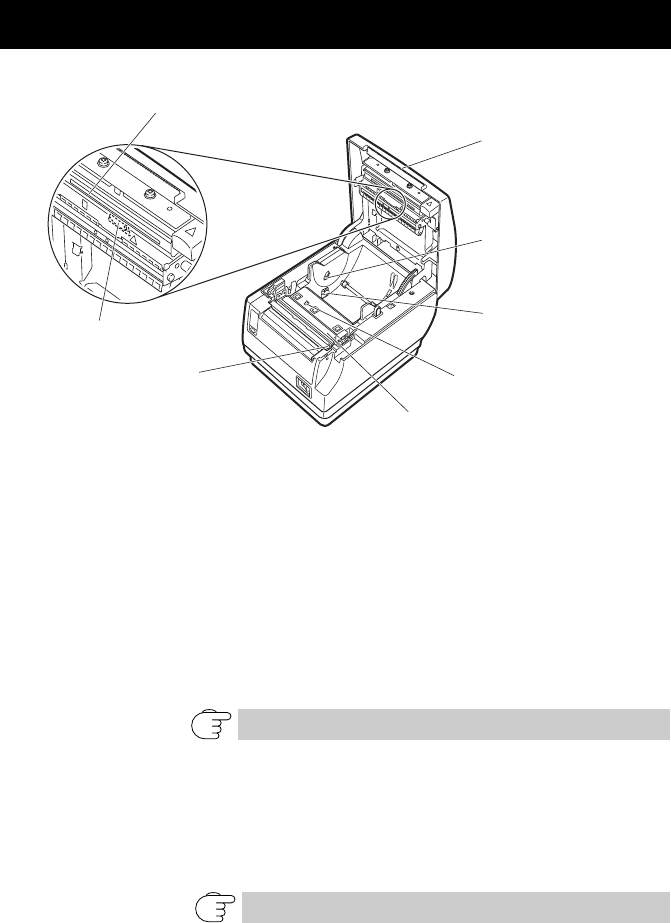
z Platen
Feeds the paper.
Do not remove the platen except to do maintenance.
z Paper near-end sensor (PNE sensor)
Detects when the paper is near the end of the roll. Adjust the position of the
sensor to determine when it detects the end of the paper is near.
z Button to change paper near-end sensor
Change the position of the paper near-end sensor to match the paper being
used.
z Manual cutter
For cutting the paper manually when printing is finished.
z Auto cutter
Automatically cuts the paper when printing is finished.
z Print head (thermal)
Prints characters and graphic data on paper (paper rolls).
2.2 Inside the Paper Cover
Refer to 3.7 Adjusting the Paper Near-end Sensor
Refer to 5.3 Manual Setting of Memory Switches
Platen
Button to change paper
near-end sensor
Print head (thermal)
Auto cutter
Paper near-end sensor
(PNE sensor)
Paper-end sensor
(PE sensor)
Manual cutter
Paper thickness
selection lever (blue)