
User's Manual


USER MANUAL
19
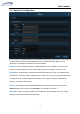
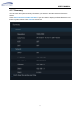
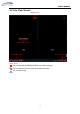
4.2.1 Camera Quick Toolbar
In live view, click the left button of your mouse on a connected camera to display the Camera’s
Quick Toolbar.
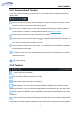
Click to manually record the channel immediately. If manual recording is in process, the icon
will be red. Click one more time to stop manual record.
Click to save a snapshot of the current camera image. Manual Capture must be enabled to
use this feature. For details on enabling Manual Capture, see
5.2.3.1 Capture
.
Click to play the previous
5 minutes recording of this channel
Click to zoom-in on the channel. When the icon appears, press and hold the left button of
your mouse to drag the area you want to zoom in.
Click to adjust the image color of the channel. You can adjust the HUE, BRIGHT, CONTRAST
& SATURATION of the image.
To switch the live view video stream between HD & SD. HD is mainstream live view, SD is
substream live view.
Click to enter pairing
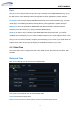
4.2.2 Taskbar
Click to open the Start Menu
Click to choose a different layout for live view
Click to start viewing channels in a sequence
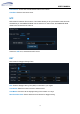
Quick playback. You can choose to play the latest recording for all channels from the
beginning of the day, or you can choose the playback from the latest 5s, 10s, 30s, 1Min, 5Min.
Click to switch all Wireless channels between mainstream and substream (for live view
resolution)
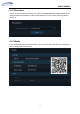
Click to switch among real-time, balanced, or smooth view. The view effect modes affect
only the live view video quality by bitrate and frame rate but do not affect the recording quality.